17.3 Generating a Document
-
(Conditional) If you haven’t yet created a Designer Project, create one.
-
Select .
-
Provide a project name, then click .
-
-
(Conditional) If you haven’t yet created a document style that you want to use as a template for your documentation, create one. See Creating a Document Style and Editing a Document Style for Your Needs.
-
In the Project view, select and expand a project, then right-click the .docgen icon and select .
- or
- Select
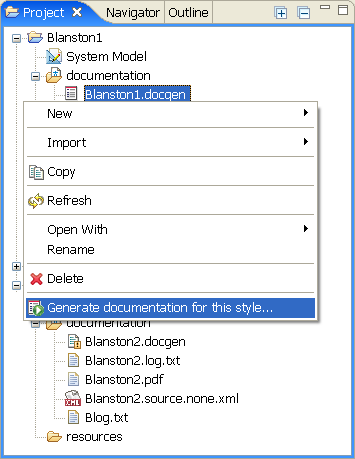
You can also expand the Documentation folder and click the .docgen file to open the file in the Style Editor, then click the icon to the right of the Style Editor heading.
-
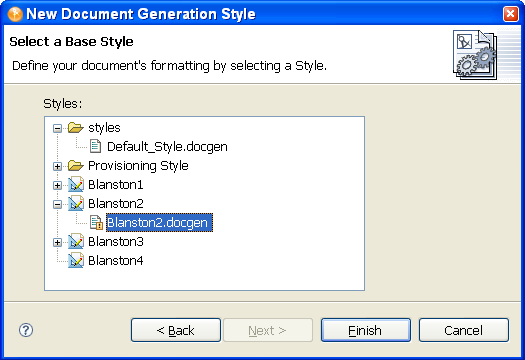
(Conditional) If the Documentation folder you selected does not contain a .docgen file, you are asked to select a Base Style. Select a .docgen style, then click .
-
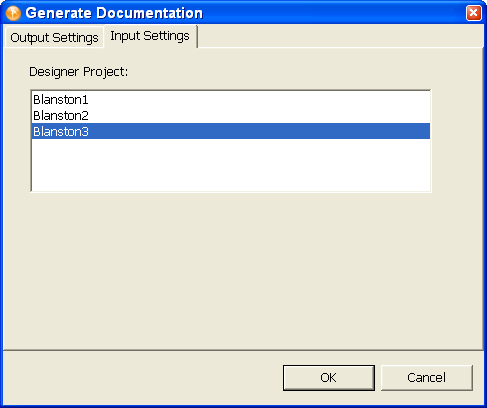
In the Generate Documentation window, click the tab, select the project you want to create documentation for using this style template, then click the tab.
-
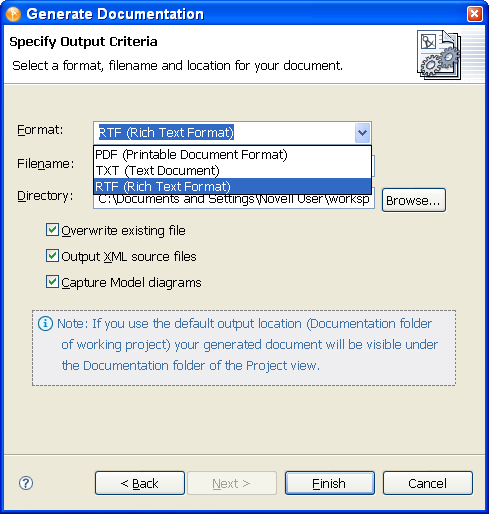
(Conditional) This release of Designer includes the ability to generate documents to RTF (Rich Text Format). If you want to enable this functionality, click to bring up the Preferences window. Then, under , select .
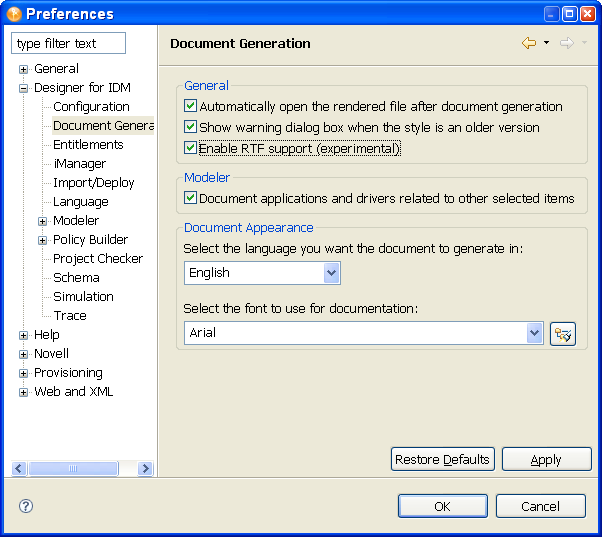
By selecting , you can select the RTF format when creating documents.
-
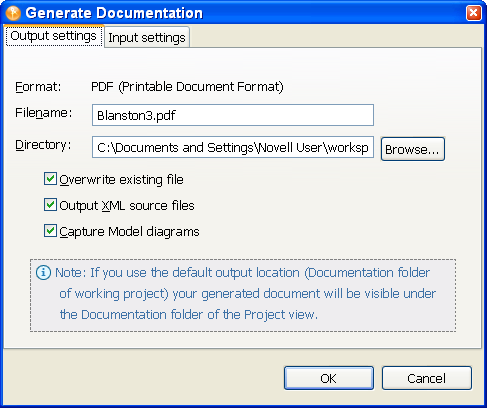
On the Output Settings page, fill in the needed information.
-
Select the format for the file. If you have enabled rich text formatting, you can select ), , or .
-
Select the name you want to call the file, or keep the default name. If you are generating the whole document, the default name often suffices. If you are generating a document for a section, such as an Executive Summary, name the file to reflect the section you documented.
-
Select the directory where you want to store the document. If you use the default output location that appears in the Directory field, your generated document is visible under the Documentation folder of the Project View.
-
To overwrite an existing . pdf file, select the option (selected by default).
-
To see the XML source files, select the option (selected by default).
-
To include the model diagrams in the PDF file, select the option (selected by default).
-
-
Click to generate the document. The document appears in the current Project > Documentation folder unless otherwise specified.
PDF files must be viewed through a PDF viewer, such as Adobe Acrobat*. If Adobe Acrobat is presently installed on your workstation, Designer launches the document in Acrobat. RTF files can be viewed in any word processor that can handle Rich Text Formatted files.
-
If you receive an “Out of Memory” error message while generating documentation, see Issues When Generating Documents.