16.4 Using Your Template Style for Other Projects
To generate documentation for any project, you can use the default style provided with Designer or you can use your own customized styles.
For example, suppose you have created a Blanston2 style. You customize the Blanston2 style to fit your needs, and you save it in the Documentation folder as Blanston2.docgen as outlined in Section 16.1, Creating a Document Style. You can use this style to create documentation for the Blanston2 project or for other projects.
16.4.1 Start with the Style and Choose the Project
-
With the Blanston2 project open in the Project view, right-click the Blanston2.docgen file in the Documentation folder.
-
Click .
-
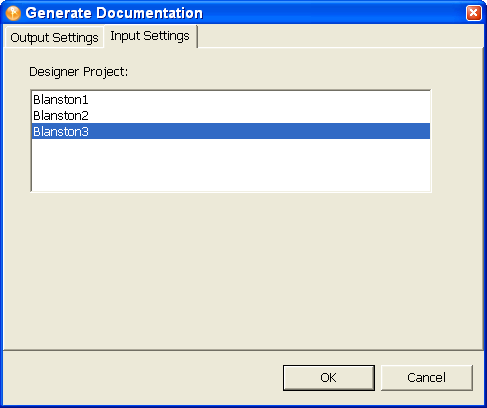
In the Generate Documentation window, click the tab, then select the project you want to create documentation for with this style template (in this example, Blanston3).
-
Select the tab to open the Specify Output Criteria window, fill in the necessary information, then click .
For information on using this style to generate documentation, see Generating a Document.
16.4.2 Start with the Project and Choose the Style
-
With two projects open (for example, Blanston1 and Blanston2), go to the Project view and click .
-
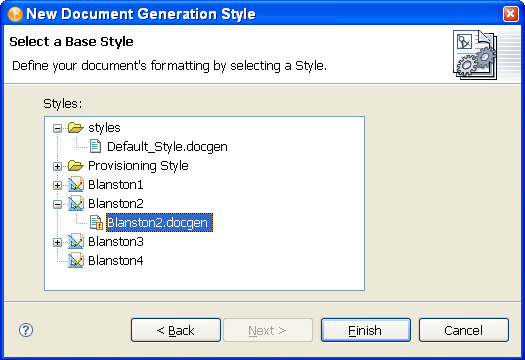
Name the new .docgen file (this example is Blanston2.docgen), then click .
-
Select a base style (for this example, Blanston.docgen), then click .
The Blanston2.docgen file opens in the Style Editor. Because a style usually contains project-specific information, such as the company name, use the above information to see if the template transferred. If you often use the Blanston2.docgen style with the Blanston1 project, you might want to copy the Blanston2 style to the Blanston1 Documentation folder, or copy the .docgen file to the styles template library. For more information, see Section 16.6.5, Saving a Style File in the Styles Template Library.
-
You can click the icon in the Style Editor to generate a document. See Section 16.3, Generating a Document.
NOTE:If you see an exclamation mark in the . docgen file icon, it means the file does not contain new features and needs to be updated. To do this, create a new . docgen file, copy any changes to the new file from the older . docgen file, then delete the older . docgen file.
16.4.3 Document a Section of the Style
Instead of generating a document for the entire project, you can generate a document for a selected section of a project.
-
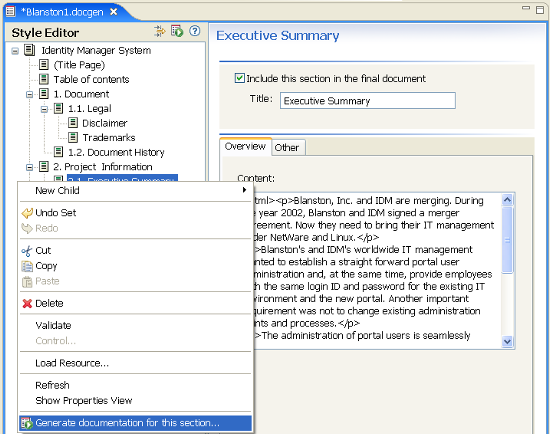
With the project’s .docgen file open in the Style Editor pane, right-click a section of the style.
-
Select .
-
In the Generate Documentation window, type a different project name in the field (for example, ExecutivSumofMerger), then click .
Specify which portion or portions of the project you want to include in the generated document.
You can document domains, Identity Vaults, driver sets, drivers, and applications using the Modeler view or the Outline view (use the Ctrl key to select multiple items). Document generation also ties in with schema notes, classes and attributes. You can find out more about this in Section 11.0, Managing the Schema.
For example:
-
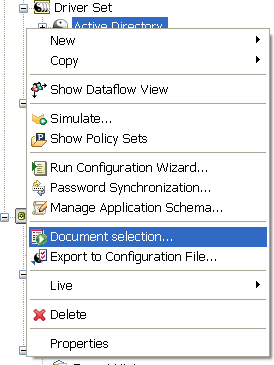
To document a specific driver in a project, right-click the driver in the Modeler or Outline view and select .
-
Select the . docgen style sheet for the document, give the document a filename, and generate the driver document.
By default, documenting an application includes the connected driver (and its related objects). Likewise, documenting a specific driver includes its connected application. However, you can change this behavior in the Documentation Generation’s Preferences page.
-
Click to bring up the Preferences window.
-
Under , select .
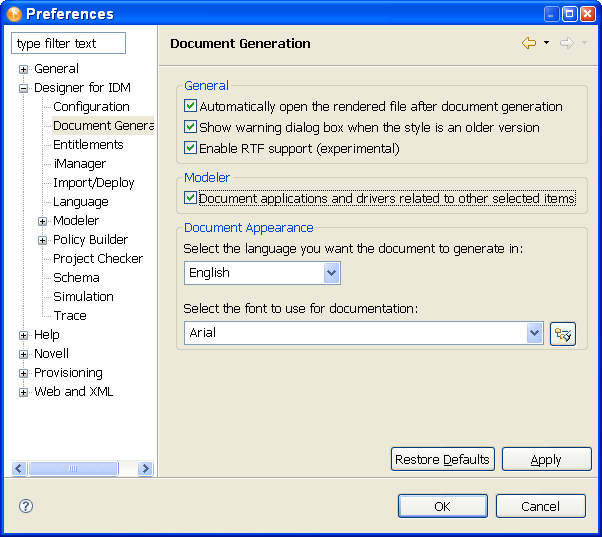
Under the Modeler heading, the option is selected by default, which means that directly related items are included in the documentation. For example, by default, documenting a driver set includes the direct children (the applications) as well as some information of the direct parents (the Identity Vault and domain) to give context to the driver set. Deselecting this option excludes direct children of the selected item.
-
Select or deselect the options you want, then click .
16.4.4 Document Multiple Sections of the Style
If necessary, you can generate only selected sections so that peers can help you with information in the selected sections.
-
If you have not already done so, double-click the . docgen file to bring up the template in the Style Editor.
-
Select or deselect section headings. Each section and child section has a check box entitled . By default the box is checked, as shown below.
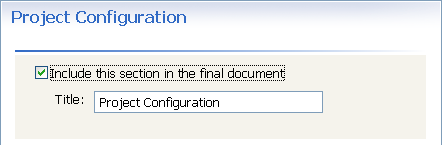
To limit the sections you want to document, deselect the check boxes in the sections you don’t want to generate.
-
Click the Generate Document icon to the right of the Style Editor heading and generate your document.
Give the document a unique name to reflect the type of information it includes.