11.5 Exporting the Schema to a File
11.5.1 Exporting the Schema to a .sch File
-
In the Modeler, right-click an Identity Vault, then select .
-
Select .

-
Specify a path or browse to where you want to save the schema file, specify a filename, then click .
Designer appends the . sch extension when you export the file.
-
Select the classes and attributes to export to the .sch file, then click .
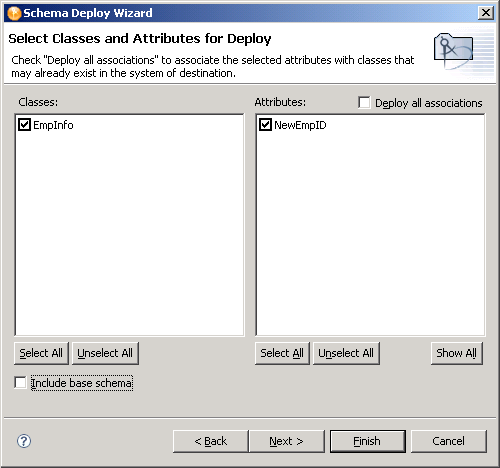
(above the pane) enables you to associate the selected attributes with the classes that might already exist in the eDirectory tree. If you do not select this box, the new attributes that should be associated with the class are not associated.
For example, if the Employee Photo attribute is associated with the User class, and is not selected, Employee Photo is not associated with the User class.
The classes and attributes that are in Designer are listed in the two columns. All classes and attributes are selected by default. To prevent a class or attribute from being deployed, deselect it. To add all classes and attributes, click . To remove all classes and attributes, click .
-
Click .
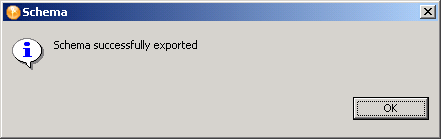
If errors occur, a deploy summary screen lists them.
11.5.2 Exporting the Schema to an LDIF File
-
In the Modeler, right-click the Identity Vault, then select .
-
Select .
-
Select .
-
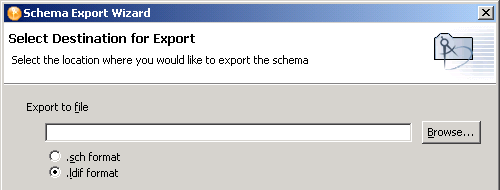
Specify a path or browse to where you want to save the schema file, specify a filename, then click > .
Designer appends the . ldif extension when you export the file.
-
Select the classes and attributes to export to the .ldif file, the click .
The classes and attributes that are in Designer are listed in the two columns. All classes and attributes are selected by default. To prevent a class or attribute from being deployed, deselect it. To add all classes and attributes, click . To remove all classes and attributes, click .
-
Click in the warning.
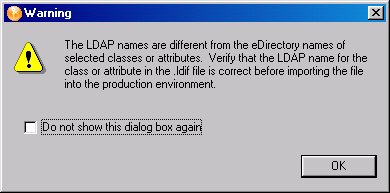
The class and attribute names in Designer are the eDirectory names. The names for the classes and attributes in the LDIF file are the LDAP names. The eDirectory names differ from the LDAP names. Verify that the names listed in the LDAP file are correct for your environment before importing the file. For a list of eDirectory class and attribute names mapped to LDAP class and attribute names, see Section 11.8, Mapping eDirectory to an LDAP Schema.
-
Click .
If errors occur, a deploy summary screen lists them.