11.6 Importing the Schema
Designer allows you to import the schema from your production environment to do in-depth testing with the Identity Manager drivers.
11.6.1 Importing the Schema from the eDirectory Tree
-
In the Modeler, select an Identity Vault.
-
From the main menu, select .
-
Specify information for the server that has the schema that you want to import.
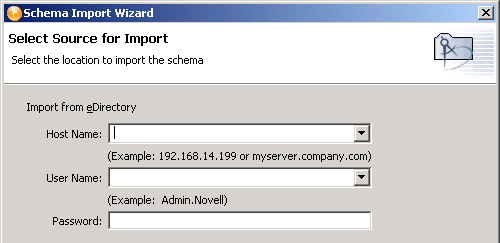
The host name can be the server’s IP address or the DNS name of the server.
The user name must be a user with administrative rights to the schema.
-
Click .
-
Select the classes and attributes to import into Designer, then click .
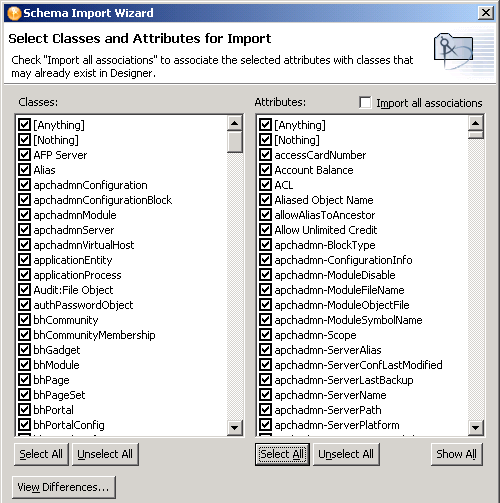
Import All Associations: Enables you to associate the selected attributes with the classes that might already exist in Designer. If you do not select this box, the new attributes that should be associated with the class are not associated.
For example, if the attribute of Employee Photo is associated with the User class, and you do not select , Employee Photo is not associated with the User class.
View Differences: Enables you to view the differences in the schema between the eDirectory tree and Designer.
When you click , Designer lists the differences in a separate window. To select all classes and attributes that are different from what is in Designer, click . If you do not want the different items automatically selected, click .
-
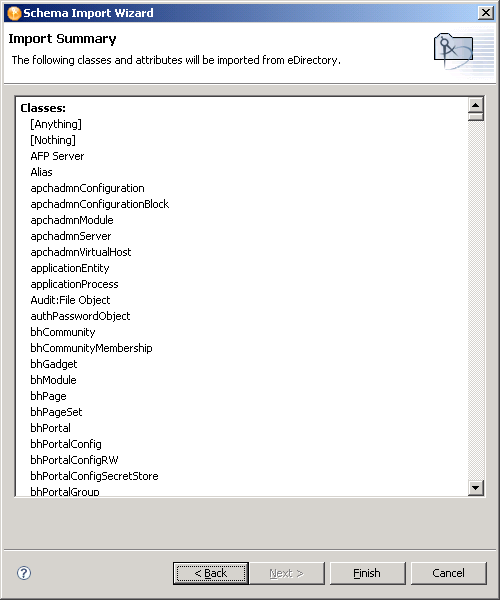
Review classes and attributes that Designer will import.
-
Click .
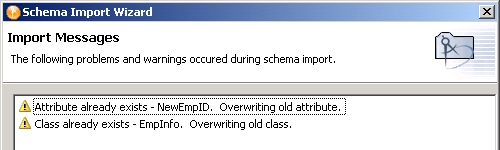
If errors occur, a summary screen lists them.
11.6.2 Importing the Schema from a File
NetWare servers use . sch files. Servers on other platforms use . ldif files.
When you created an Identity Vault in the Modeler, Designer created a base schema in your project. If a . sch file or . ldif file has been saved, you can quickly add classes and attributes for your drivers by importing classes and attributes from the saved file.
Importing the Schema to a .sch File
-
In the Modeler, right-click the Identity Vault that will use the imported . sch file.
-
Select .
-
Select

-
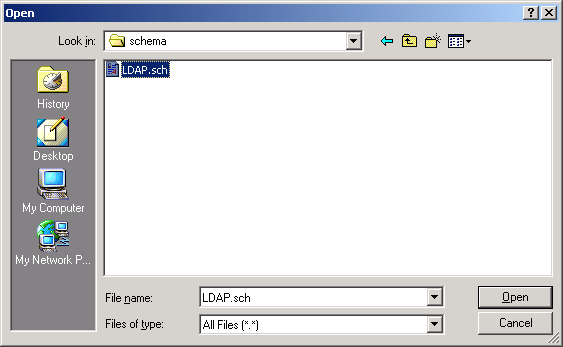
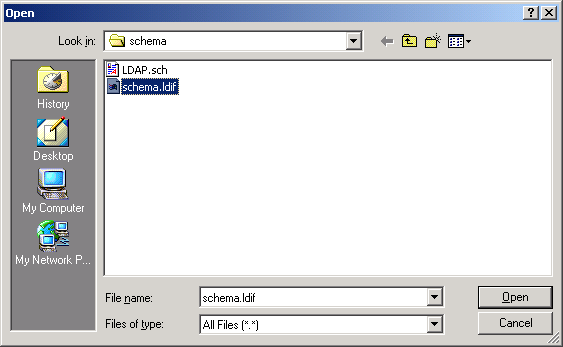
Browse to and select the file that you want to use, then click .
-
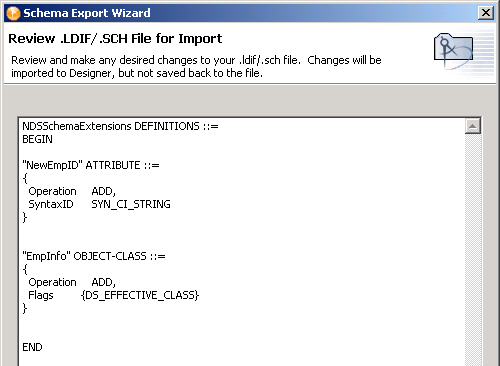
Click , then review the . sch file.
-
Make changes if necessary, then click .
-
Click .
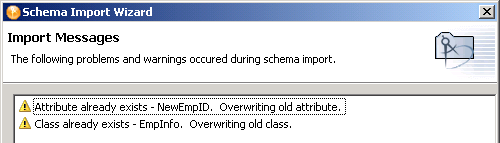
If errors occur, a deploy summary screen lists them.
Importing the Schema to an LDIF File
-
In the Modeler, right-click the Identity Vault that will use the imported . ldif file.
-
Select .
-
Select .

-
Browse to and select the .ldif file that you want to use, then click .
-
Click , then review the . ldif file.

-
Make changes if necessary, then click .
-
In the Warning dialog box, click .
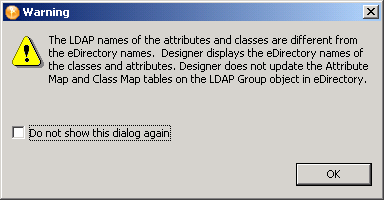
The class and attribute names in Designer are the eDirectory names. The names for the classes and attributes in the LDIF file are the LDAP names. The eDirectory names differ from the LDAP names. Verify that the names listed in the LDAP file are correct for your environment before importing the file. For a list of eDirectory class and attribute names mapped to LDAP class and attribute names, see Section 11.8, Mapping eDirectory to an LDAP Schema.
-
Click .
If errors occur, a deploy summary dialog box lists them.