10.2 Editing a Notification Template
-
Select an Identity Vault.
-
In the Outline view, right-click a template (for example, ), then select .
-
Select a format, specify a subject, add tokens, customize the message that users receive, then save and close the template.

10.2.1 Selecting a Format
Select whether users receive this e-mail notification in HTML or text format.
Figure 10-1 Options for Sending the Notification

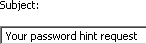
10.2.2 Specifying a Subject
The subject is the text that a user views in an e-mail’s Subject heading or field. You can change the text in the Subject field. You can also use tokens here. The text or tokens don’t determine the name of the template.
Figure 10-2 The Subject Field
10.2.3 Working with Tokens
A token is a variable or replacement tag for items such as the user’s name. Tokens help you personalize the message to the user.
Figure 10-3 The Tokens Dialog Box
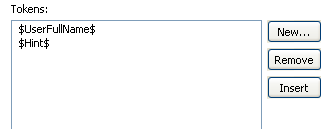
Each template includes default tokens. For example, the Forgot Password e-mail template for sending a password to the user includes the default replacement tag named $CurrentPassword$.
You can define other tokens for use in the body of the message or in the subject. Your ability to do so depends on the application that uses the templates. To find out how to define additional replacement tags, see the documentation for the application. For example, Identity Manager Password Synchronization can’t use a replacement tag that you create unless the policy in the driver configuration that uses the template also contains the definition of the replacement tag.
Adding a Token
-
Click .

-
In the dialog box, type a name for the token.
You don’t need to type the $ characters. Designer provides them.
-
Type a description for the token.
-
Click .
When you add a token, the tag is automatically added to the XML source for the template. After you add a tag, you can edit it only in the XML Source view.
Removing a Token
To delete a token, select it, then click .
Make sure that you don’t remove tags that are needed for the body of the message.
Inserting a Token
-
In the template, click where you want to insert a token.
-
Select a token.
-
Click .
Designer inserts the selected token into the e-mail template.
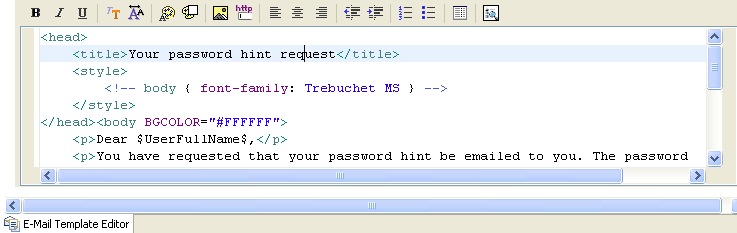
10.2.4 Editing a Template Message
The text of the e-mail message appears in the field. Customize the text so that it suits your environment. Use tokens to personalize the e-mail message.
Figure 10-4 The Message Edit Box
-
In the , place your cursor in the Message edit box, then press Ctrl+Spacebar.
-
Select an HTML tag by double-clicking a tag in the drop-down list.

-
Format text by using the toolbar.

-
Preview the text by clicking the Preview icon
 .
.
-
Save the template by selecting > .
You can also click the icon.
If the code isn’t valid, you can’t save the template.