Managing Sent Items
- Confirming Delivery of Items You've Sent
- Displaying Sent Items
- Checking the Status of an Item
- Receiving Notification About Items You Send
- Requesting a Reply for Items You Send
IMPORTANT: You can manage your sent items for GroupWise e-mail only if the recipient is located on the same GroupWise system as you.
Confirming Delivery of Items You've Sent
Evolution provides several ways for you to confirm that your item was delivered.
Track an Item You Sent
You can check the status in the Message Status window of an e-mail you've sent. For information, see Checking the Status of Your Items.
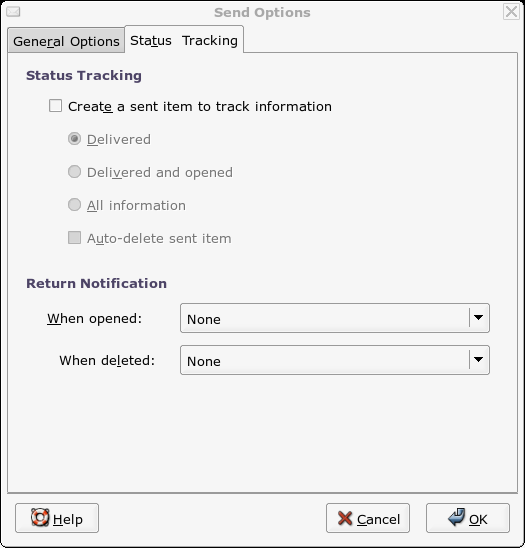
Receive Notification When the Item is Opened or Deleted
You can receive notification when the recipient opens or deletes a message. For information, see Receiving Notification About Items You Send.
Request a Reply
You can inform the recipient that you need a reply to an e-mail. Evolution adds a sentence to the item stating that a reply is requested and changes the icon in the recipient's Mailbox to a double arrow. For information, see Requesting a Reply for Items You Send.
Displaying Sent Items
You might want to display items you previously sent. For example, you can read a sent e-mail.
All sent items reside in this folder unless you select a different folder for sent e-mail in the account editor default settings.
Checking the Status of Your Items
Track Message Status lets you check the status of any e-mail you've sent. For example, you can see when an e-mail was delivered and when the recipient opened or deleted the e-mail.
Requesting a Reply for Items You Send
-
In the Compose Message window, click Insert > Send Options.
-
Click Reply Requested, then specify when you want to receive the reply.
If you select When Convenient, then Reply Requested: When Convenient appears at the top of the message. If you select Within x Days, then Reply Requested: By day month numeric day time year appears at the top of the message.
-
Click OK.