|  |
 |
 |
 |
 |
 |
 |
 |
 |
Director Tutorials

To use scoped paths in the Shortcut portlet for creating dynamic URLs using images from the resource set.
A Shortcut portlet generates a list of shortcut links to Web resources and local applications.
Scoped paths are constructs that allow you to quickly access persistent and nonpersistent data in exteNd Director applications using xPath-like expressions.
A resource set is a location in an exteNd Director project containing application resources that are not stored in a database or defined in the configuration and service files. For example, resource sets can store portlets, pageflows, styles, images, and Java classes.
Before you begin See About exteNd Director Tutorials
Audience This section is for all users, whether or not they have administrative privileges.

In this exercise, you will create a new personal page. Later, you will add a Shortcut portlet to this page.
Start the exteNd Application Server where the Express Portal application has been deployed.
Start the Express Portal application by entering this URL in your browser:
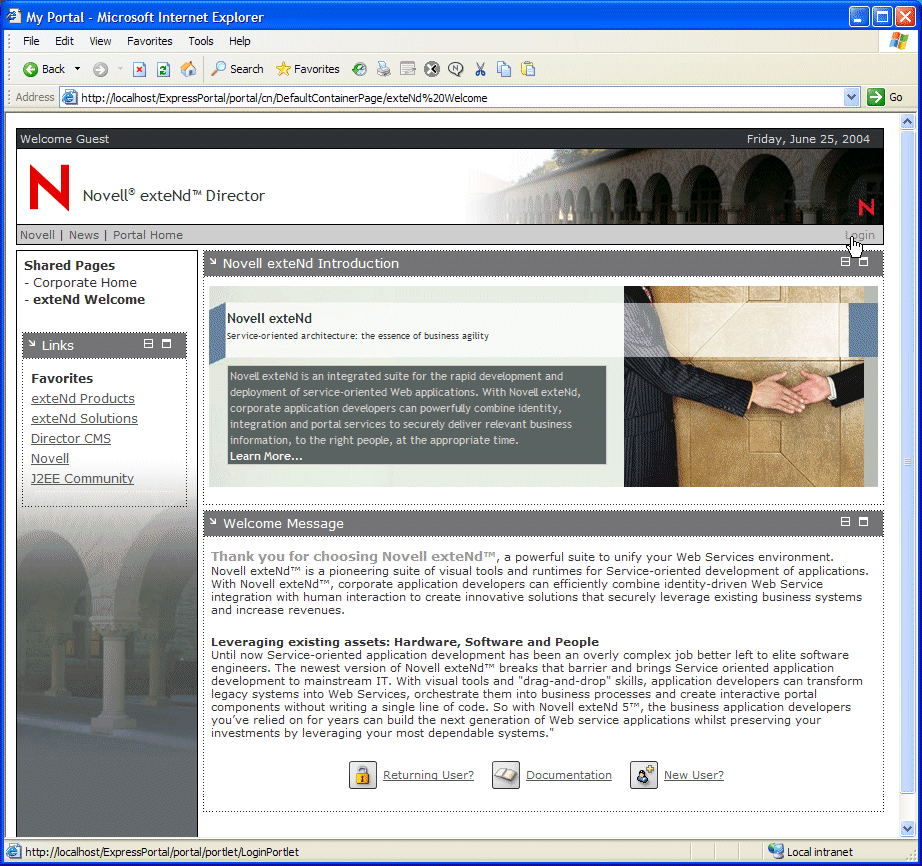
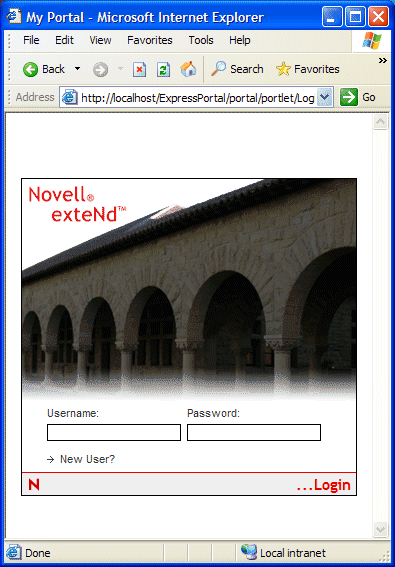
Log in as an authorized user, then click login or the Enter key.
TIP: If you need to create a user, see the exercise on adding a new user.
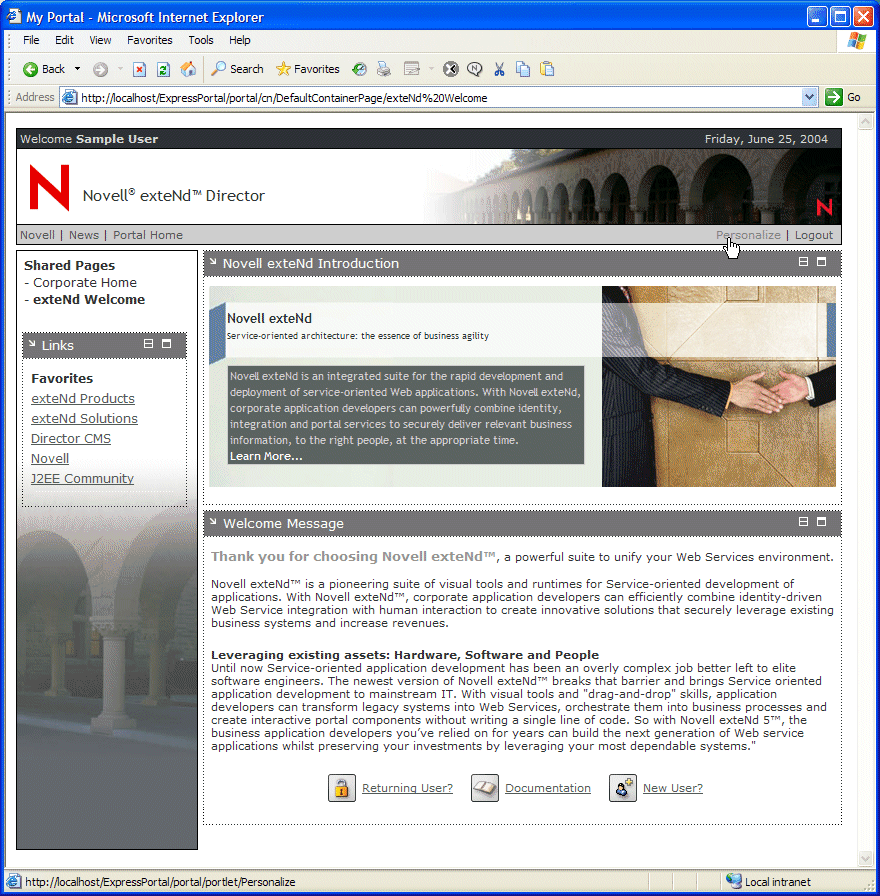
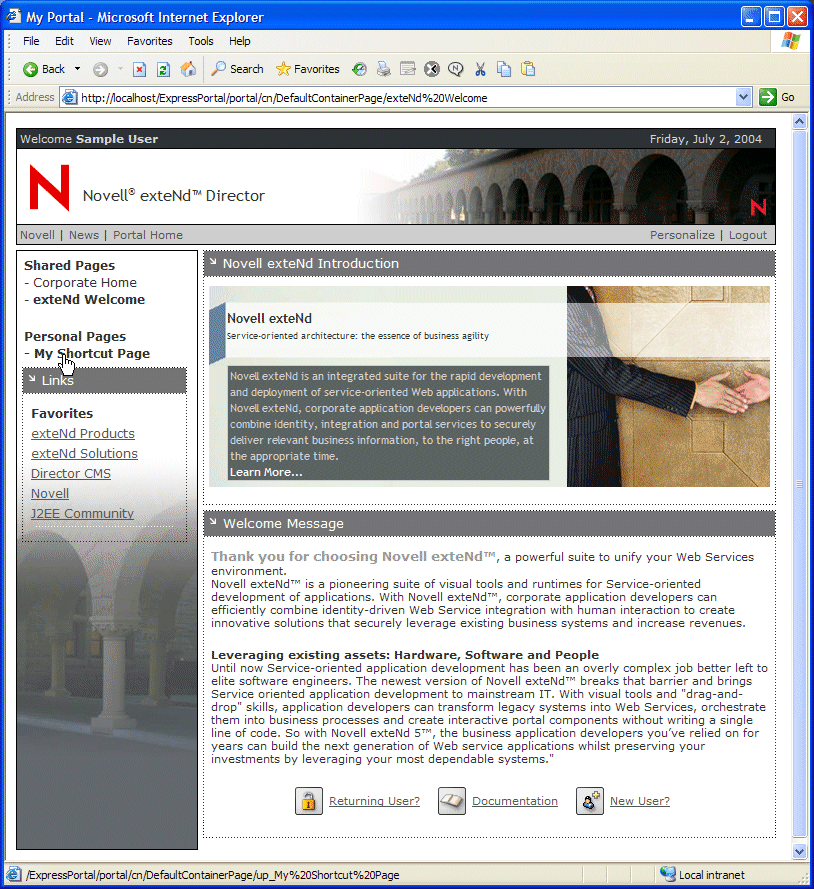
The default page for the user you specified opens in your browser.
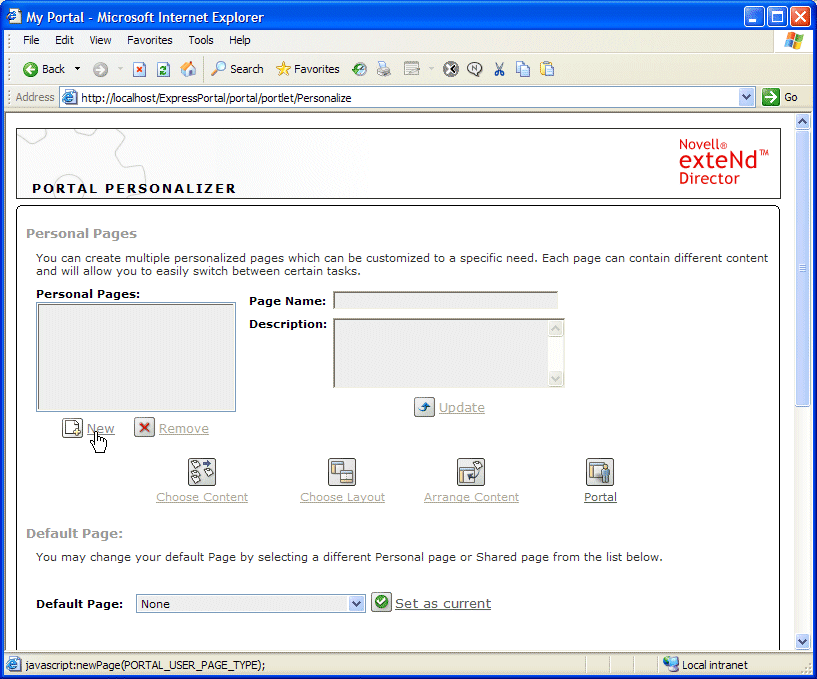
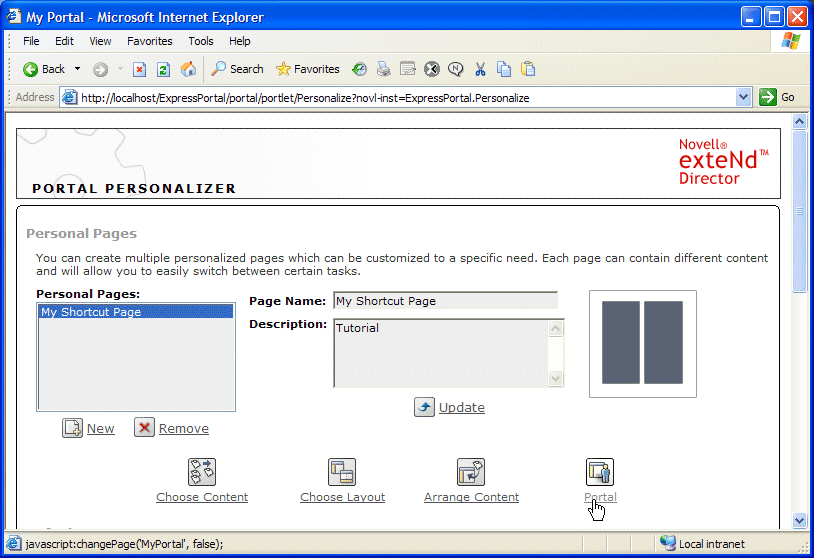
On the default page, select Personalize.
NOTE: This is the default page for a user who is not an administrator. Your default page will look different if you logged in as an administrator, but the Personalize option is still available in a similar location on the page.
Enter the following properties for the new page:
|
Property |
What to specify |
|---|---|
|
Page Name |
My Shortcut Page |
|
Description |
Tutorial |
Now you are ready to add a Shortcut portlet to your personal page. You will configure the portlet to display dynamic URLs using an image from the Express Portal project's resource set. Leave the Personalizer running and move to the next exercise.
 To add a Shortcut portlet to a personal page:
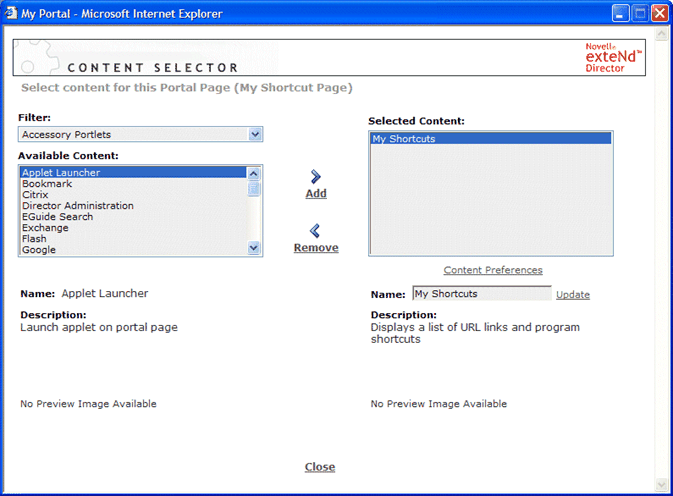
Select My Shortcut Page in the Personal Pages list and click Choose Content.
From the Available Content list select Shortcut and add it to the page by clicking Add.
Now you are ready to configure the Shortcut portlet to create dynamic URLs with images. Leave the Content Selector open and move to the next exercise.
In this exercise you will configure the Shortcut portlet to create dynamic URLs with an image from the Express Portal project's resource set. You will use the predefined Resource Set scoped path which accesses persistent data stored in your exteNd Director project resource set.
To create a dynamic URL with an image:
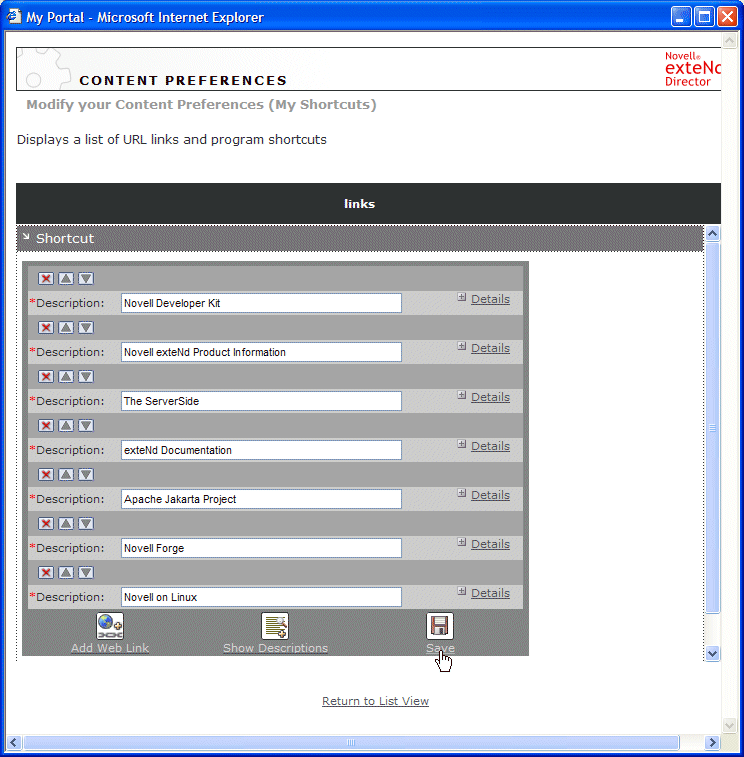
In the Content Selector, select the Shortcut portlet in the Selected Content list and click Content Preferences.
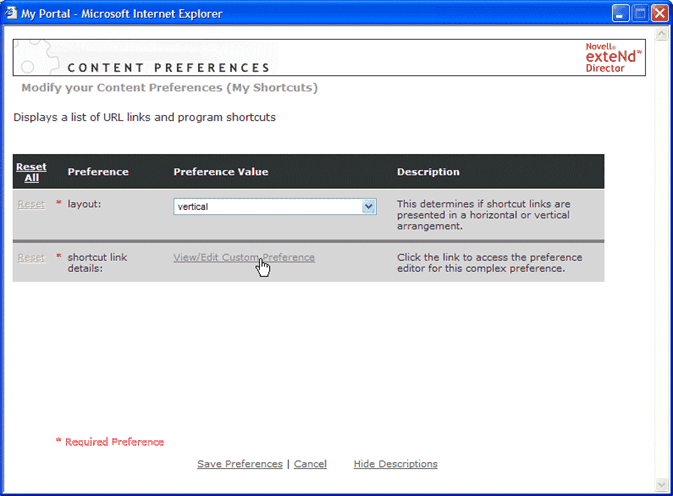
The Content Preferences sheet opens.
TIP: To get more information about each preference, click Descriptions at the bottom of the sheet.
In the Preference Value column for the shortcut link preference, click the View/Edit Custom Preference link.
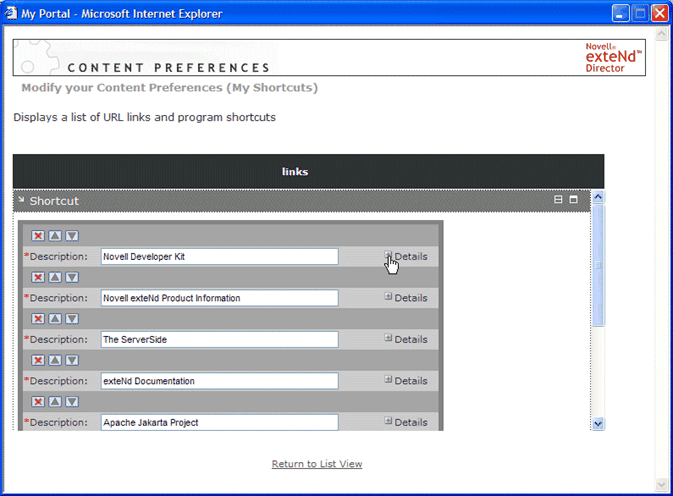
A second preference sheet opens in your browser containing a set of predefined shortcuts, each with its own set of preferences. You can also add new shortcuts.
Display the preferences for the first predefined shortcut—Novell Developer Kit— by clicking the plus sign to the left of Details.
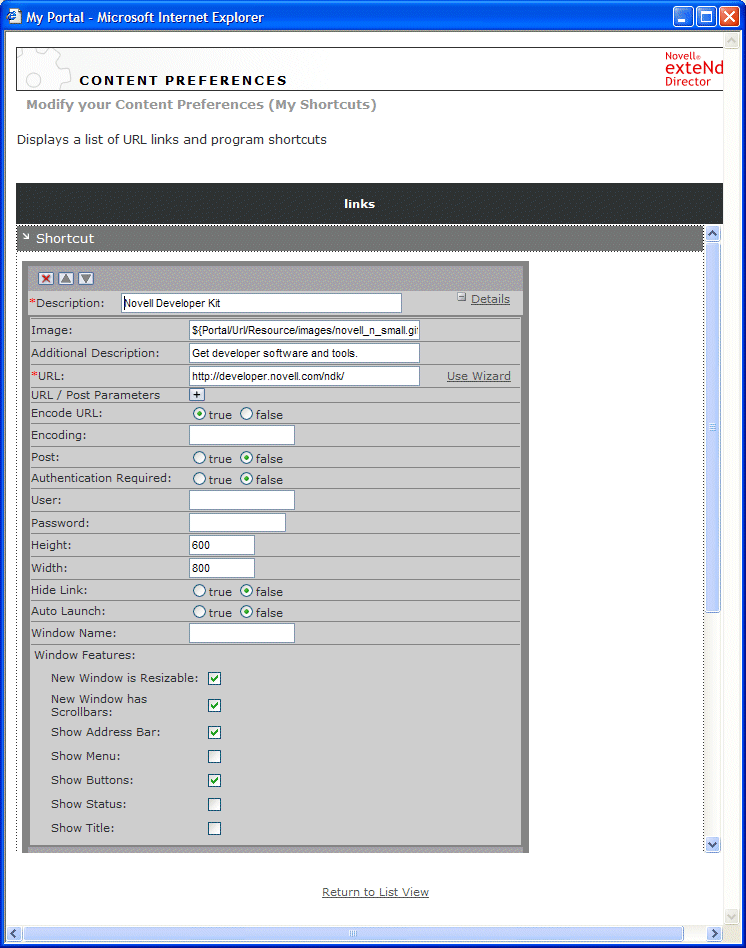
The preferences for the Novell Developer Kit shortcut are displayed on the preference sheet.
TIP: To view descriptions for each preference, scroll to the bottom of the preference sheet and click Show Descriptions.
In the Image field for the Novell Developer Kit shortcut, enter the following scoped path:
${Portal/Url/Resource/images/novell_n_small.gif}
NOTE: The syntax for entering a scoped path in a portlet preference is ${scoped path}. In this example, the scoped path Portal/Url/Resource/images/novell_n_small.gif accesses a GIF image in the Portal application's resource set. As its name suggests, the image is a small version of the Novell logo (red N).
Close the preferences for the Novell Developer Kit shortcut by clicking the minus sign to the left of Details.
Repeat Step 3 through Step 5 for the other predefined shortcuts to Novell sites that appear on the preference sheet:
Scroll to the bottom of the preference sheet and click the Save button.
Your changes are recorded and you return to the Content Selector.
Now you are ready to test the dynamic image URL you just created in your My Shortcuts portlet. Leave the Portal Personalizer running and move to the next exercise.
To test the dynamic image URL:
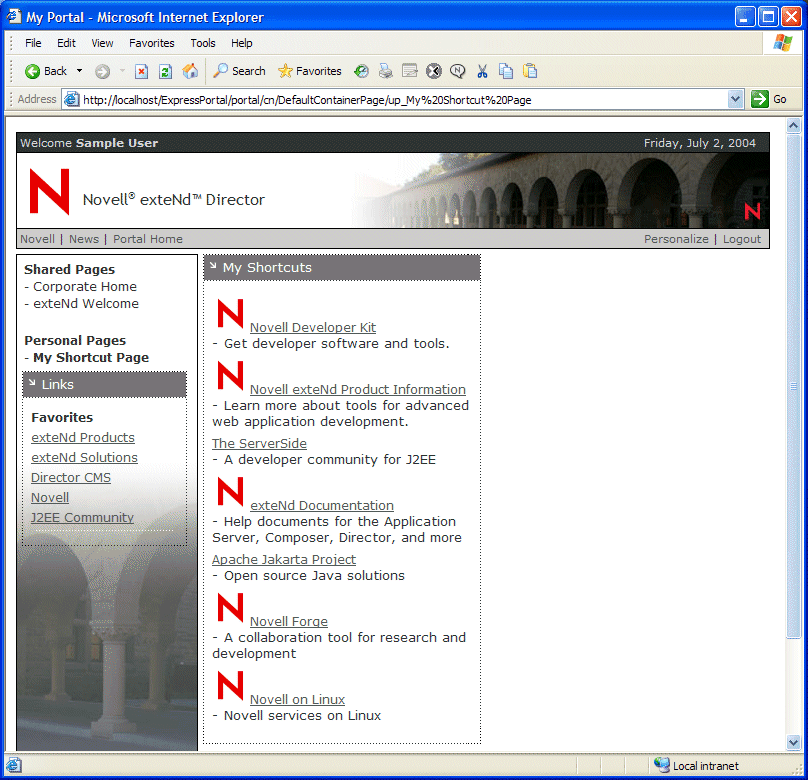
Select My Shortcut Page under Personal Pages in the navigation list.
My Shortcut Page appears in the content area of your browser, displaying all the predefined shortcuts in the My Shortcuts portlet window. Note that the Novell logo image (red N) appears next to each of the predefined Novell shortcuts:
Each logo image is a dynamic link to the associated Web page or application specified in the shortcut.
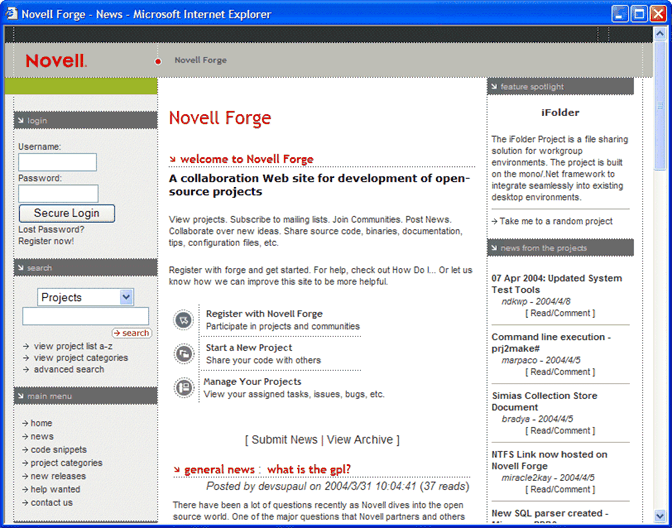
The Novell Forge Web site opens in a new browser window, as in this example:
TIP: To learn how to register with Novell Forge and log in using form-based authentication, see the tutorial Using Shortcut portlets for form-based authentication.
Add an image to the Express Portal project resource set and use it to create a dynamic URL in a shortcut.
TIP: You can add the supplied image new_logo.gif to the resource set, as described in the exercise Adding new branding images to the Express Portal project. Then, you can reference that image using the following scoped path:
${Portal/Url/Resource/images/new_logo.gif}
Copyright © 2004-2005 Novell, Inc. All rights reserved. Copyright © 1997, 1998, 1999, 2000, 2001, 2002, 2003 SilverStream Software, LLC. All rights reserved. more ...