5.12 Viewing Trend Data
In addition to reporting storage data through the System Inventory and standard reports, Novell File Reporter provides the ability to view volume storage trending. Using the Trend Data feature, you can compare growth trends for a storage resource between two points in time. The data includes number of files, overall file size, available free space, and more.
Information available through Trend Data can help you determine the growth rate on a volume, calculate when you will be near capacity, and budget for more storage in advance.
Trend Data can also compare the growth rate of one volume with other volumes. You can use this to look into the cause of unusual growth trends. For example, if the available disk space has diminished dramatically over a short period of time, you might want to run an Owner Report to see who is storing the most files.
-
Launch NFRAdmin.
-
Click .
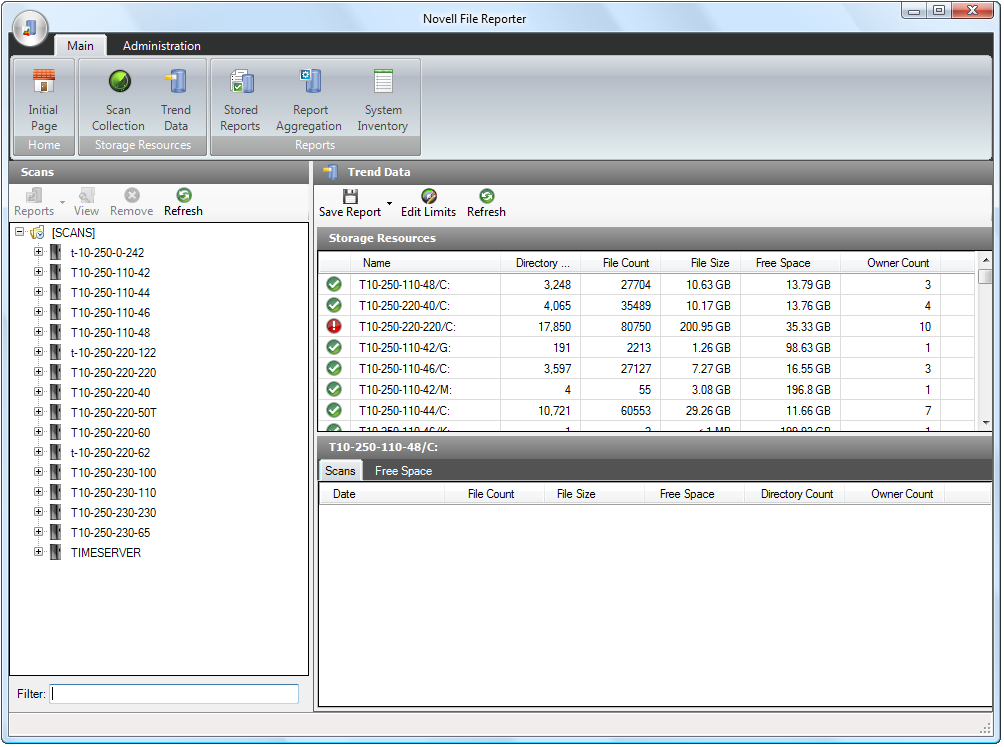
All storage resources appear in the upper pane on the right side of the administrative interface. You can sort the storage resources by size according to the column heading you click.
-
Select a storage resource in the upper pane and in the lower pane, then view the trend data for the storage resource.
You can sort the data by size according to the column heading you click.
With the displayed data, you can now determine trends in increasing file count or decreasing free space by comparing the data between the scans.
The data comes from all saved scans for the selected storage resource. If no scans have been conducted on the storage resource, no data is displayed. In addition to the data from the scans, free space data is collected daily for the storage resources. It is displayed on the tab and is updated each day until the next scan is taken. When a new scan is taken, the data on the tab is discarded because the free space data is now contained within the scan data, and the daily sampling of free space begins again. This daily free space sample has very little overhead to collect and maintain and allows you to have daily information about the available free space on storage resources that are scanned weekly or monthly.
-
(Optional) Save the report.
The and > options are similar to those covered in Section 5.5, Saving Reports. When you save a report to Microsoft Excel through the option, you need to enable macros to view all data.