4.9 Installing the NFR Engine
-
Double-click the install.html file located on the mounted drive, CD, or DVD that you noted in Step 3.
This launches the installation interface.
-
Under , select .
-
Under , do one of the following:
-
If you are installing Novell File Reporter into a network environment that includes Novell Storage Manager, select
-
If you are installing into an Active Directory managed network environment that does not include Novell Storage Manager, select .
-
-
In the region, under , click NFREngine-1.0.2-win32.msi.
-
When you are asked if you want to run or save this file, click .
-
On the Welcome page, click .
-
Review the License Agreement, accept the terms, and click .
-
Accept the installation path or indicate a new path by using the button.
To review possible locations, you can click the button to see all available volumes with disk size and disk availability data.
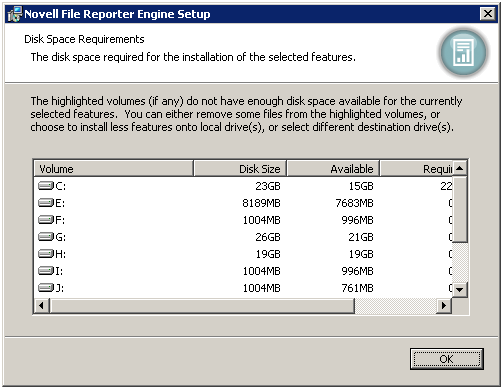
The NFR Engine requires 12 MB of disk space, but it needs much more to store scans and reports. For help in determining needed disk space for reports and scans, see
Conducting a System Inventory
in the Novell File Reporter 1.0.2 Administration Guide. -
Click .
-
Click to begin the installation.
-
Click and make sure that the check box is selected so that you can continue with the configuration.
-
Proceed with Section 4.10, Configuring the NFR Engine.