6.7 File Data Reports
Reports in this classification include Filename Extension, Owner, Duplicate File, and Date-Age, along with detailed versions of each of these reports.
Before generating any type of File Data report, you must first conduct a File System scan on the volumes or shares you want to report on.
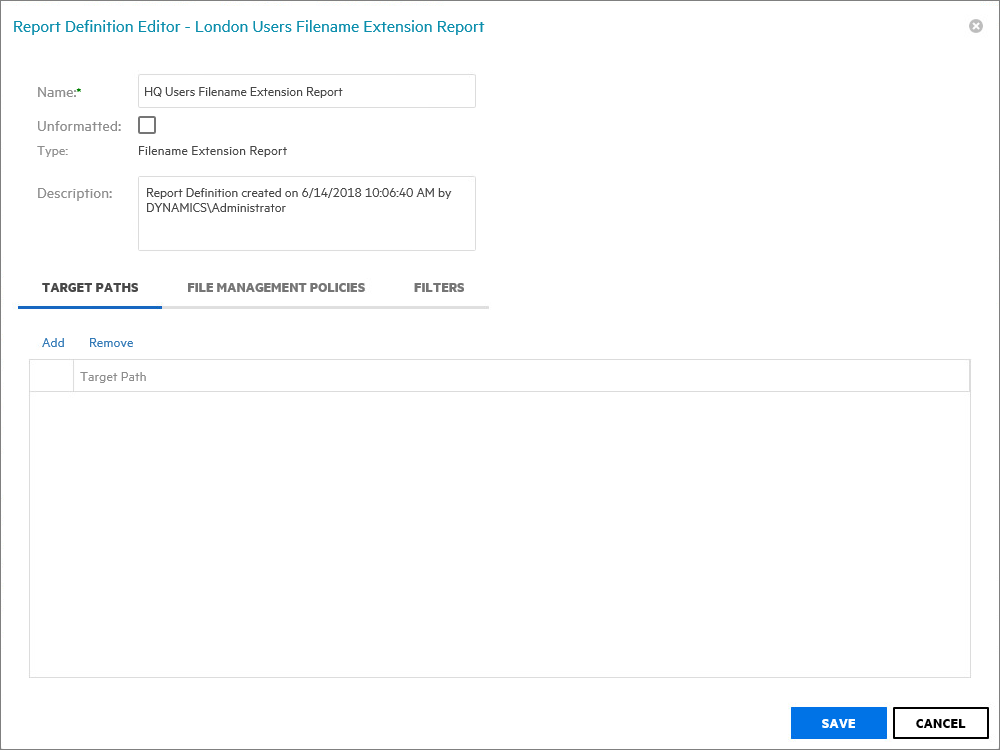
6.7.1 Generating a Filename Extension Report
The Filename Extension report presents data grouped according to filename extension. This report is helpful for determining file types that you do not want stored on your network drives. For example, you can easily identify who is storing .MP3 or .MOV files.
NOTE:File extensions in File Reporter are limited to 32 characters. File extensions longer than 32 characters are considered part of the file name and not as an extension.
-
Select > .
-
Click .
-
In the field, specify a descriptive name of the report definition.
-
Select the option and click .
-
From the tab, click .
-
Browse to and specify the file paths you want included in the report and click .
-
(Optional) Click the tab and set the filters for the report.
For information on using the filtering capabilities of File Reporter, refer to Section A.0, Filtering.
-
Click .
-
Generate the report as either a Preview report or a Stored report.
For procedures on generating a Preview report, see Generating a Preview Report.
For procedures on generating a Stored report, see Generating a Stored Report.
-
(Optional) Generate a Detailed report on an individual file extension by clicking a file extension name in the report.
6.7.2 Generating a Detailed Filename Extension Report
A Detailed Filename Extension report is similar to a standard Filename Extension report, except you can filter the report to include only the files with the extension types you want.
-
Select > .
-
Click .
-
In the field, specify a descriptive name of the report definition.
-
Select the option and click .

-
In the field, specify the filename extensions you want included in the report by listing each on an individual line. Do not precede the filename extension with a period.
For example:
mov
jpg
tmp
-
From the tab, click .
-
Browse to and specify the file paths you want included in the report and click .
-
(Optional) Click the tab and set the filters for the report.
For information on using the filtering capabilities of File Reporter, refer to Section A.0, Filtering.
-
Click .
-
Generate the report as either a Preview report or a Stored report.
For procedures on generating a Preview report, see Generating a Preview Report.
For procedures on generating a Stored report, see Generating a Stored Report.
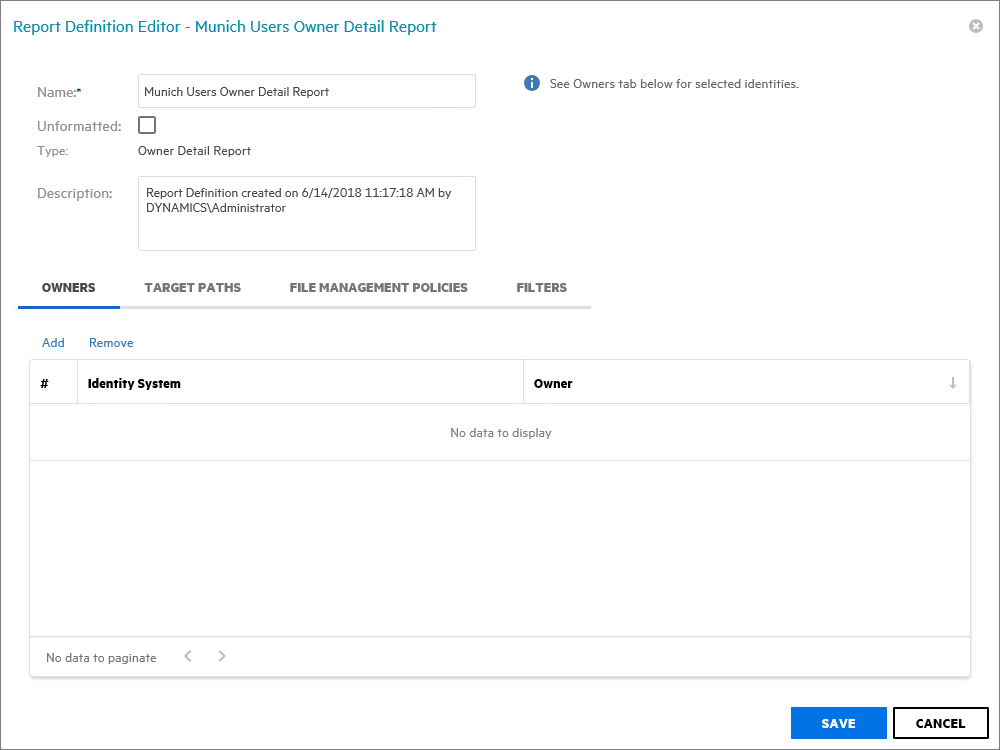
6.7.3 Generating an Owner Report
An Owner report groups data according to file owners. If it is determined that certain users are using a disproportionate amount of storage, you can see what these users are storing and if they are justified in doing so.
-
Select > .
-
Click .
-
In the field, specify a descriptive name of the report definition.
-
Select the option and click .

-
From the tab, click .
-
Browse to and specify the file paths you want included in the report and click .
-
(Optional) Click the tab and set the filters for the report.
For information on using the filtering capabilities of File Reporter, refer to Section A.0, Filtering.
-
Click .
-
Generate the report as either a Preview report or a Stored report.
For procedures on generating a Preview report, see Generating a Preview Report.
For procedures on generating a Stored report, see Generating a Stored Report.
-
(Optional) Generate a Detailed report on an individual owner by clicking an owner’s name in the report.
6.7.4 Generating a Detailed Owner Report
A Detailed Owner report is similar to a standard Owner report, except you can specify the users you want information on.
-
Select > .
-
Click .
-
In the field, specify a descriptive name of the report definition.
-
Select the option and click .
-
From the tab, click , then browse to and specify the owners you want in the report and click .
-
From the tab, click , then browse to and specify the file paths you want included in the report and click .
-
(Optional) Click the tab and set the filters for the report.
For information on using the filtering capabilities of File Reporter, refer to Section A.0, Filtering.
-
Click .
-
Generate the report as either a Preview report or a Stored report.
For procedures on generating a Preview report, see Generating a Preview Report.
For procedures on generating a Stored report, see Generating a Stored Report.
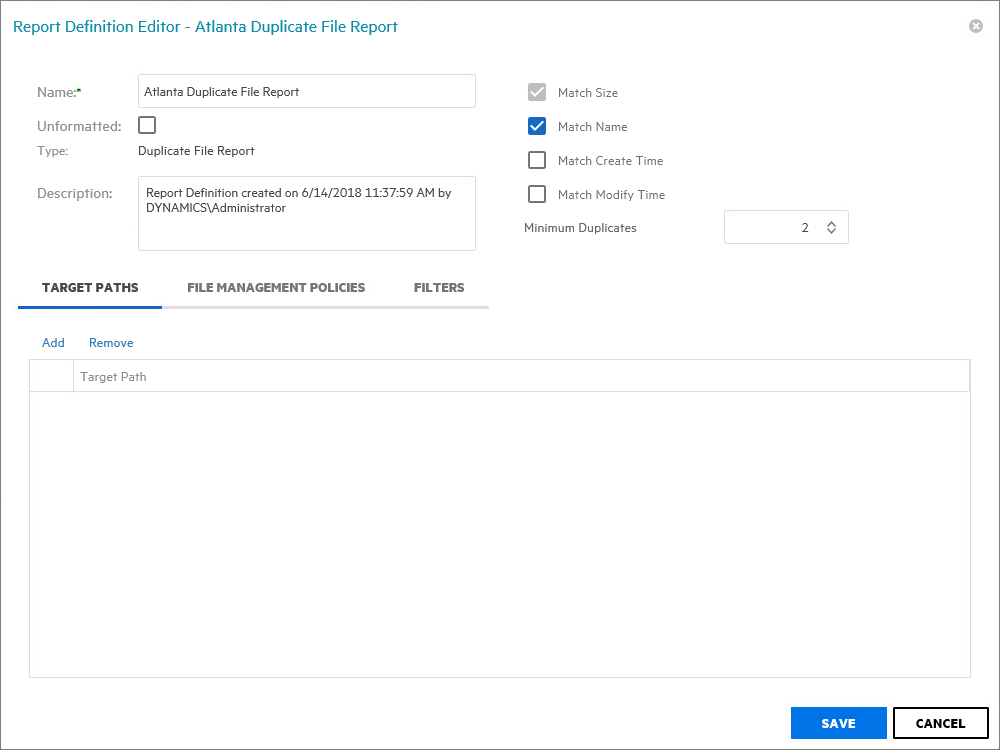
6.7.5 Generating a Duplicate File Report
A Duplicate File report indicates duplicate versions of files being stored and their locations. A principle objective for any organization determined to limit network storage usage should be the elimination of duplicate versions of files.
-
Select > .
-
Click .
-
In the field, specify a descriptive name of the report definition.
-
Select the option and click .
-
Use the check boxes and field to specify the parameters for reporting.
The more check boxes you select, the more likely it is that File Reporter can identify definitive duplicate files.
Match Size: Specifies that files reported must have duplicate file sizes. This option cannot be deselected.
Match Name: Specifies that files reported must have duplicate names with other files.
Match Create Time: Specifies that files reported must have duplicate file creation times with other files.
Match Modify Time: Specifies that files reported must have duplicate file modification times with other files.
Minimum Duplicates: Specifies the minimum number of duplicate files, according to the parameters selected above, for inclusion in the report.
-
Browse to and specify the file paths you want included in the report and click .
-
(Optional) Click the tab and set the filters for the report.
For information on using the filtering capabilities of File Reporter, refer to Section A.0, Filtering.
-
Click .
-
Generate the report as either a Preview report or a Stored report.
For procedures on generating a Preview report, see Generating a Preview Report.
For procedures on generating a Stored report, see Generating a Stored Report.
-
(Optional) Generate a Detailed report on a duplicate file by clicking a specific file name in the report.
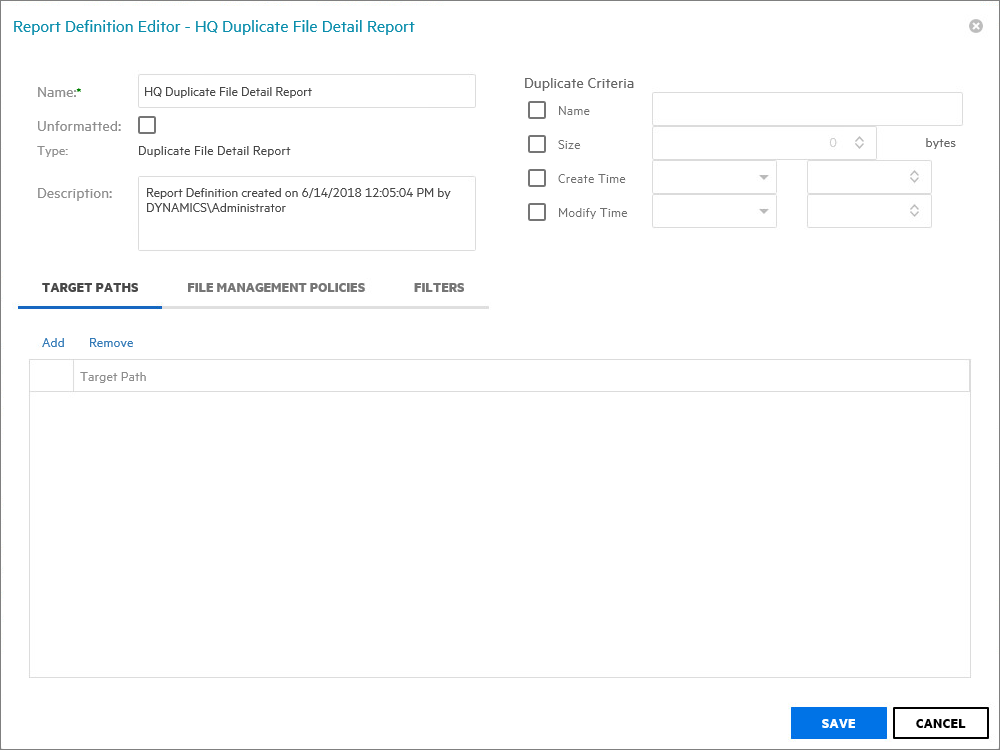
6.7.6 Generating a Detailed Duplicate File Report
A Detailed Duplicate File report is similar to a standard Duplicate File report, except you can specify the exact filename to search for, along with exact create and modify times.
-
Select > .
-
Click .
-
In the field, specify a descriptive name of the report definition.
-
Select the option and click .
-
In the region, specify the file name size, and the dates and times that the file was created or modified.
IMPORTANT:When specifying Create or Modify times, the time entered must be exact down to the second. If a date range is required, do not enable the Create or Modify criteria here, but use the date filters in the tab. For more information on filters, see Section A.0, Filtering.
-
Browse to and specify the file paths you want included in the report and click .
-
(Optional) Click the tab and set the filters for the report.
For information on using the filtering capabilities of File Reporter, refer to Section A.0, Filtering.
-
Click .
-
Generate the report as either a Preview report or a Stored report.
For procedures on generating a Preview report, see Generating a Preview Report.
For procedures on generating a Stored report, see Generating a Stored Report.
6.7.7 Generating a Date-Age Report
The Date-Age report presents file count data according to when files were created, last accessed, or last modified. You can use this report to help you determine which files have not been accessed for a given amount of time and then decide whether to delete, archive, or move those files to less expensive storage.
-
Select > .
-
Click .
-
In the field, specify a descriptive name of the report definition.
-
Select the option and click .

-
In the drop-down menu, select an option.
Create Time: Reports when files were created.
Modify Time: Reports when files were last modified.
Access Time: Reports when files were last accessed.
-
In the drop-down menu, select an option.
Year: Groups the file count in the report according to the year they were created, last modified, or last accessed.
Month: Groups the file count in the report according to the month they were created, last modified, or last accessed.
Day: Groups the file count in the report according to the calendar date they were created, last modified, or last accessed.
-
Browse to and specify the file paths you want included in the report and click .
-
(Optional) Click the tab and set the filters for the report.
For information on using the filtering capabilities of File Reporter, refer to Section A.0, Filtering.
-
Click .
-
Generate the report as either a Preview report or a Stored report.
For procedures on generating a Preview report, see Generating a Preview Report.
For procedures on generating a Stored report, see Generating a Stored Report.
-
(Optional) Generate a Detailed report by clicking a specific year, month, or date in the report.
Unlike the original Date-Age report that lists the data by file count, the generated Detailed report lists individual files.
6.7.8 Generating a Detailed Date-Age Report
A Detailed Date-Age report is similar to a standard Date-Age report, except you can specify the exact create, modify, or access date parameters.
-
Select > .
-
Click .
-
In the field, specify a descriptive name of the report definition.
-
Select the option and click .

-
In the drop-down menu, select an option.
Create Time: Reports when files were created.
Modify Time: Reports when files were last modified.
Access Time: Reports when files were last accessed.
-
In the drop-down menu, select an option.
Year: Groups the file count in the report according to the year they were created, last modified, or last accessed.
Month: Groups the file count in the report according to the month they were created, last modified, or last accessed.
Day: Groups the file count in the report according to the calendar date they were created, last modified, or last accessed.
-
In the field, specify the dates you want.
This indicates that only the files created, last modified, or last accessed on those dates will be included in the report.
-
Browse to and specify the file paths you want included in the report and click .
-
(Optional) Click the tab and set the filters for the report.
For information on using the filtering capabilities of File Reporter, refer to Section A.0, Filtering.
-
Click .
-
Generate the report as either a Preview report or a Stored report.
For procedures on generating a Preview report, see Generating a Preview Report.
For procedures on generating a Stored report, see Generating a Stored Report.