6.10 Custom Query Reports
Custom Query Reports are reports that are generated through a series of SQL commands that you enter. These commands enable you to generate very specific detail in reports that are not available through the built-in report types in File Reporter.
The SQL commands must be specific to the database (Microsoft SQL Server or PostgreSQL) that your deployment of File Reporter is utilizing.
NOTE:For details and examples of the supported database functions, tables, and views that you can utilize in Custom Query reports, refer to the Micro Focus File Reporter 3.6 Database Schema and Custom Queries Guide.
SQL commands are entered through report editors available from the File Reporter browser-based administrative interface and from the Report Designer client tool.
IMPORTANT:Prior to the release of version 3.0, File Reporter supported the active_fs_scandata view, which was then deprecated, but not removed. That view has now been removed to support File Reporter’s current and previous naming parameters. If you have existing Custom Query reports that include the active_fs_scandata view, you will need to replace each instance with current_fs_scandata.
NOTE:For details on using the report editor in the Report Designer, see Section 11.3, Designing a Custom Query Report.
HINT:Don't forget to utilize File Query Cookbook as a resource for obtaining SQL commands and sample report layouts that have been submitted by the File Reporter community. Both the SQL commands and report layouts can be customized as needed.You can access the File Query Cookbook directly through the Report Designer interface, or at http://www.filequerycookbook.com.
-
Select > .
-
Click .
-
In the field, specify a descriptive name for the report definition.
-
Select .
-
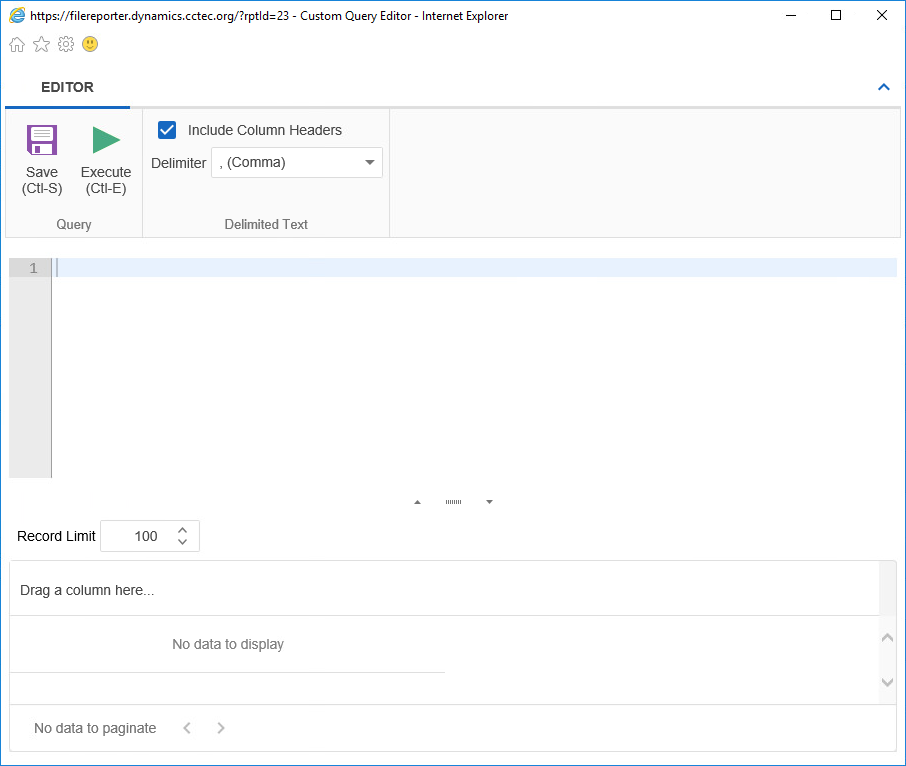
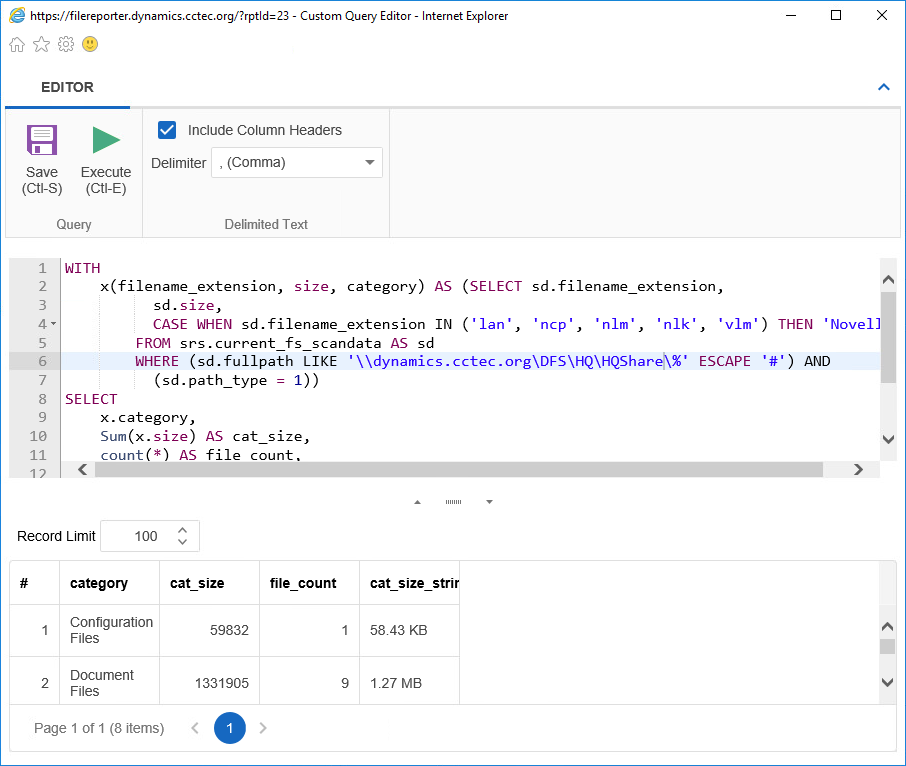
Enter the SQL commands according to what information you want included in your report.
As you enter commands, you can click to get a preview in the bottom portion of the editor of how the report will appear.
The setting does not limit the size of the report. Instead, it limits the how much can be previewed.
-
When you are satisfied with the report and the previewed results, click .
-
Close the Custom Query Report Editor.
-
Select > .
-
Select the Custom Query Report you just saved and generate the report as either a Preview report or a Stored report.
For procedures on generating a Preview report, see Generating a Preview Report.
For procedures on generating a Stored report, see Generating a Stored Report.