6.11 Custom Query Reports
Custom Query Reports are reports that are generated through a series of SQL commands that you enter. These commands enable you to generate very specific detail in reports that are not available through the built-in report types in File Reporter.
The SQL commands must be specific to the database (Microsoft SQL Server or PostgreSQL) that your deployment of File Reporter is utilizing.
NOTE:For details and examples of the supported database functions, tables, and views that you can utilize in Custom Query reports, refer to the Micro Focus File Reporter 4.0 Database Schema and Custom Queries Guide.
SQL commands are entered through report editors available from the File Reporter browser-based administrative interface and from the Report Designer client tool.
NOTE:For details on using the report editor in the Report Designer, see Section 11.3, Designing a Custom Query Report.
HINT:Don't forget to utilize File Query Cookbook as a resource for obtaining SQL commands and sample report layouts that have been submitted by the File Reporter community. Both the SQL commands and report layouts can be customized as needed. You can access the File Query Cookbook directly through the Report Designer interface, or at https://www.filequerycookbook.com.
-
Select > .
-
Click .
-
In the field, specify a descriptive name for the report definition.
-
Select .
-
Click .
-
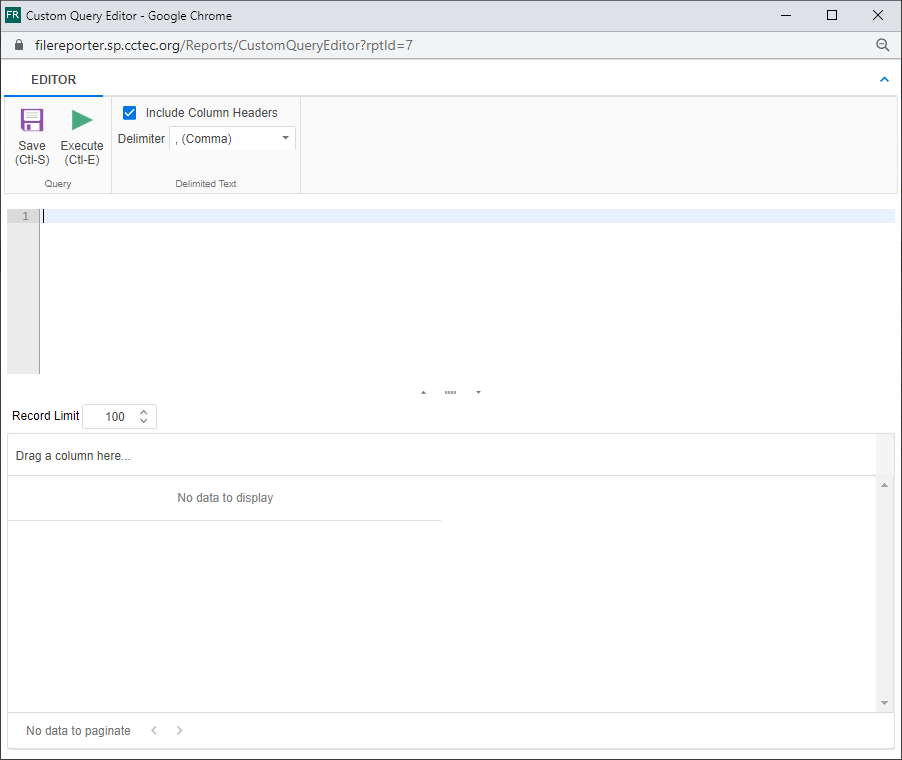
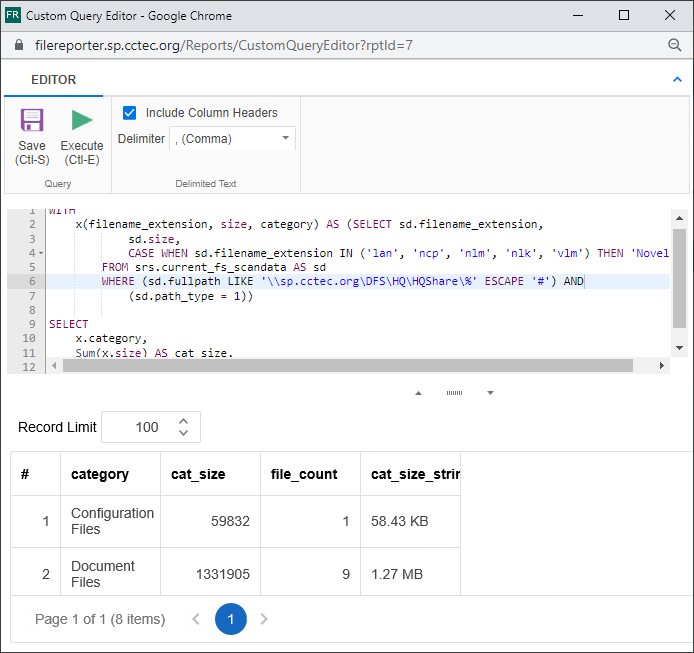
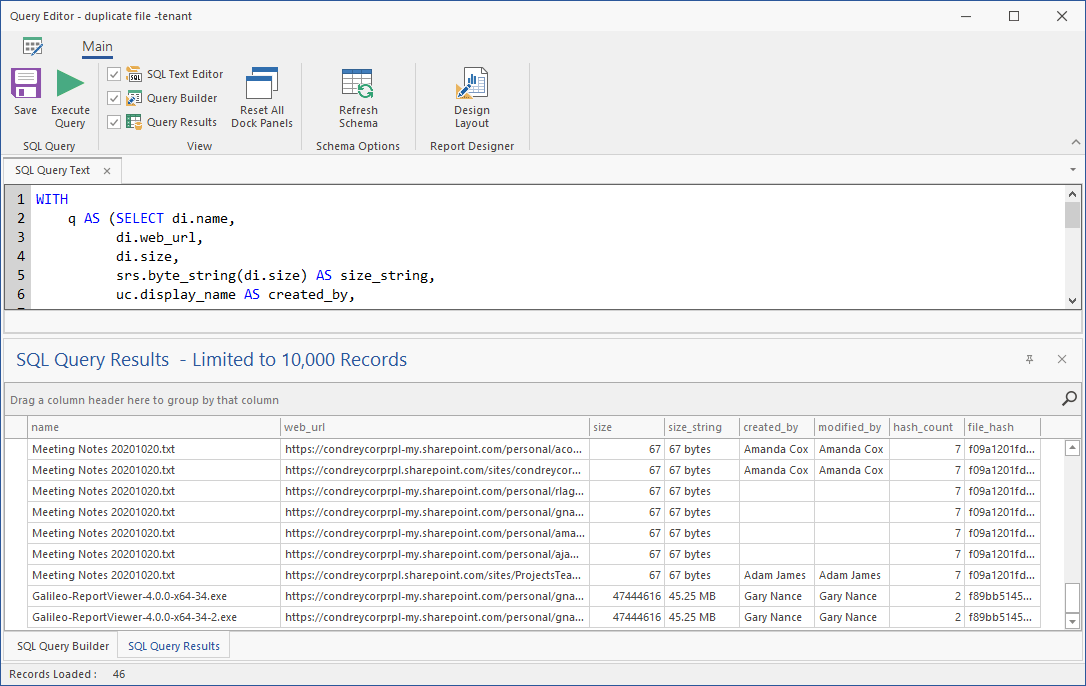
Enter the SQL commands according to what information you want included in your report.
As you enter commands, you can click to get a preview in the bottom portion of the editor of how the report will appear.
The setting does not limit the size of the report. Instead, it limits how much can be previewed.
-
When you are satisfied with the report and the previewed results, click .
-
Close the Custom Query Report Editor.
-
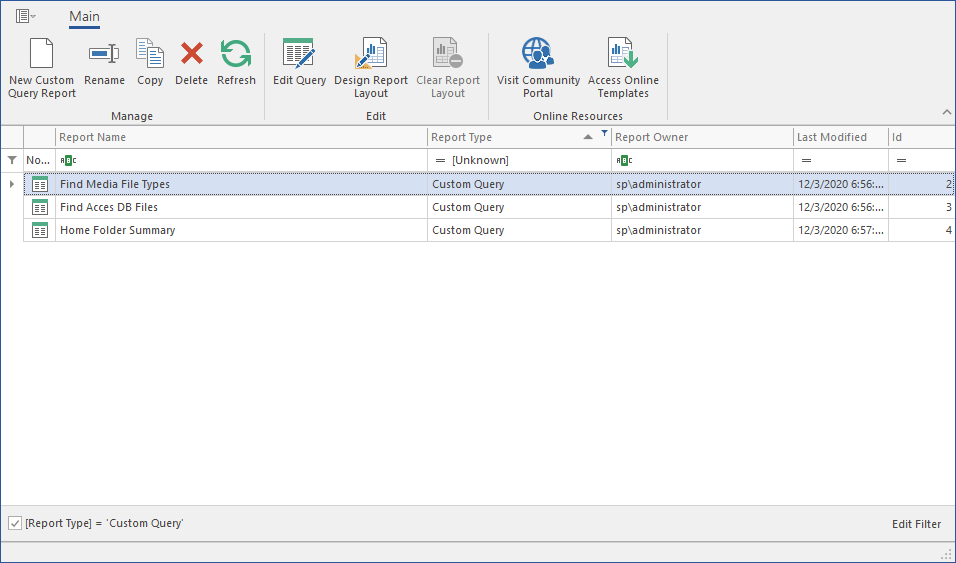
Select > .
-
Select the Custom Query Report you just saved and generate the report as either a Preview report or a Stored report.
For procedures on generating a Preview report, see Generating a Preview Report.
For procedures on generating a Stored report, see Generating a Stored Report.
6.11.1 Generating a Content Hashed Duplicate File Report
A Content Hashed Duplicate File report provides more advanced duplicate file detection over the Duplicate File built-in report which compares only filenames and metadata.
With the introduction of File Reporter 4.0, a new scanning option allows for Agents to produce a content based hash for specific files. These hashes can then be compared to identify duplicate files.
NOTE:For information on the content based hashing option, see Section 5.4, Creating Scan Policies.
Through filequerycookbook, you can copy and paste the Content Hashed Duplicate File Report custom query into the Query Editor and export a report layout into the Report Designer. This custom query and associated report identifies duplicate files based on hash comparisons and the parameters you set.
Prerequisites
-
Create a file system scan policy for each of the target paths on which you want to report.
-
With the option selected in the Scan Policy Editor of each scan policy, conduct a file system scan on each target path.
-
Install the Client Tools.
The Client Tools include the Query Editor and the Report Designer that will be used in these procedures.
-
Decide how you want the report to be generated and follow the applicable procedures.
-
To generate a .CSV file that you can take into Microsoft Excel for customized searching and presentations or to import as a workload file in the File Dynamics Data Owner Client, you can copy or create an SQL query either with the browser based query editor covered in Using the Query Editor, or with the query editor in the Report Designer covered in Using the Report Designer.
-
To generate the report using the Report Designer and export the report as either a .PDF, .HTML, .MHT, .RTF, .DOCX, .XLS, .XLSX, .CSV, Text, or Image file, proceed with Using the Report Designer
Both the Query Editor and the Report Designer options provide the ability to generate a .CSV file, but for efficiency and capabilities, Micro Focus recommends that .CSV files be generated using the Query Editor option.
-
Using the Query Editor
-
Select > .
-
Click .
-
In the field, specify a descriptive name for the report definition.
-
Select .
-
Using File Query Cookbook located at https://www.filequerycookbook.com, locate and download the “Content Hashed Duplicate File Report.”
The file is saved as zipped file.
-
Unzip the downloaded file and open it in a text editor such as Notepad++.
-
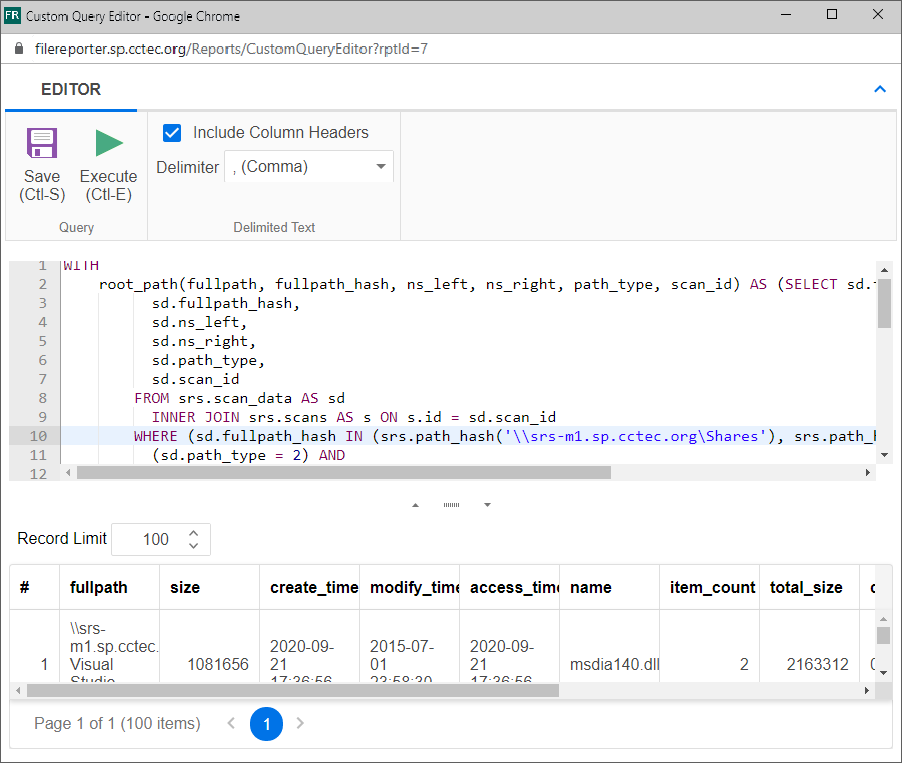
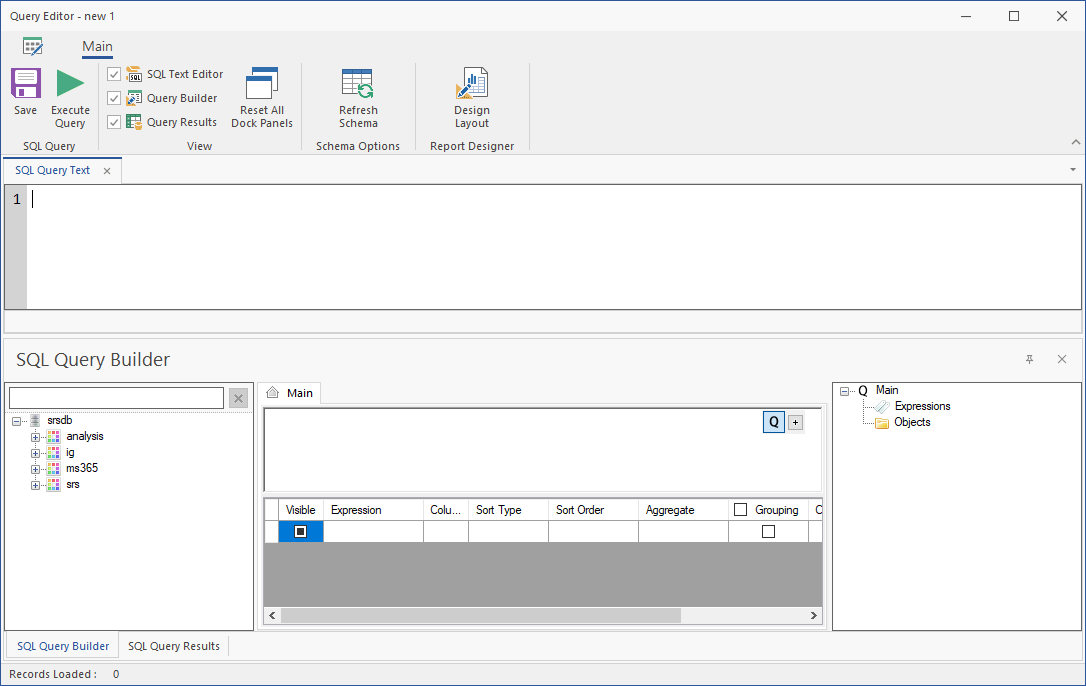
From the text editor, copy the custom query and past it into the Query Editor.
-
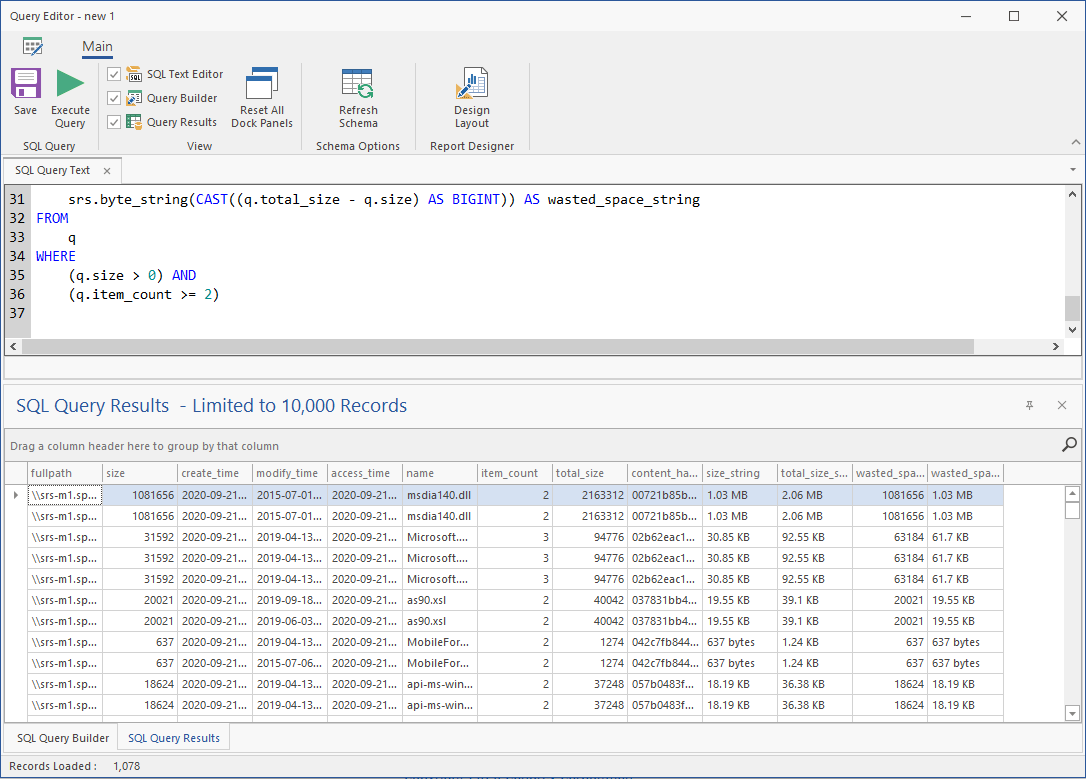
In the line beginning with WHERE, edit the UNC paths so that they are specific to the content file hashed shares on which you want to report.
The custom query only includes two paths so if you want more, extend the line to include more paths by adding srs.path_hash('\\server\share\path') to the comma delimited sd.fullpath_hash IN portion of the where clause for each desired path.
-
(Conditional) At the bottom of the custom query, modify the q.item_count and q.size settings to the minimum number of duplicates and file sizes (in bytes), respectively, to include in the report.
-
Click to get a preview in the bottom portion of the editor of how the report will appear.
-
When you are satisfied with the report and the previewed results, click .
-
Close the Custom Query Report Editor.
-
Select > .
-
Select the Custom Query Report you just saved and generate the report as a Stored report.
For procedures on generating a Stored report, see Generating a Stored Report.
-
From the menu, select .
-
Click the download icon associated with the new report.
-
Save the report to a desired location.
From here you can open the .CSV file into Microsoft Excel and sort through the report data as desired. If you have Micro Focus File Dynamics, you can import the .CSV file as a workload.
Using the Report Designer
This option lets you utilize both the custom query and the associated report layout design for the “Content Hashed Duplicate File Report” from filequerycookbook.com.
NOTE:A detailed discussion of the Report Designer, along with procedures for familiarizing yourself with the interface are available in Section 11.0, Using Report Designer.
-
Using File Query Cookbook located at https://www.filequerycookbook.com, locate and download the “Content Hashed Duplicate File Report.”
The file is saved as zipped file.
-
Unzip the downloaded file and open the .SQL file in a text editor such as Notepad++.
You will eventually paste this custom query into the Query Editor.
-
From the menu, launch the .
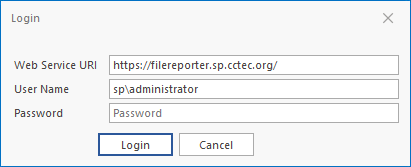
-
Enter the login credentials and click .
All of your saved Custom Query reports are listed.
-
Click , give it a name, then click .
The Report Designer Query Editor is launched.
-
From the text editor you used in Step 2, copy the custom query and past it into the Query Editor.
-
In the line beginning with WHERE, edit the UNC paths so that they are specific to the content file hashed shares on which you want to report.
The custom query only includes two paths so if you want more, extend the line to include more paths by adding srs.path_hash('\\server\share\path') to the comma delimited sd.fullpath_hash IN portion of the where clause for each desired path.
-
(Conditional) At the bottom of the custom query, modify the q.item_count and q.size settings to the minimum number of duplicates and file sizes (in bytes), respectively, to include in the report.
-
Click to get a preview in the bottom portion of the editor of how the report will appear.
-
Click .
-
Click .
-
Click .
-
Locate the .REPX file that you saved and unzipped in Step 2 and click .
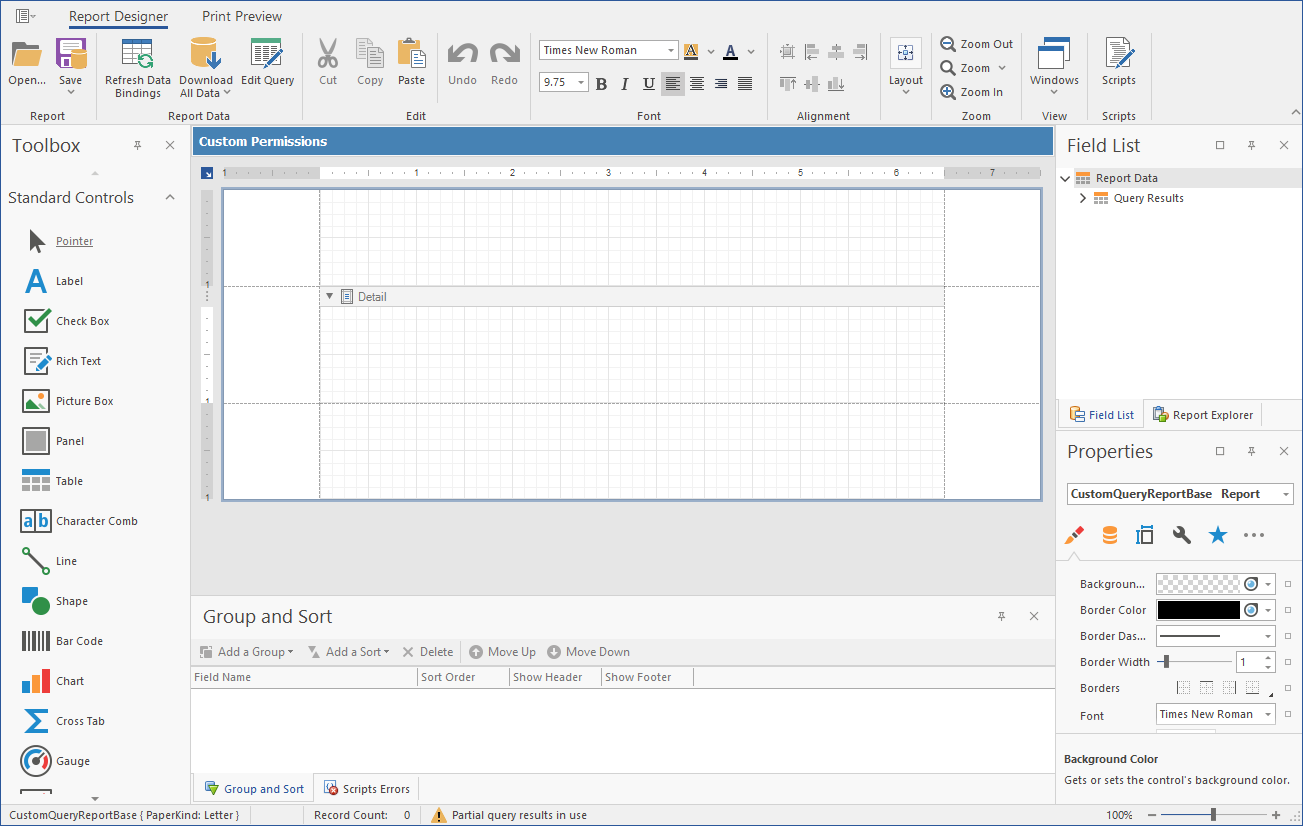
The layout template appears in the Report Designer.
-
Click .
-
In the subsequent dialog box, click .
This runs the query in the database and loads data into the report template.
-
Click to review the report findings.
Note how the hashes are listed with a total number for each and the location of each, meaning the total number of duplicate files and their locations.
-
Save the report by doing one of the following:
-
From the drop-down menu, select the file type you want to save the report layout to.
-
Click to save the report as a .PRNX file that you can open in the Report Viewer and if you want later, export the report to the desired file type.
-
6.11.2 Generating Microsoft 365 Reports
Once Agent365 has scanned the data and associated permissions for Microsoft 365 file repositories, including OneDrive for Business, SharePoint Online document libraries, and Teams document libraries, you can use the pre-built custom queries and associated report layouts in filequerycookbook.com to generate reports.
Prerequisites
-
Install and configure Agent365.
-
Scan the tenant.
For procedures, see Section 5.18, Scanning Your Microsoft 365 Tenant.
-
Install the Client Tools.
The Client Tools include the Query Editor and the Report Designer that will be used in these procedures.
-
Using File Query Cookbook located at https://www.filequerycookbook.com, locate and download one of the custom queries and associated reports for Microsoft 365.
The file is saved as zipped file.
-
Unzip the downloaded file and open the .SQL file in a text editor such as Notepad++.
You will eventually paste this custom query into the Query Editor.
-
From the menu, launch the .
-
Enter the login credentials and click .
All of your saved Custom Query reports are listed.
-
Click , give it a name, then click .
The Report Designer Query Editor is launched.
-
From the text editor you used in Step 2, copy the custom query and past it into the Query Editor.
-
(Conditional) If there are target paths or other modifications that need to be made for your environment, follow the procedures for the “recipe.”
-
Click to get a preview in the bottom portion of the editor of how the report will appear.
-
Click .
-
Click .
-
Click .
-
Locate the .REPX file that you saved and unzipped in Step 2 and click .
The layout template appears in the Report Designer.
-
Click .
-
In the subsequent dialog box, click .
This runs the query in the database and loads data into the report template.
-
Click to review the report findings.
-
Save the report by doing one of the following:
-
From the drop-down menu, select the file type you want to save the report layout to.
-
Click to save the report as a .PNRX file that you can open in the Report Viewer and if you want later, export the report to the desired file type.
-