4.4 Configuring a GroupWise Server
During installation, basic GroupWise configuration information is imported into GroupWise Mobile Server.
4.4.1 Viewing Initial Configuration Information
-
In the Admin Console, expand .
-
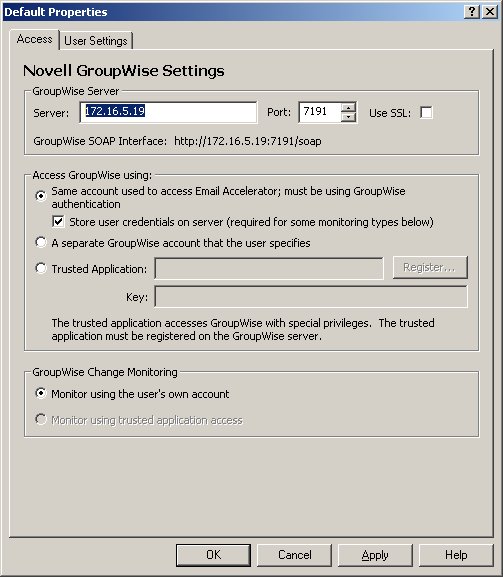
Right-click , then click to display the Access page.
The steps in this procedure guide you through creating the default profile for GroupWise. If you have groups of users that you want to have settings different from the default, you can repeat this procedure multiple times, as described in Section 4.4.4, Creating Multiple Profiles.
-
Change access settings as needed.
-
Click to save the access settings for the default profile, then continue with Configuring User Options.
4.4.2 Configuring User Options
-
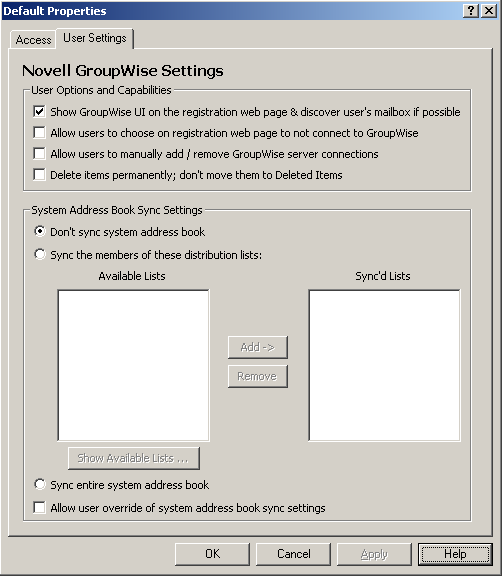
Continuing under , click the tab.
-
In the box, select the first three options, then click to save the user options for the default profile.
-
Continue with Configuring GroupWise Address Book Synchronization.
4.4.3 Configuring GroupWise Address Book Synchronization
After setting the user options:
-
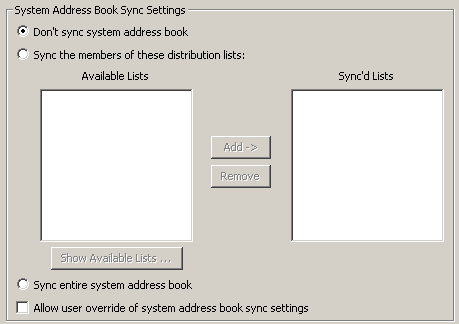
In the box on the tab, select how you want to synchronize the GroupWise Address Book to the GroupWise Mobile Server Web PIM, where users select the GroupWise PIM data that will be synchronized to their mobile devices.
NOTE:In GroupWise Mobile Server, the GroupWise Address Book is referred to as the “system address book” or the “global address list”.
-
If you do not to synchronize the full GroupWise Address Book to the Web PIM, select .
In the Web PIM, users can still select the personal address book to which their Contacts folder is mapped. Typically, this is the Frequent Contacts address book. Users can map a different address book to the Contacts folder if they would prefer a different personal address book rather than the Frequent Contacts address book. For more information, see Section 6.3, Using the Web PIM to Configure Device Synchronization Settings.
-
If you have selected or created GroupWise distribution lists that contain subsets of the GroupWise Address Book, as described in Section 2.4, Using Distribution Lists for Address Book Synchronization, complete the following steps:
-
Select .
-
Click .
-
Specify a valid GroupWise username and password so that GroupWise Mobile Server can log into the post office and retrieve a list of available distribution lists.
-
Select distribution lists in the , then click to move them to the .
The selected GroupWise distribution lists will be synchronized to the Web PIM
-
-
If you want to synchronize the full GroupWise Address Book to the Web PIM, select .
-
If you want users to be able to override your synchronization setting when they use the Web PIM, select .
-
Click to save the address book synchronization settings for the default profile.
-
If you want all users to use the default profile, skip to Section 4.5, Completing the GroupWise Mobile Server Installation
or
If you want to create multiple customized profiles, so that different users can have different settings, continue with Creating Multiple Profiles
or
If you have just created a custom profile, return to Step 4 in Creating Multiple Profiles.
4.4.4 Creating Multiple Profiles
After creating the default profile:
-
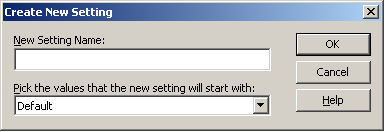
Under , right-click , then click .
-
In the field, specify a meaningful name for the customized profile, then click .
This can be any name you want. For example, if you want them to access a different POA, you might want to include the name of the post office that the POA services.
-
Return to Step 3 in Section 4.4.1, Viewing Initial Configuration Information to create the profile of customized settings, then return to this point.
-
To assign the customized profile to selected users or a specified group of users:
-
Expand .
-
Click or , then select the users or groups that you want to assign the profile to.
-
Right-click the selected users or groups, then click .
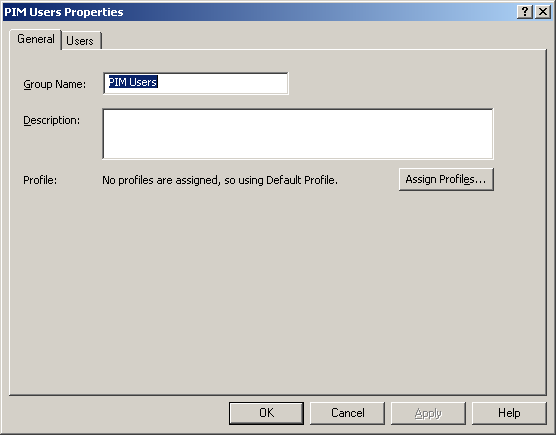
This example shows the properties of a group.
-
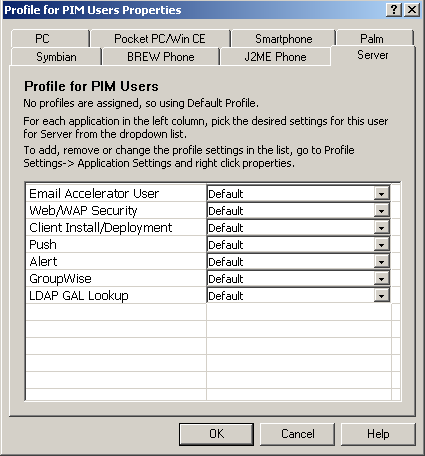
Click , then click the tab.
-
In the drop-down list, select the customized profile that you just created, then click to assign that profile to the selected group.
-
Repeat Step 4.b through Step 4.e to assign other custom profiles to other users and groups.
-