6.3 Using the Web PIM to Configure Device Synchronization Settings
-
Log in to the Web PIM again.
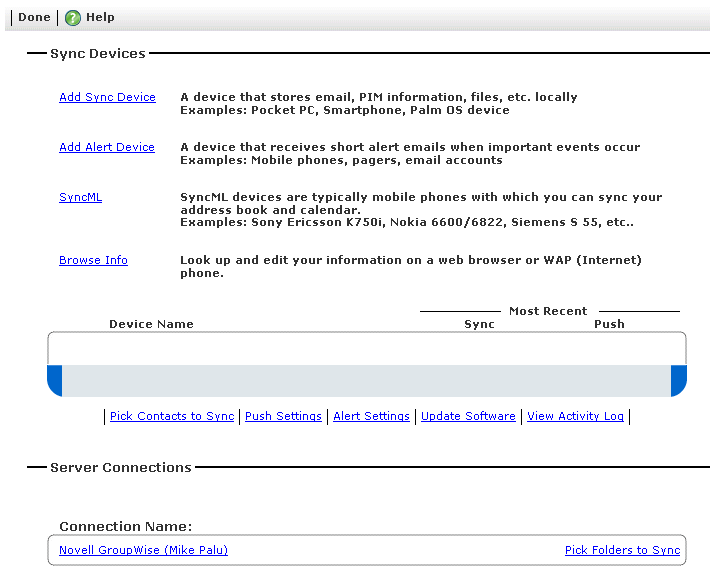
After the initial use, the Web PIM immediately displays the Sync Devices page.
-
To select personal address books to synchronize, click the link, select options as desired, click , then click to return to the Settings page.
The GroupWise Address Book or its subsets are made available by the GroupWise administrator, as described in Section 3.5.4, Configuring GroupWise Address Book Synchronization on Linux or Section 4.4.3, Configuring GroupWise Address Book Synchronization on Windows. Additional personal address books are available to users in the Web PIM.
-
To select folders in your mailbox to sync, click the link, select the folders you want on your mobile device, click , then click to return to the Settings page.
-
To select personal Push settings for automatically synchronizing selected GroupWise item types on a specified schedule, click the link, select options as desired, click , then click to return to the Settings page.
The default Push settings are configured by the GroupWise administrator, as described in Section 3.8.5, Configuring SMS Push on Linux or Section 4.7.4, Configuring SMS Push on Windows.
-
Select other personal settings as desired.
-
Click , then click .
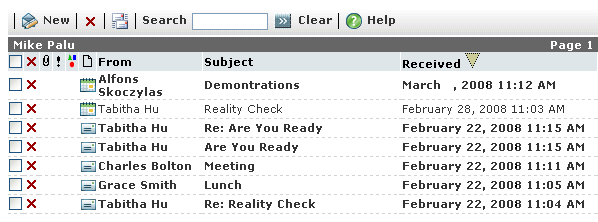
This displays what has synchronized from your GroupWise mailbox to GroupWise Mobile Server. When you provision your mobile device, GroupWise Mobile Server downloads this GroupWise data to your device.
-
Review the GroupWise PIM data to see if it is what you want to synchronize to your mobile device, then click .
GroupWise Mobile Server now synchronizes the PIM data to your mobile device.