3.2 Sending and Receiving Items
This section contains the following topics:
3.2.1 Sending Mail Messages
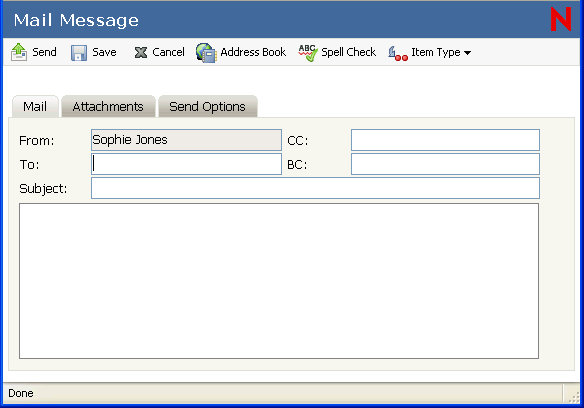
A mail message has a primary recipient, subject line, and can be carbon copied and blind copied to other users. You can also attach files, sounds, movies, and OLE objects to your mail messages.
CC (Carbon Copy)
Carbon copy recipients (CC) receive a copy of an item. CC recipients are users who would benefit from the information in an item, but are not affected by or directly responsible for it. All recipients can see that a carbon copy was sent. They can also see the names of the CC recipients.
BC (Blind Copy)
Blind copy recipients (BC) receive a copy of an item. Other recipients receive no information about blind copies. Only the sender and the blind copy recipient know that a blind copy was sent. If a recipient replies and chooses Reply to All, the blind copy recipient does not receive the reply.
-
Click on the toolbar.
You can select a different mail view by clicking the down-arrow in
 .
.
A blank Mail Message window displays by default (or you can click on the toolbar).
-
In the field, type a username, then press Enter. Repeat for additional users. If necessary, type usernames in the and fields.
or
To select usernames from a list, click on the toolbar, search for each user’s name, double-click or select each user, then click .
-
Type a subject.
-
Type a message.
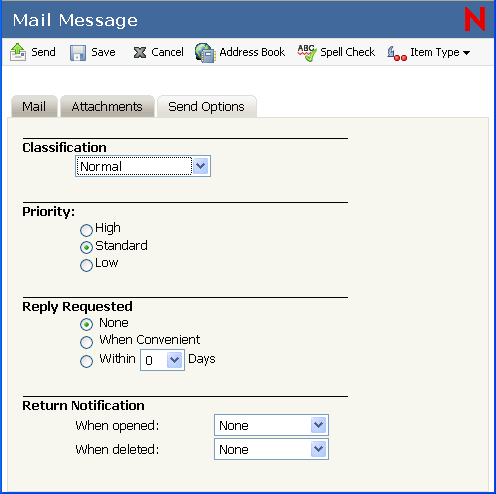
You can specify many options, such as making this message a high priority, requesting a reply from recipients, and more, by clicking the tab.
-
Include any attachments by clicking the Attachments tab.
-
(Optional) Add a signature by clicking the tab.
-
Click on the toolbar.
3.2.2 Sending Phone Messages
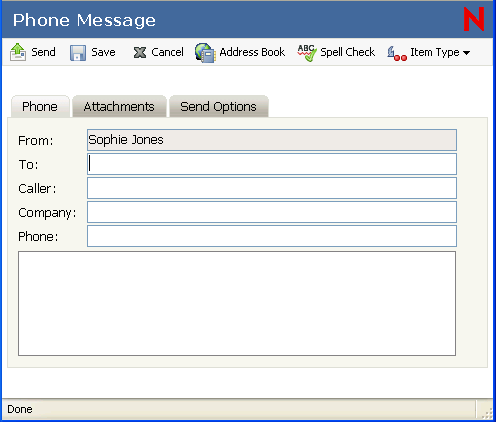
A phone message is a note you can send to notify other GroupWise users of calls they received while they were out of the office or unavailable. Phone messages are stored in the recipient's Mailbox. You cannot answer your phone from a phone message.
-
Click > .
-
In the field, type a username, then press Enter. Repeat for additional users.
or
To select usernames from a list, click on the toolbar, double-click each user, then click .
-
Type the name, company, and phone number of the caller.
-
Type the message in the field.
-
(Optional) Add a signature by clicking the tab.
For more information, see Section 3.2.3, Adding A Signature to Items You Send.
-
Click on the toolbar.
3.2.3 Adding A Signature to Items You Send
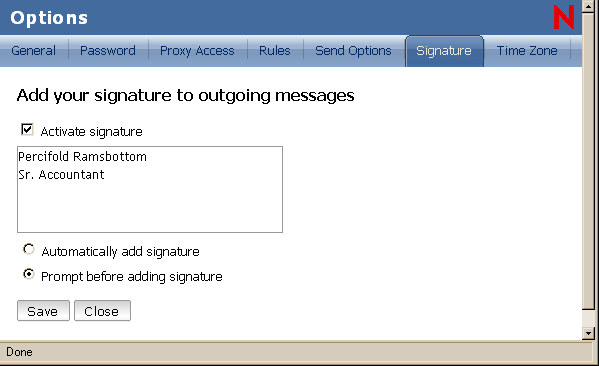
Use Signatures to insert a signature or tagline at the end of items you send. For example, you can have GroupWise automatically list your name, phone number, and e-mail address at the bottom of every item you send.
In addition to personal signatures, your system administrator can create a global signature for everyone to use. If the system administrator requires the global signature, it is automatically appended to all items that are sent. If the system administrator does not require the global signature, it is appended to your signature if you already use an existing signature. If you don't have a signature, the global signature is not added to sent items if it is not required. When you resend an item, the global signature is not automatically added to the message.
-
In the GroupWise WebAccess main window, click the icon.
-
Click .
-
Click
-
Type your signature text in the box.
-
Click to have GroupWise WebAccess automatically add the signature when you send the item.
or
Click to have GroupWise WebAccess prompt you to add the signature when you send the item.
-
Click .
When you create a signature, GroupWise WebAccess stores it in your GroupWise Mailbox at your post office. The GroupWise Linux and WebAccess clients share the same text signature, while the GroupWise Windows client stores signatures in HTML format and allows multiple signatures to be stored.
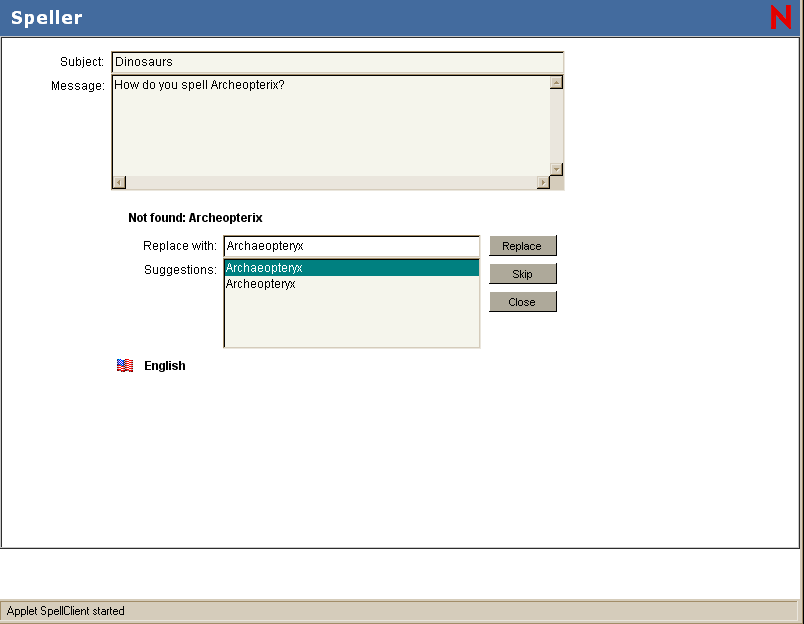
3.2.4 Using Spell Checker
Spell Checker lets you check for misspelled words in the messages you create. It checks for misspelled words, duplicate words, and irregular capitalization in items you are creating.
The WebAccess Spell Checker is a Java applet, so your browser must be enabled for Java in order to use it.
When Spell Checker finds a misspelled word, you can replace it with a word Spell Checker suggests, edit the word manually, or skip the word.
-
In a message you are creating, click
-
When Spell Checker stops on a word, click any of the available options, or edit the word manually.
You can choose from the following options:
Replace: Replaces a misspelled word with a word Spell Checker suggests. To replace a misspelled word, double-click the word or click the word, then click . To make your own corrections, edit the word in the field, then click .
Skip: Skips the word one time. Spell Checker stops the next time it encounters the word.
Sometimes Spell Checker offers no replacement words. If this happens, click or edit the text manually in the field.
The WebAccess dictionary and word lists cannot be modified.
-
When there are no more words to check, click .
3.2.5 Undoing the Last Text Action
You can undo the last text action in the Subject or Message field of a message you are composing.
-
Press Ctrl+Z.