2.9 Specifying Locales and Localization Resource Groups
You can use Designer to define:
-
The User Application driver’s default locale. It is the locale used to display content when a match for the user’s locale cannot be found.
-
The locales supported by the User Application driver.
-
Custom localization resource groups for specialized field localization.
NOTE:The ability to specify locales and localization resource groups is only available for User Application drivers for Version 3.5.1 (and higher).
To specify the User Application driver’s default locale:
-
Right-click the User Application driver in the Provisioning View, then select .
-
Select the locale from the drop-down list box, then click . If you do not see the locale in the list, you must add it through the Locales dialog box.
To define the User Application driver’s supported locales:
-
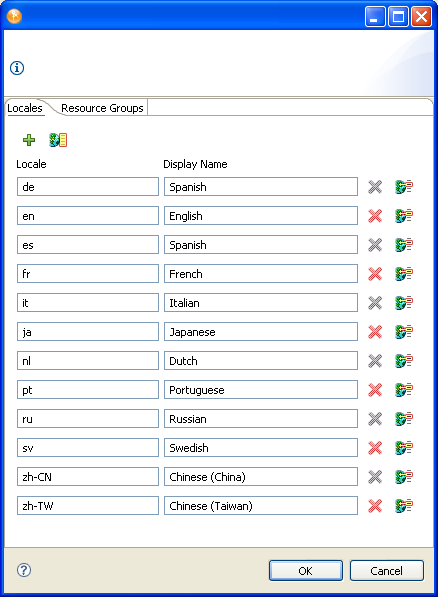
Right-click the User Application driver in the Provisioning view, then select . Designer displays the Supported Locales dialog box.
-
Fill in the fields as follows:
Button
Description

Lets you add a new locale to the list of locales supported by the User Application driver. When you click the button, Designer prompts you for the Language and Country. You can either select them or type a value. The Language is required and displays as the locale. The country is not required.

Deletes the selected Locale from the supported list. Any files for the selected locale are not deleted.

Lets you localize all supported locales in one dialog box. When you click the button, it launches this dialog box:
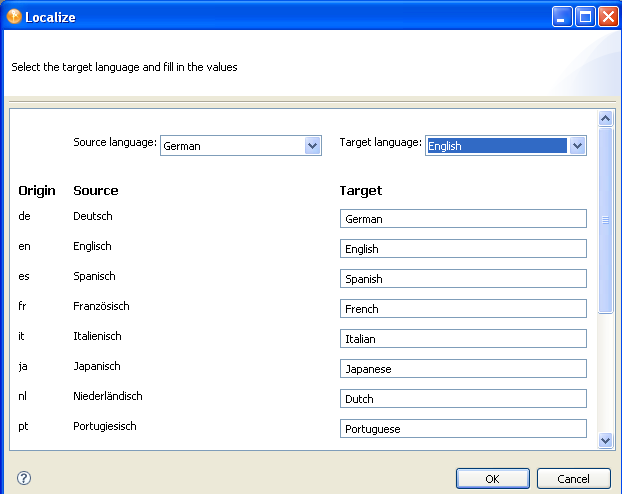
You can select the source language from which you want to translate the names of the supported locales. Select the target language into which you want to translate the names of the supported locales. Type the translation in the Target field.

Lets you localize the display labels for the selected locale. This is the same procedure described in Section 2.10, Localizing Display Labels.
-
Click .
To create a custom localization resource group:
-
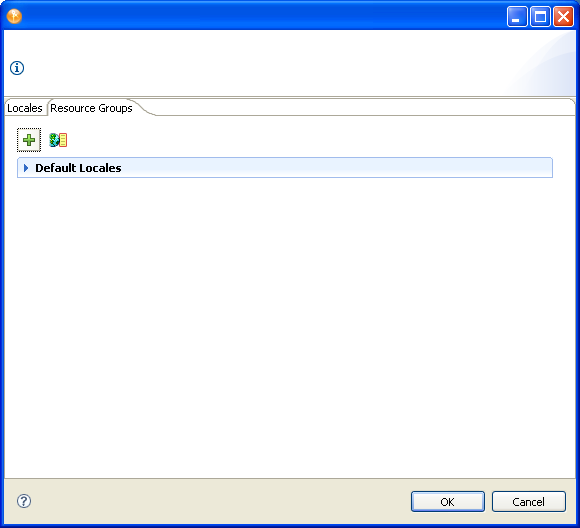
Right-click the User Application driver in the Provisioning view, then select . Go to the tab.
-
Click
.
-
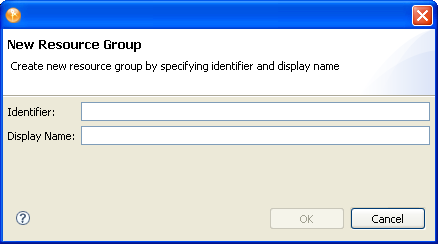
Complete the fields as follows:
-
Click . The Resource Groups property dialog box displays:
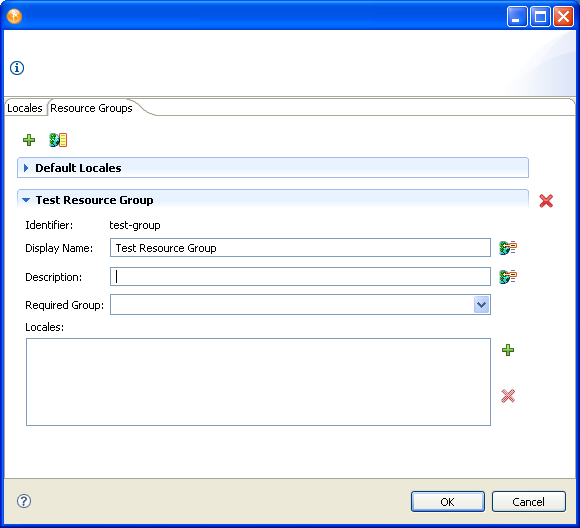
-
Complete the fields as follows: