7.2 Adding Activities to a Workflow
-
Click the tab. A graphical representation of the workflow for the provisioning request definition is displayed:
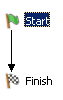
Because every workflow must have a Start activity and Finish activity, these activities are added to the canvas automatically. The Start Activity is connected to the Finish Activity with a forward link.
-
To add an activity to the workflow, click the icon for the desired activity in the palette and drag the icon onto the workspace.
You can insert an activity between activities that are linked by a flow path by dropping the activity onto the flow path. For information about defining flow paths between activities, see Section 7.3, Adding Flow Paths. After you have added an activity to the workflow, you should set the properties of the activity (see Section 7.2.1, Setting the General Properties of an Activity). For detailed information about configuring the different types of activities, see Section 8.0, Workflow Activity Reference and Section 9.0, Working with Integration Activities.
7.2.1 Setting the General Properties of an Activity
-
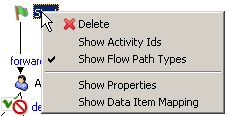
Right-click the activity icon for which you want to set properties and select from the menu.
HINT:You can also display the tab by selecting from the menu.
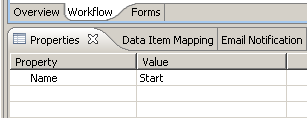
The Properties view is displayed:
-
Click in the column for a property to set the property. For information about the properties for each activity, see Section 8.0, Workflow Activity Reference.
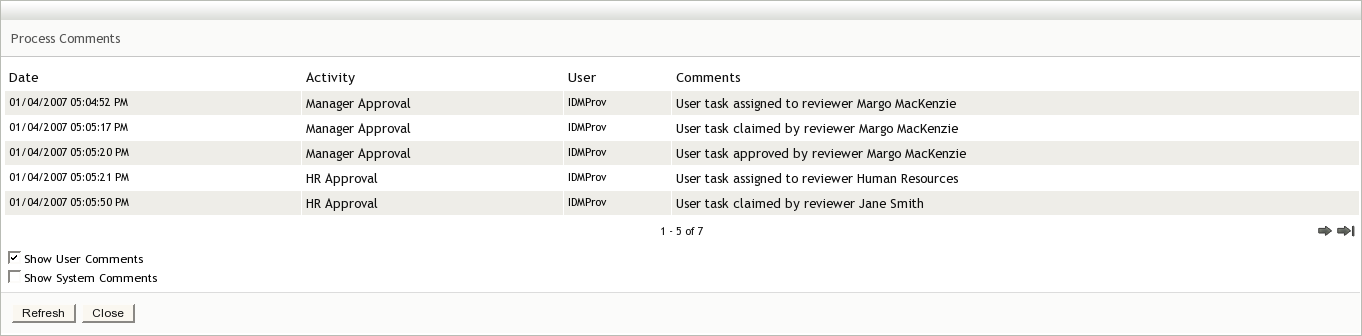
Each activity has a default name. We strongly recommend that you replace the default names of activities with names that describe the specific purpose of the activity in the workflow. This makes it easier to understand the workflow when you look at the graphical display of the workflow. It also makes comments displayed in the User Application easier to understand. For example, the following figures show comments in the User Application using default IDs and descriptive IDs.
Figure 7-5 Activities in User Comments Using Default Names
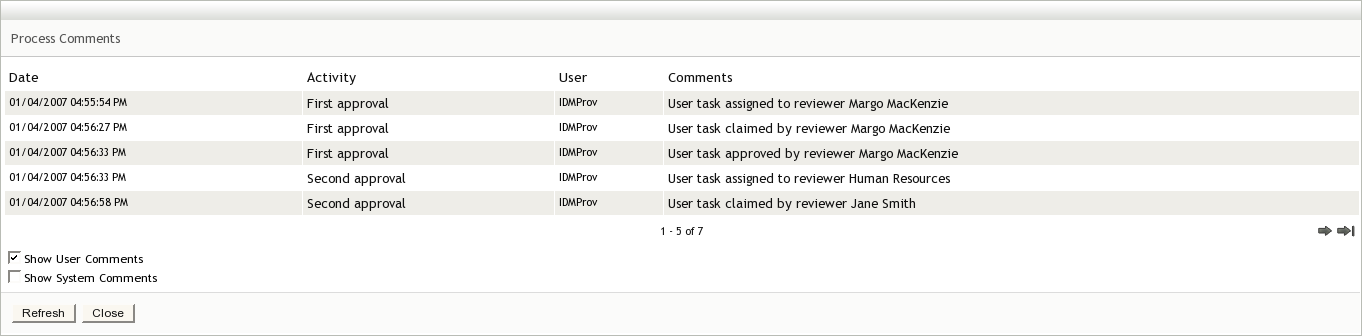
Figure 7-6 Activities in User Comments Using Descriptive Names
7.2.2 Defining the Data Item Mappings
You use the Data Item Mapping view to map data from the data flow into fields in a form (pre-activity mapping) and to map data from the form back to the data flow (post-activity mapping).
-
Right-click the activity icon for which you want to set properties and select from the menu.
HINT:You can also display the tab by selecting from the menu.
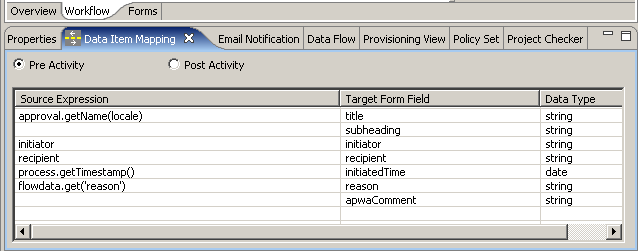
The Data Item Mapping view is displayed:
-
For pre-activity mapping, click in the field for the item that you want to map, then specify an expression. For post-activity mapping, click in the field for the item that you want to map, then specify an expression.
Pre-activity maps can be used for
-
Initializing form control values.
-
Setting default values for form controls.
-
Populating complex form controls with data lists derived from LDAP Queries.
-
Passing data from form controls of a previous activity to a form control in the current activity.
-
Calling external Java classes to process data.
Post-activity maps can be used for
-
Creating new data items in flowdata.
-
Moving form control data from an activity into flowdata.
-
Calling external Java classes to process data.
For detailed information about data item mapping for the different types of activities, see Section 8.0, Workflow Activity Reference.
The Start Activity can have hard-coded strings, system variables like process locale and recipient, and Identity Vault expressions (created using the ECMA expression builder VDX Expr Panel) in pre-activity maps.
Leave the Source Expression blank in pre-activity maps for form fields that the user is expected to fill in. Alternatively, create a source expression to supply a default value for form fields that the user is expected to fill in. In either case the form field needs to be defined as editable. See Section 6.5.2, General Form Control Properties for information about setting the properties of form fields.
-
7.2.3 Defining the E-Mail Notification Settings
You use the view to select an e-mail template, and to specify expressions to provide values for named parameters included in the e-mail template. E-mails are sent when a new Approval activity starts (to notify the approver that they have work to do) and when the Finish activity completes (to notify the initiator that the workflow is done).
-
Right-click the activity icon for which you want to set properties and select from the menu.
HINT:You can also display the tab by selecting from the menu.
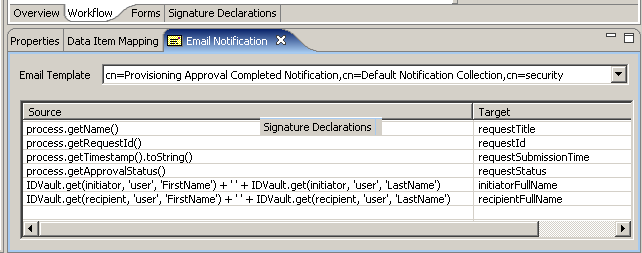
The view is displayed:
-
Click the field, then select an e-mail template from the list of defined templates.
Editing an e-mail template: You can edit an e-mail template in Designer. To do this, select an Identity Vault in the , then scroll to in the . Right-click a template, then select .
Localized e-mail templates By default, Designer displays the default e-mail notification templates. When you select a default template, the e-mail is in the user’s default language (if the default is a supported language). You can set the preference to True so that Designer also allows you to select from the list of localized e-mail templates. The localized templates have the same name as the default, but the Java language code is appended to the name of the e-mail template. For example, cn=Provisioning Notification Activity_es, cn=Default Notification Collection, cn=security indicates this is the Spanish language version of this template. When you select a localized template, the e-mail is in the language of the template regardless of the user’s default language.
-
Click in the field for a token and specify an ECMAScript expression that assigns a value to the token.
See Section 8.0, Workflow Activity Reference for information about e-mail notification settings.