7.1 Accessing the Filter Editor
The Filter editor allows you to edit the filter. There are three different ways to access the Filter editor: through the model outline, through the policy flow, and through the Policy Set view.
7.1.1 Model Outline View
-
In an open project, click the tab.
-
Click the icon.

-
Select the driver you want to manage the filter for, then click the plus sign to the right.
-
Double-click the icon and to launch the Filter editor.
or
Right-click and select .
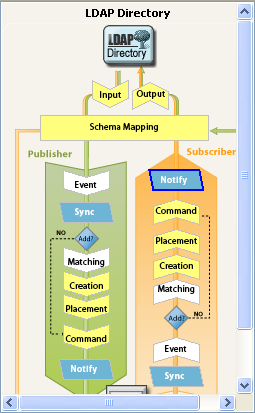
7.1.2 Policy Flow View
-
In an open project, click the tab.
-
Select the icon.

-
Double-click the icon or the icon to launch the Filter editor.
or
Right-click and select .
7.1.3 Policy Set View
-
Double-click the filter policy in the Policy Set view.
7.1.4 Keyboard Support
Table 7-1 Filter Editor Keyboard Support