3.3 Creating a Policy
A policy sends data to the connected systems. A policy is created through the policy set.
3.3.1 Accessing the Policy Set
-
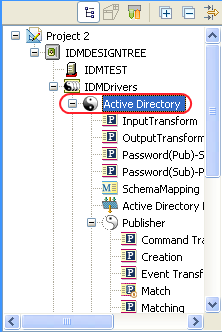
Select a driver object from the view in an open project.
-
Select the tab.
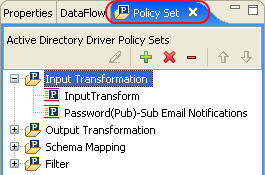
3.3.2 Using the Policy Set
The policy set contains a toolbar and a list of policies.
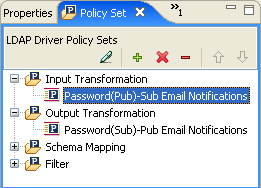
The policy list displays all the policies contained in the selected policy set. During a transformation, the policies within the list are executed from top to bottom. The toolbar contains buttons and a drop-down menu that you can use to manage policies displayed in the list, including, editing, adding, deleting, renaming, and changing the processing order of the policies.
Figure 3-2 Policy Set
Policy Set Toolbar
The policy set displays a copy of the policy. The buttons on the toolbar are enabled or disabled depending upon the item you have selected. The different icons are described below.
Table 3-1 Policy Set Toolbar


Keyboard Support
You can move through the policy set with keystrokes as well as using the mouse. The supported keystrokes are listed below.
Table 3-2 Keyboard Support
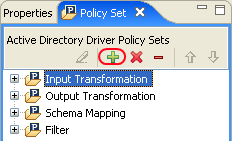
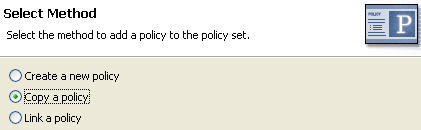
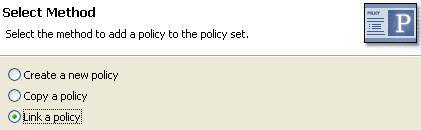
3.3.3 Using the Add Policy Wizard
The Add Policy Wizard launches when you click the icon in the toolbar. The Add Policy Wizard enables you to do the following:
To launch the Add Policy Wizard:
-
Select a driver in the view.
-
Select a policy set item in the policy set, then click the icon in the toolbar.
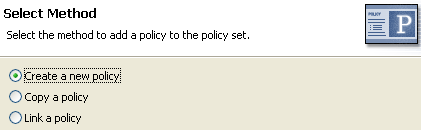
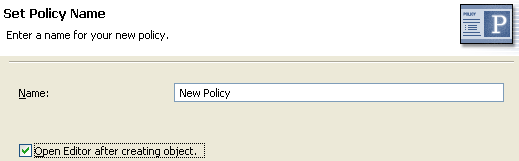
Creating a Policy
-
In the Add Policy Wizard, select , then click .
-
Provide a policy name.
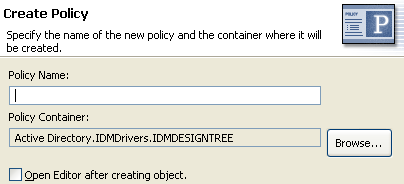
-
Accept the default container, or browse to and select the Driver, Publisher, or Subscriber object where you want the policy to be created.
If a policy is not reused by multiple drivers, you typically create that policy under the driver or channel that is using it.
This decision depends on how you want to organize the policies. By default, policies are placed under the container object that is selected in the tab when the Add Policy Wizard is launched.
For example, if you move to a Publisher object in the tab and then add a policy to a policy set, the policy defaults to the Publisher container.
You can change this setting if you want to create policies in a different container. For example, you can set up a policy library, put all of the common policies under this driver, and then simply reference the policies from the other drivers. That way, the policy is common. If you need to change a policy, you need to do it only once.
-
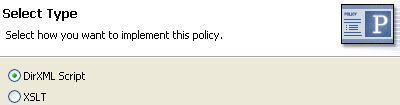
Select the type of policy you want to implement. The policy type defaults to . You can select , if you don’t want to use DirXML® Script.
-
Click .
If you create a Schema Mapping policy set, then an additional option is available for . The new policy appears in the expanded policy set.
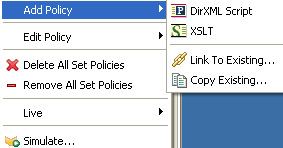
You can also add a policy by right-clicking a policy set in the Policy Flow view.
-
Right-click a policy set (for example, Input Transformation Set).
-
Select .
-
Select how to implement the policy.
-
-
-
-
-
(Only displayed, if the Schema Mapping policy set is selected.)
-
-
Name the policy.
-
Click .
-
Click .
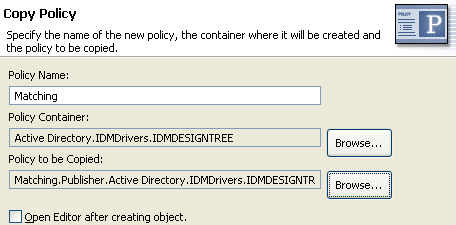
Copying a Policy
-
In the Add Policy Wizard, select , then click .
-
Name the policy.
-
Accept the default container, or browse to and select the Driver, Publisher, or Subscriber object where you want the policy to be created.
-
Browse to and select the policy you want to copy, then click .
-
Click to make a copy of the selected policy.
Linking to a Policy
-
In the Add Policy Wizard, select , then click .
-
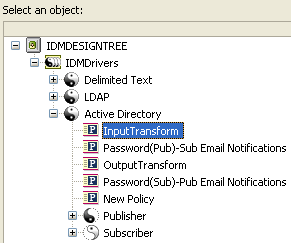
Click to launch the model browser.
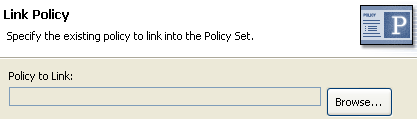
-
Browse to and select the Policy object you want to link into the policy set, then click .
Linking a policy into a policy set doesn’t create a new Policy object. Instead, it adds a reference to an existing policy. This reference can be to any existing policy within the current Identity Vault. It doesn’t need to be contained within the current Driver object, but the policy type must be valid for the policy set that it is being linked to. For example, you can’t link a Schema Mapping policy into an Input policy set.
Linking a policy into a policy set is not permitted when viewing all policies.
-
Click to link to the selected policy.