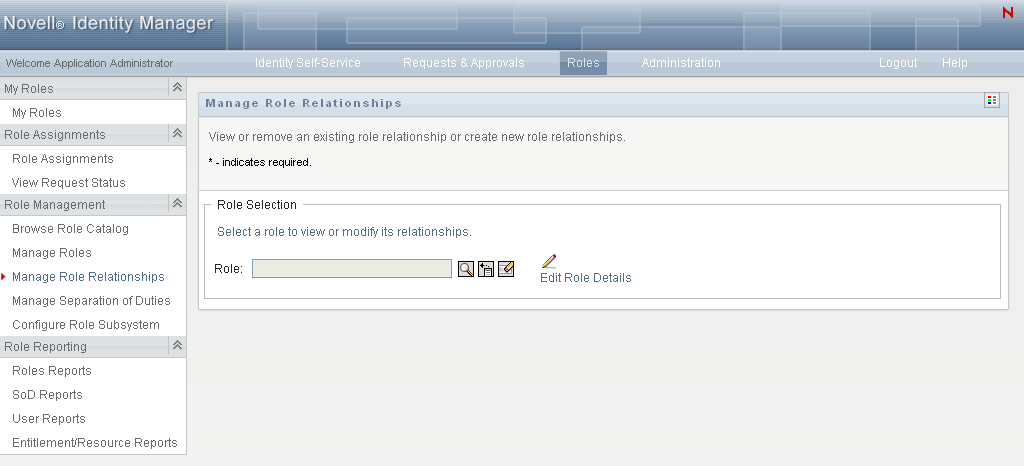
17.3 Managing Role Relationships
The action on the tab of the Identity Manager user interface allows you to define how roles are related in a higher and lower role containment hierarchy. This hierarchy enables you to group permissions or resources contained by lower-level roles into a higher-level role that makes assignment of permissions easier. The allowed relationships are:
-
Top-level roles (business roles) can contain lower-level roles. They cannot be contained by other roles. If you select a top-level role, the Role Relationships page allows you to add a New Lower Level Roles relationship only.
-
Mid-level roles (IT roles) can contain lower-level roles, and they can be contained by higher-level roles. The Role Relationship page allows you to add either New Lower Level Roles or New Higher Level Roles.
-
Bottom-level roles (permission roles) can be contained by higher-level roles, but they cannot contain other bottom-level roles. The Role Relationship page allows you to add only a New Higher Level Role.
17.3.1 Creating and Removing Role Relationships
-
Click in the group of actions.
HINT:The link provides quick way access to the page. If you have selected a role, it displays the contents of the selected role for editing.
-
To find the role for which you want to add or remove a relationship, use the or tool as described in Section 1.4.4, Common User Actions.
-
Select the role.
In this example, the Role is Nurse (West Campus). Because this role is at the highest level in the hierarchy of roles, the user interface displays a message in the section.
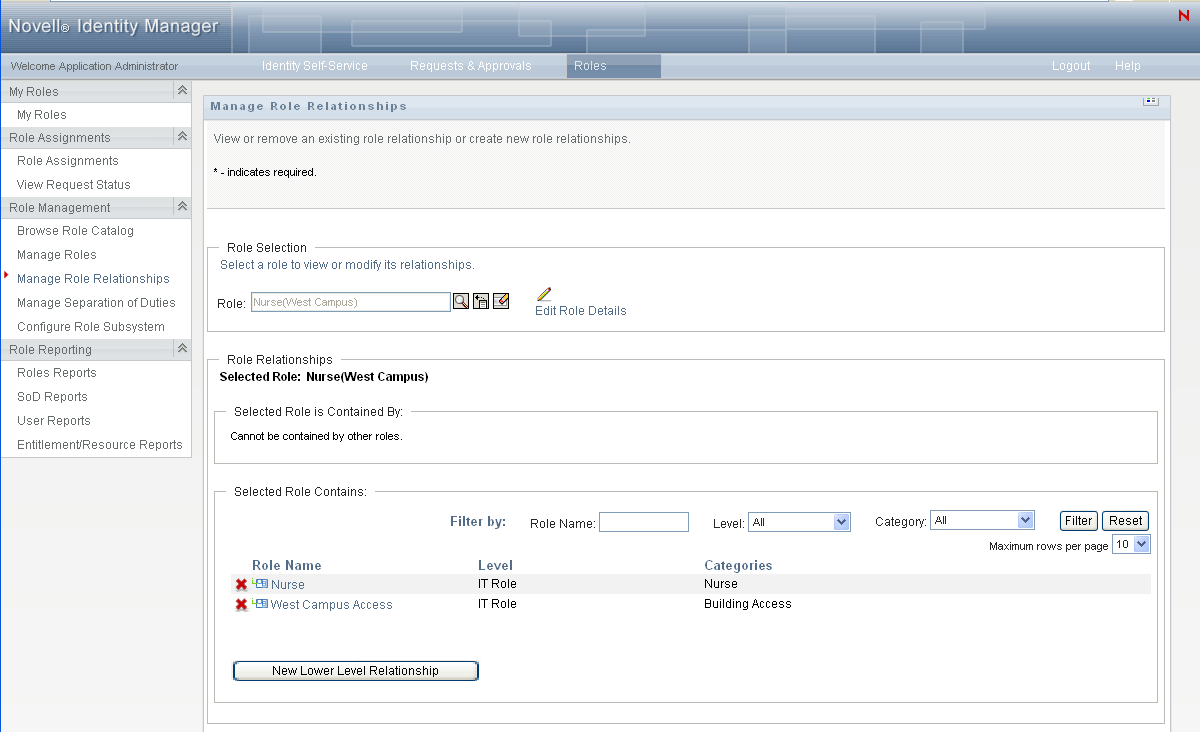
Depending on the level of the role you chose, you see one or both of these buttons:
-
-
To add a relationship, click one of the buttons and fill out the Lower Level Relationship or Higher Level Relationship Details as described in Table 17-4
-
You can filter the list of higher and lower level relationships, as follows:
-
To view only those relationships that start with a particular string of characters, see Filtering Data for information about what to enter in the field.
-
To view those roles of a certain level, select it from the list box.
-
To view those roles of a specific category, select it from the list box.
-
To apply the filter criteria you’ve specified to the display, click .
-
To clear the currently specified filter criteria, click .
-
-
Click to create a request to add the role relationships.
You can check the status of the request by going to . When the status is , the role relationship has been added.
-
To remove a relationship:
-
Navigate to the relationship you want to remove and click
 .
.
You are asked to confirm that you want to remove it.

-
Click to continue with the removal or to return to the page. You are prompted for an .

The default text is , but you can modify it as needed. This text displays in the page.
-
Click to submit the removal request. You can view the status of this request in the page. A status of means that the relationship has been removed.
-
17.3.2 Managing Role Relationships Properties
Table 17-4 Role Relationships Properties
|
Field |
Description |
|---|---|
|
|
This value appears in . You can use this option to group multiple requests created by one user interaction because they share the same Common Requests ID. |
|
|
Available when you click . Use the Object Selector or History buttons to locate the lower-level role to add to the selected role. See Using the Object Selector Button for Searching. |
|
|
Available when you click . Use the Object Selector or History buttons to locate the higher level role to add to the current role. See Using the Object Selector Button for Searching. |