6.3 Recovering an iPrint Appliance
The appliance configuration can now be recovered in case of a crash. You either need a backed-up secondary disk or the last backed-up configuration zip (iprintconfig.zip) file for recovering the appliance.
If you attach a secondary disk of the backed-up appliance, the GUI provides option to proceed with Migrate Existing iPrint Appliance.
6.3.1 Recovering Appliance Using a Zip File
You can recover iPrint Appliance using a configuration file (iprintconfig.zip).
Ensure that the copy of the configuration file (iprintconfig.zip) of the backed-up appliance is available before performing recovery.
-
Create a copy of the configuration file (iprintconfig.zip) of the appliance. For more information, see Exporting the Configuration File.
-
Shut down the non-functional appliance. The new appliance will be configured with the same IP and network settings.
-
Deploy iPrint Appliance with any virtualization software that can run the .ovf, .vhd , or .xen file formats. For more information, see Configuring Virtual Environment.
-
When the appliance is powered on, click the tab. Ensure you provide the same network configuration, passwords, and time zone as that of the earlier version of iPrint Appliance from which you exported the iprintconfig.zip configuration file.
The iPrint Appliance installation is now complete.
-
On a Web browser, use either the host name or the IP Address to access the Management Console. For example, https://10.0.0.1:9443 or http://iprint.example.com/admin.
Ignore the security certificate warning, and continue to the iPrint Appliance Management Console. To avoid the security warning prompt every time you access the iPrint Appliance Management Console, you can add the certificate to the trusted certificates list on your browser.
-
Specify vaadmin or root as the user name.
-
Specify the password, then click .
-
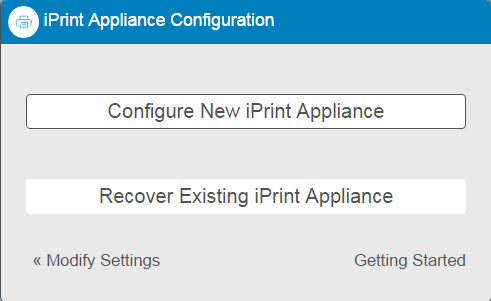
Click.
-
In the option, click , then select the configuration file exported from a previous copy of iPrint Appliance. For more information about the iprintconfig.zip, see Exporting the Configuration File.
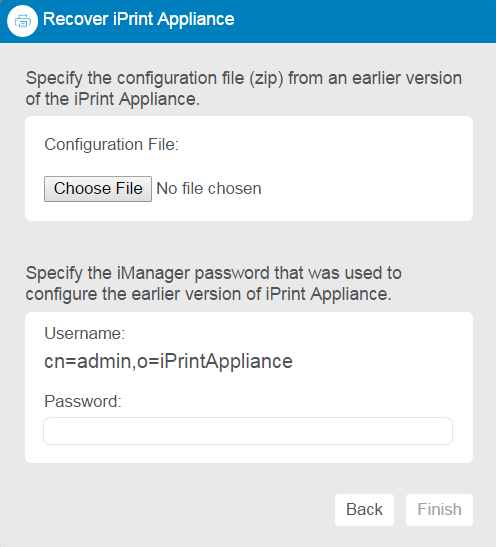
-
Specify the iManager password that was used to configure the earlier version of the iPrint Appliance.
-
Click .
The time taken to complete the configuration depends on the size of the earlier version configuration file. On successful migration, the appliance reboots the VM.