5.3 Configuring Printer Drivers
A printer driver or PostScript Printer Description (PPD) file is software that directly supports a physical printer, enabling it to carry out its functions.
Hardware vendors develop printer drivers and PPD files, which are specific to each printer. Most printers require different printer drivers for each operating system they interact with. You can use iManager to view a list of printer drivers and PPD files you have uploaded to the Driver Store. You can add printer drivers and PPD files from diskettes, CDs, and the workstation operating system.
iPrint Appliance ships with a default Linux driver that is used by the local renderer for mobile printing. To modify the default Linux driver, see Section 5.3.4, Modifying the Default Linux Driver Used by the Local Renderer for Mobile Printing.
5.3.2 Uploading Drivers By Using iManager
iManager is a management tool that allows you to manage your print environment. You can create printers, printer drivers, profiles, and users.
Supported Browsers to Upload Drivers Using iManager
|
Workstation |
Supported Browser |
Upload Linux Drivers (PPD file) |
Upload Windows Driver (.inf file) |
Upload Mac Drivers (PPD file) |
|---|---|---|---|---|
|
|
Linux |
Windows |
Mac |
|
Linux |
Mozilla Firefox 2.x.x or later |

|

|
|
|
Windows |
Internet Explorer 6.0 or later |
|
Same version as the workstation |
|
|
Mac |
Not supported |
|
|
|
NOTE:If you are running iManager from a Windows workstation, you can only add printer drivers for Windows.
You cannot upload drivers from a Windows Server platform. To print documents from your Windows server, you must upload the drivers from the Windows workstation that can work with the server platform. For more information, see Windows server and workstation Map.
Uploading Drivers to the Driver Store
To upload printer drivers to the Driver Store:
-
In iManager, click > .
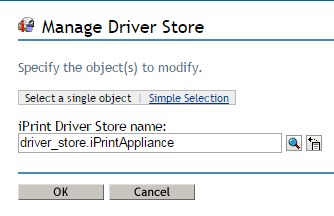
-
Specify the name of the iPrint Driver Store to which you want to add printer drivers.
-
Select the tab.
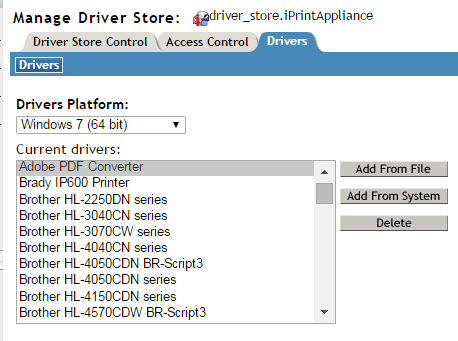
-
Use the drop-down list to select the client platform for which you want to add the printer driver.
-
Perform one of the following actions:
-
Click to add printer resources from a printer driver (.inf file or PPD) file.
Linux and Mac: The standard file format is PPD (Postscript Printer Description) file.
Windows: The standard file format is .inf file.
-
Click to add drivers from the workstation where you are running iManager.
The drivers installed on your workstation are only available to be uploaded to the Driver Store.
-
-
Select a driver, then click .
-
Click to save your changes.
To display the changes you made, click .
Deleting Drivers from the Driver Store
-
In iManager, click > .
-
Select the tab.
-
Read the list of existing printer drivers displayed in the panel.
-
Select a driver, then click .
-
Click to save your changes
-
Click to refresh the screen and display the changes you just made.
Associating the Driver
To set the default driver:
-
In iManager, click .

-
Specify the name of the printer to which you want to set the default driver.
-
Select the tab.
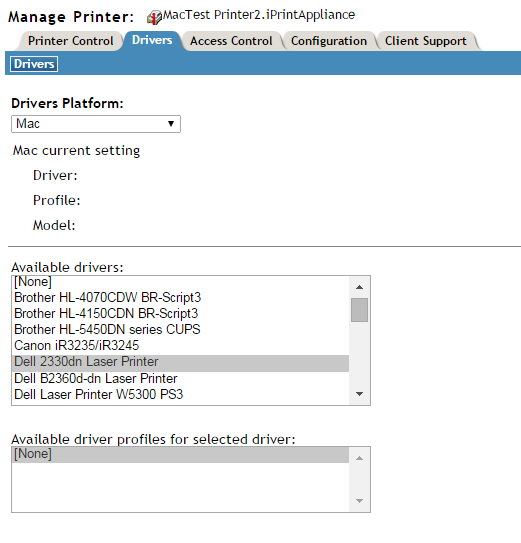
-
Use the drop-down list to select the client platform for which you want to set the printer driver for the selected printer.
-
In the , select the printer driver you want to associate with the selected printer.
This field displays a list of printer drivers that have been uploaded for this operating system. If you do not want a printer driver to be used, select .
NOTE:If no printer driver is selected, you cannot print from a desktop client to that printer. For mobile printing, the default driver will be used to render jobs for that printer.
Windows server and workstation Map
|
Windows Desktop |
Windows Server |
|---|---|
|
Windows XP (32-bit) |
Windows 2003 |
|
Windows Vista (64-bit) |
Windows 2008 |
|
Windows 7 (64-bit) |
Windows 2008 R2 |
|
Windows 8 or 8.1 (64-bit) |
Windows 2012 or 2012 R2 |
For example, To print from Windows 2008 server, associate the printer with Windows Vista driver.
5.3.4 Modifying the Default Linux Driver Used by the Local Renderer for Mobile Printing
iPrint Appliance ships with a default Linux driver that is used by the local renderer for mobile printing. Remote renderer does not include any driver, you must upload the drivers available in the driver store.
To modify the default Linux driver:
-
On a Web browser, use either the DNS name or the IP address to access the Management Console. For example, https://10.0.0.1:9443 or https://iprint.example.com:9443.
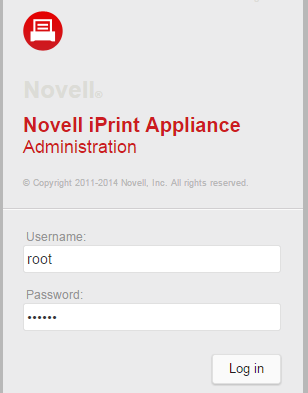
-
Specify root or vaadmin as the user name.
-
Specify the password for the administrator.
The Management Console page is displayed.
-
Click .
-
Under , click .
-
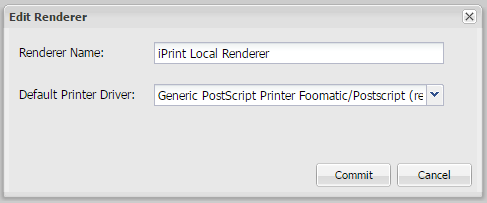
On the Renderers page, select the iPrint Local Renderer, then click Edit.

-
In the drop-down list, select the driver that you want to set as default for the local renderer.
NOTE:The drivers from the driver store are listed in the field.
If a printer does not have a driver associated to it, the default printer driver is automatically used to print the documents.