3.4 System
System settings include the following:
3.4.1 Changing Your Password
Click
Use this module to change your password. This module is included with NLD 9 SP2 or later.
Figure 35 Change Password Dialog
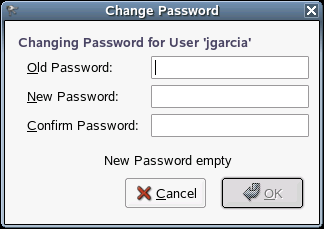
Specify your current password, specify your new password twice, then click .
3.4.2 Specifying File Associations
Click .
Use the File Types and Programs tool to specify how files of various types are displayed and edited, and to associate an application with a service so that the application performs the task required by the service.
Figure 36 File Types and Programs Dialog
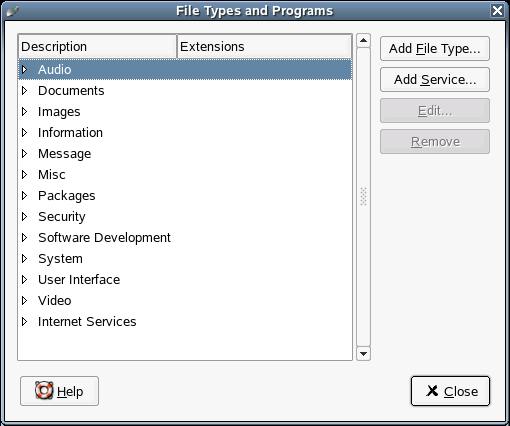
Use the File Types and Programs tool to configure the following:
- File Types
You can specify how files of various types are displayed and edited. For example, you can specify an icon to represent a particular type of file, or you can specify that if a file is a plain text file, the file is launched in a text editor.
The file manager and other applications check the contents of a file to determine the type of a file. If the first lines do not determine the type of the file, then the application checks the filename.
- Services
A Uniform Resource Identifier (URI) is a string that identifies a particular location in a file system or on the Web. For example, the Web address of a Web page is a URI. A service is a protocol or task that a URI requests. For example, the http://www.gnome.org URI requests the HTTP service.
You can associate an application with a service so that the application performs the task required by the service. For example, you can associate your preferred Web browser with the HTTP service.
To view the contents of a category of file types, click the Right-arrow next to the category name. The category expands and displays a description of each file type and the file extension that is associated with the file type.
To select a file type that you want to work with, click the file type.
Adding a File Type
-
Click .
-
Click , then specify the properties of the new file type.
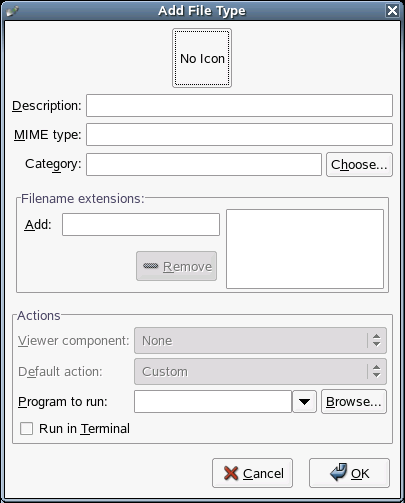
The following table describes the options available in the Add File Type dialog.
-
Click .
Adding a Service
-
Click .
-
Click , then specify the properties of the new service.

The following table describes the options available in the Add Service dialog:
-
Click .
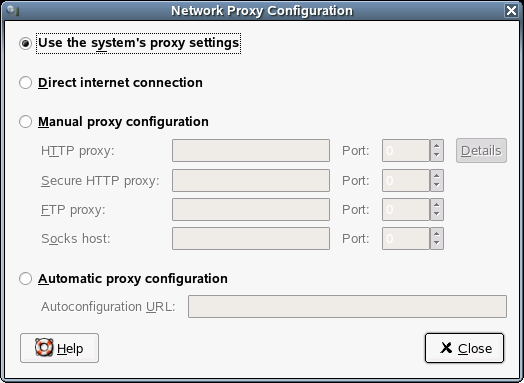
3.4.3 Configuring Network Proxies
Click .
The Network Proxy Configuration tool lets you configure how your system connects to the Internet. You can configure the desktop to connect to a proxy server and specify the details of the server. A proxy server is a server that intercepts requests to another server and fulfills the request itself, if it can. You can specify the Domain Name Service (DNS) name or the Internet Protocol (IP) address of the proxy server. A DNS name is a unique alphabetic identifier for a computer on a network. An IP address is a unique numeric identifier for a computer on a network.
Figure 37 Network Proxy Configuration Dialog
The following table lists the Internet connection options that you can modify.
Table 13 Internet Connection Options
3.4.4 Managing Sessions
Click .
This module lets you manage your sessions. A session occurs between the time that you log in to the desktop environment and the time that you log out. You can set session preferences and specify which applications to start when you begin a session. You can configure sessions to save the state of applications and then restore the state when you start another session.
You can also use this preference tool to manage multiple sessions. For example, you might have a mobile session which starts applications you use most frequently when traveling, a demo session that starts applications used to present a demonstration or slide show to a customer, and a work session that uses a different set of applications when you are working in the office.
This module consists of three tabbed pages:
-
Session Options:Lets you manage multiple sessions and set preferences for the current session.
-
Current Session:Lets you specify startup order values and select restart styles for the session-managed applications in your current session.
-
Startup Programs:Lets you specify non-session-managed startup applications, which start automatically when you start a session.
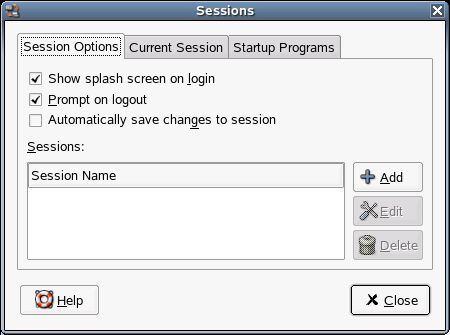
Setting Session Preferences
Use the Session Options tabbed page to manage multiple sessions and set preferences for the current session.
Figure 38 Sessions Dialog—Session Options Page
The following table lists the session options that you can modify.
Table 14 Session Preferences for Current Session
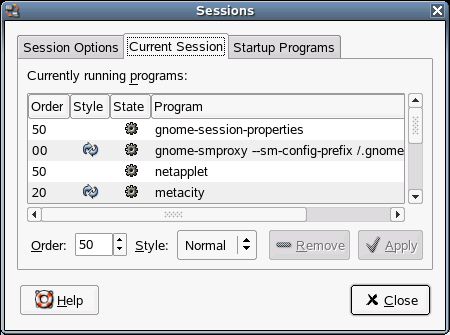
Setting Session Properties
Use the Current Session tabbed page to specify startup order values and to choose restart styles for the session-managed applications in your current session.
Figure 39 Sessions Dialog—Current Session Page
The following table lists the session properties that you can configure.
Table 15 Session Properties for Session-Managed Applications
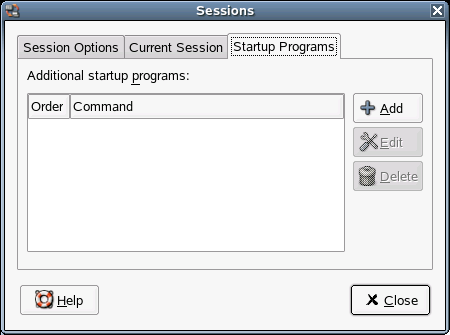
Configuring Startup Applications
Use the Startup Programs tabbed page to specify non-session-managed startup applications.
Figure 40 Sessions Dialog—Startup Programs Page
Startup applications are applications that start automatically when you begin a session. You specify the commands that run these applications and the commands execute automatically when you log in.
You can also start session-managed applications automatically. For more information, see Setting Session Preferences.
To add a startup application, click . The Add Startup Program dialog is displayed. Specify the command to start the application in the field. If you specify more than one startup application, use the box to specify the startup order of the each application.
To edit a startup application, select the startup application and then click . The Edit Startup Program dialog is displayed. Modify the command and the startup order for the startup application.
To delete a startup application, select the startup application and then click .
3.4.5 Setting Sound Preferences
Click .
The Sound Preference tool lets you control when the sound server starts. You can also specify which sounds to play when particular events occur.
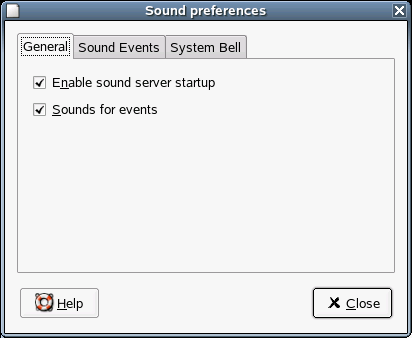
Setting General Sound Preferences
Use the General tabbed page to specify when to launch the sound server. You can also enable sound event functions.
Figure 41 Sound Preferences Dialog—General Page
Click to start the sound server when you start a session. When the sound server is active, the desktop can play sounds.
Click to play sounds when particular events occur in the desktop. You can select this option only if the option is selected.
Setting Sound Event Preferences
Use the Sound Events tabbed page to associate particular sounds with particular events.
IMPORTANT: You must enable the Enable Sound Server Startup and Sounds For Events options on the General tab before you can access the Sound Events page.
Figure 42 Sound Preferences Dialog—Sound Events Page
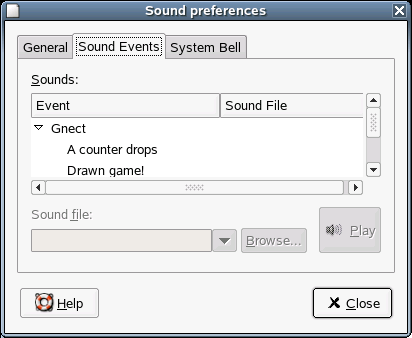
The Event column displays a hierarchical list of events that can occur. To expand a category of events, click the Right-arrow beside a category of events. The Sound File column lists the sound file that plays when the event occurs. You can test a sound by first selecting the corresponding notice in the Event column, then clicking
To associate a sound with an event, select the event in the Sounds table. Specify the name of the sound file that you want to associate with the selected event in the field, or click to display the Select Sound File dialog which provides a list of files to choose from. You can only associate sound files in .wav format with events.
Setting System Bell Preferences
Some applications play a bell sound to indicate a keyboard input error. Use the System Bell tabbed page to set preferences for the system bell.
Figure 43 Sound Preferences Dialog—System Bell Page
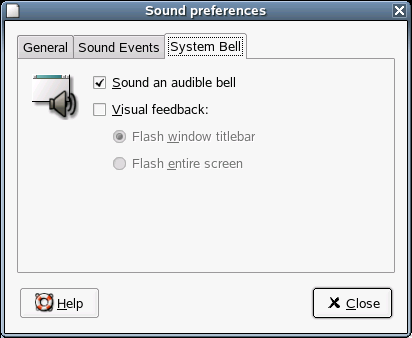
The following table lists the system bell preferences that you can modify.