Establishing a VPN Connection
VPN Client for Linux lets you establish a connection with a Nortel Contivity server and Standard IPsec gateways. You can do this using either the Graphical User Interface (GUI) or Command Line Interface (CLI) option.
IMPORTANT: The CLI and GUI options might not interact properly. We recommend using either of the options at a time.
Using the Client with a GUI
To launch VPN client GUI,
-
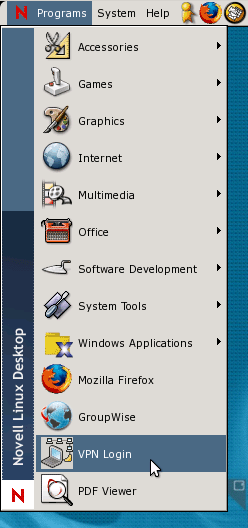
From the NLD main menu, select Programs > VPN Login.
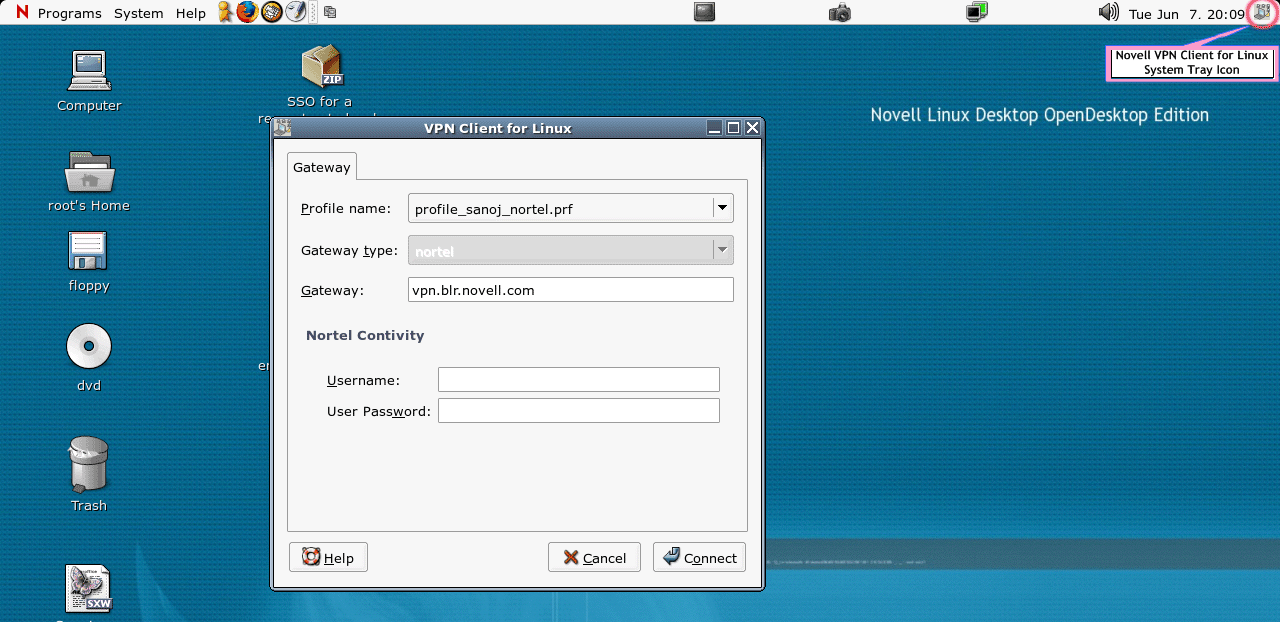
The Novell VPN Client dialog is displayed and the VPN icon appears in the system tray.
HINT: KDE users might not be able to launch VPN Client as mentioned above. If you are a KDE user, launch VPN Client using the command vpnlogin at the command prompt.
Use the VPN Client dialog to set up VPN connection to a Nortel Contivity server or a Standard IPsec Gateway by selecting a profile from the Profile Name field.
NOTE: If you do not have a profile already or want to create a new profile, select Profile Manager instead. For details, refer to Connection Profiles.
Connecting to a Standard IPsec Gateway
Copying the User Certificate
Copy your user certificate in .pfx format to the following path:
/user's home directory/.turnpike/usercerts
Connecting to the Gateway
-
In the Profile Name field, select the profile created for a Standard IPsec Gateway connection.
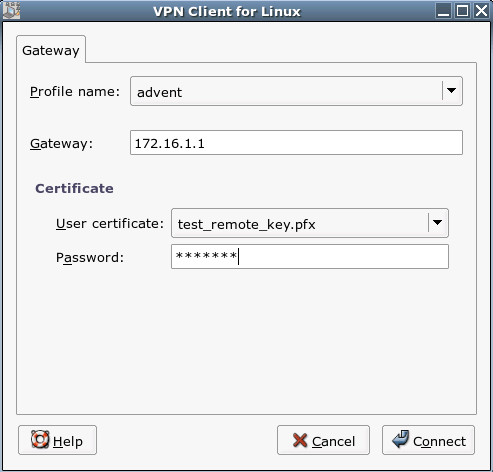
All the fields in the upper section of the dialog are automatically displayed.
-
In the Password field, specify the certificate password.
-
Click Connect.
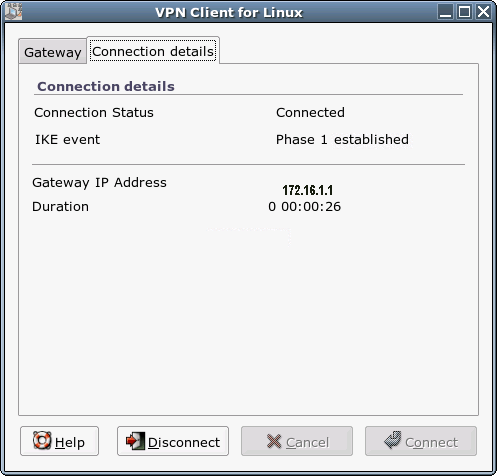
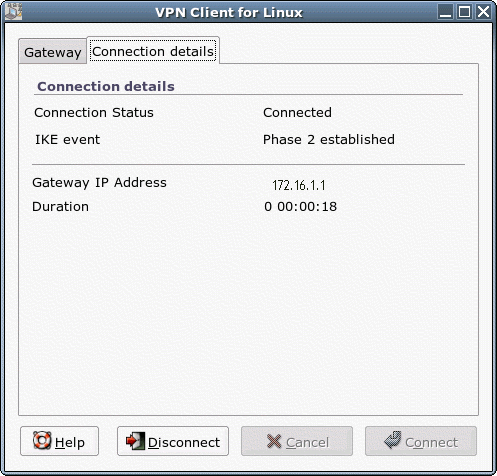
The Connection Details tabbed page displays the progress of the connection.
-
Click Disconnect if you want to end the connection.
NOTE: In the case of the VPN connection to a Standard IPsec gateway, after Phase 1 is established, any data going to the network is encrypted.
Connecting to Nortel Contivity Server
-
In the Profile Name field, select the profile created for connecting to a Nortel Contivity server.
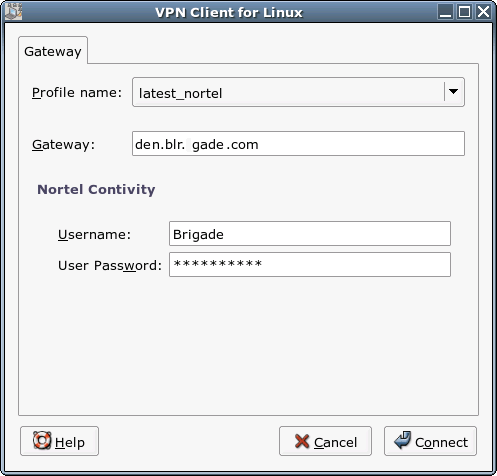
The Gateway information is automatically displayed.
-
In the Nortel Contivity section, specify the following details:
-
Click Connect.
The Connection Details tabbed page displays the progress of the connection.
-
Click Disconnect if you want to end the connection.
Using the Client with a CLI
VPN Client provides a CLI (Command Line Interface) to carry out the major VPN functions.
After installing VPN Client for Linux, run vpnc help by entering the following:
vpnc -h
This lists all the CLI commands and the available options, described in the following table:
Creating Profiles Using a CLI
You cannot create connection profiles using the CLI feature. Profiles must be created and edited using the GUI. For details, refer to Connection Profiles.
Connecting to the Gateway Using a CLI
IMPORTANT: VPN Client for Linux allows only one connection at a time.
To connect to the gateway, enter any of the following commands:
vpnc -c profile
vpnc --connect profile
vpnc -v -c profile
vpnc --verbose --connect profile
HINT: Use the command vpnc -l for the list of all available profiles along with their gateway types.