7.2 Synchronizing LDAP Users
In Section 4.0, Creating Test Users, you populated Active Directory with the users shown in Figure 7-1. (For NODS, the users already exist on the Win2008 server.)
Figure 7-1 Users Created for the Filr Exercises
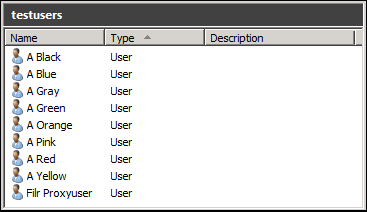
You import AD users to Filr by setting up LDAP synchronization with Active Directory.
-
Ensure that the Filr appliance VM has restarted.
-
Open a browser on your exercise workstation (the win7-win VMm on NODS) and access Filr through the following URL:
https://Appliance_IP_Address:8443
For example, on NODS this is
https://172.17.2.112:8443
-
If prompted, accept and trust the certificate.
-
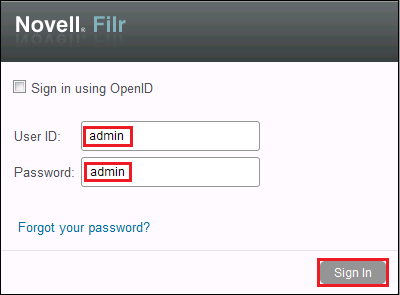
Sign in as User: admin with Password: admin.
-
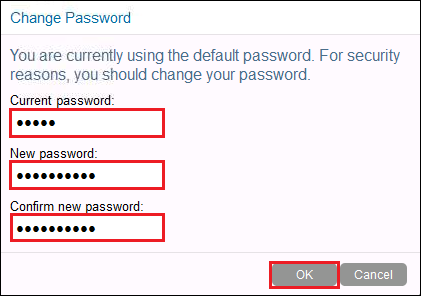
When prompted, change the password to novellfilr.
-
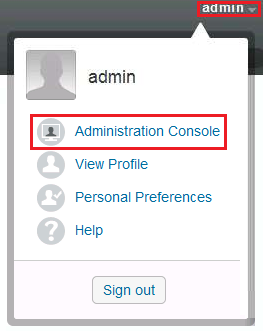
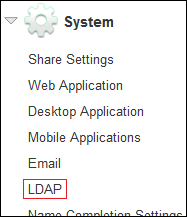
Click (upper right), then select .
-
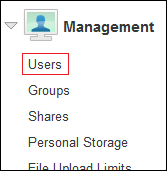
In the left navigation panel under , click .
-
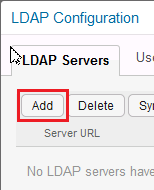
Click
-
Ensure that the tab is selected.
-
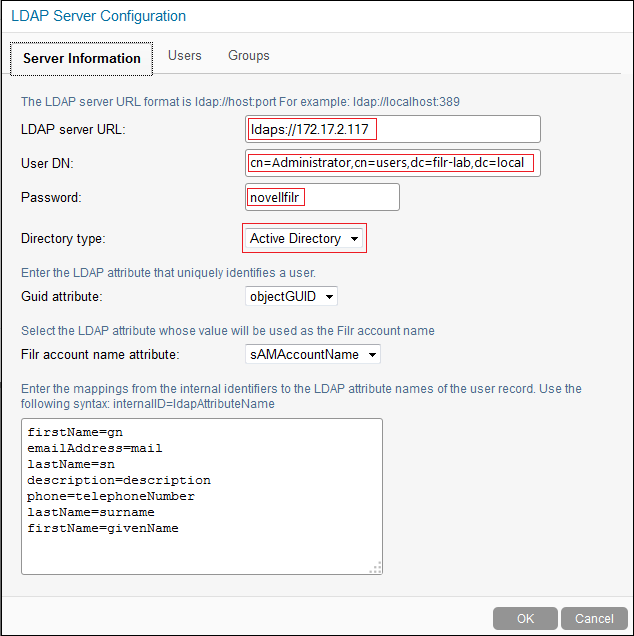
Enter the information to connect Filr with your Windows server.
Field Name
Value to Enter
LDAP Server URL
ldaps://windows-server-IP-address
On NODS this is
ldaps://172.17.2.117 or ldaps://win2008.filr-lab.local
User DN
IMPORTANT:This is the distinguished name of an Active Directory user who has sufficient rights to access the information for the test users that you created in Section 4.0, Creating Test Users. For example, it could be the user name that you used for that task.
HINT:If you aren’t certain of the syntax, open a terminal prompt on the server and enter the dsquery user command.
On NODS this is:
cn=Administrator,cn=users,dc=filr-lab,dc=local.
Password
The password of the user above
On NODS this is novellfilr.
Directory Type
Active Directory
LDAP Unique Identifier
objectGUID
LDAP Attribute for Filr
sAMAccountName
For example, the NODS LDAP server information is reflected in the following screen shot.
-
Select the tab, then click .

-
Click the LDAP browse icon.
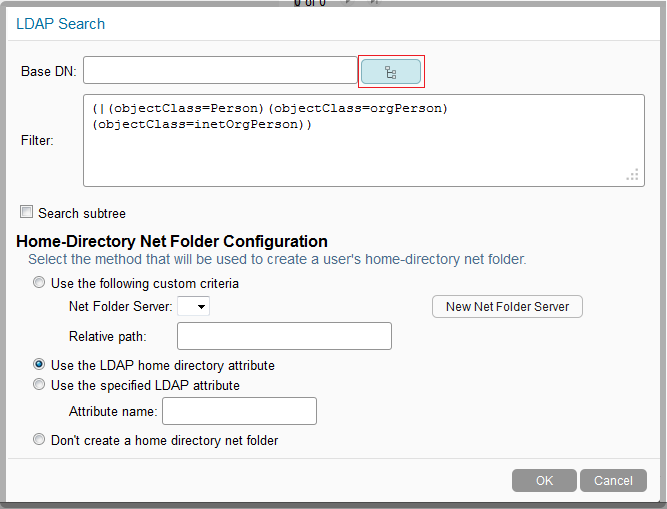
-
Browse to and select it.
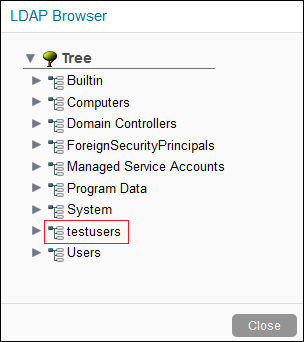
-
Click .
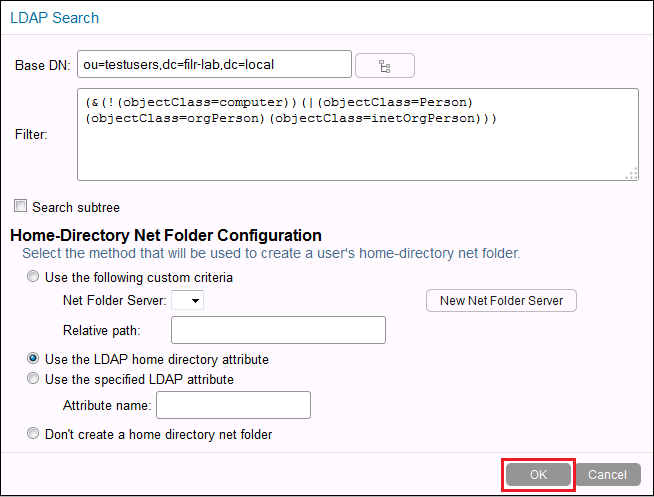
The testusers container is added, so click .
-
Select the tab, then select the following options:
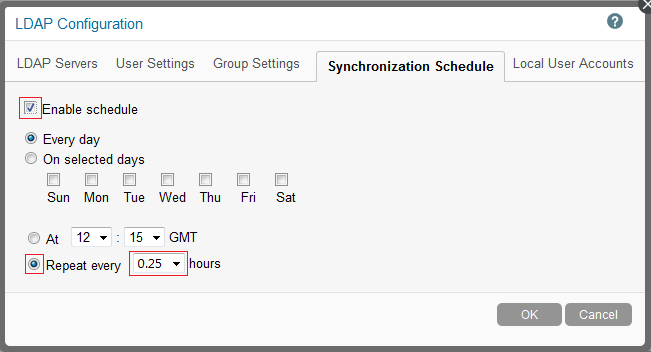
-
-
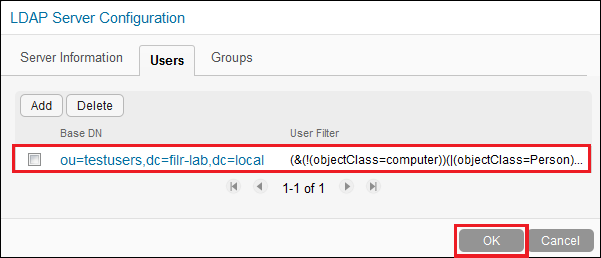
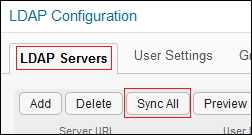
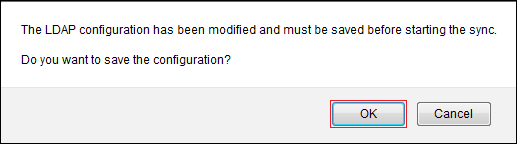
Click the tab, click the button, then click to save the configuration.
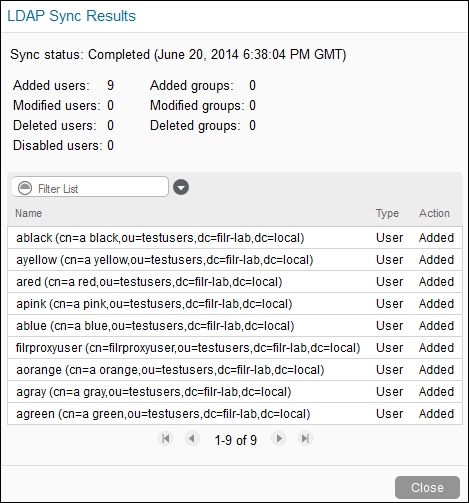
The nine users in the container are added.
-
Click > .
-
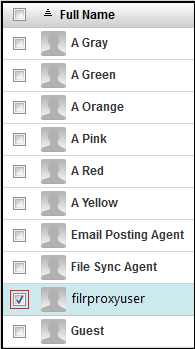
The proxy user is among those added to Filr. However, it is a system-only user.
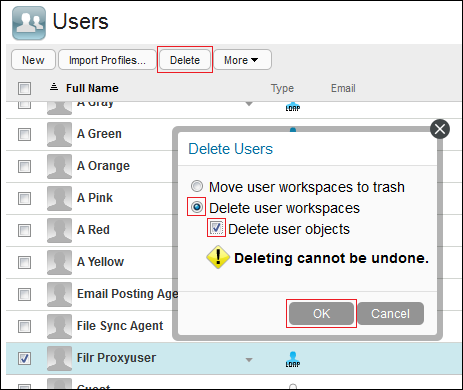
Remove the filrproxyuser by doing the following:
-
In the left frame, click .
-
Select .
-
Click , then select > > .
-
-
Click .
-
Do not close the Administration Console. Continue with Section 7.3, Setting Up Users’ My Files Folders.
For complete instructions on using Filr LDAP synchronization, see Synchronizing Users and Groups from an LDAP Directory,
in the Novell Filr 1.1 Administration Guide.