4.3 Setting Up Shared Storage
The first task in setting up a Filr cluster is to make sure that you have NFS v3 or CIFS shared storage available for the Filr appliances to use for their /vashare mount points.
4.3.1 About the Deployment Illustrations
Figure 4-2 is the first in the series of illustrations in this section that depicts the order in which components are deployed and configured to form a Filr cluster.
Figure 4-2 Setting up an NFS or CIFS Directory
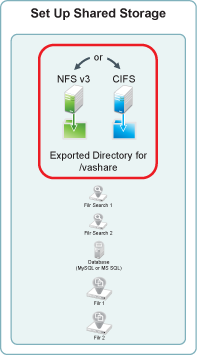
4.3.2 NFS Shared Storage Example
IMPORTANT:Although a CIFS example of shared storage is not provided in this guide, the same principles apply as for NFS. Be sure to follow the planning guidelines in Filr Storage Requirements
in the Novell Filr 1.1 Installation and Configuration Guide.
The NFS server in this example leverages a SLES 11 file server that has been installed in VMware Workstation using default settings. You can use the steps that follow to gain hands-on experience with exporting an NFS directory, or for general guidance as you set up the NFS directory in your own lab or production network.
-
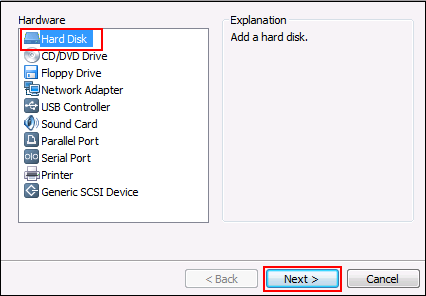
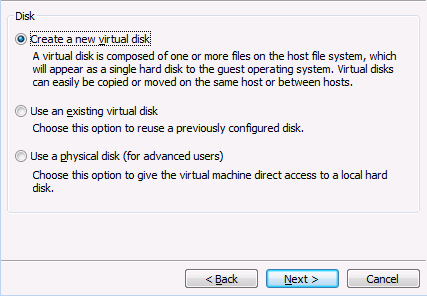
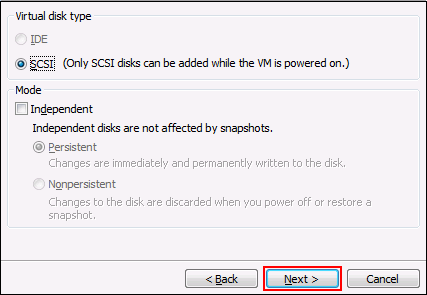
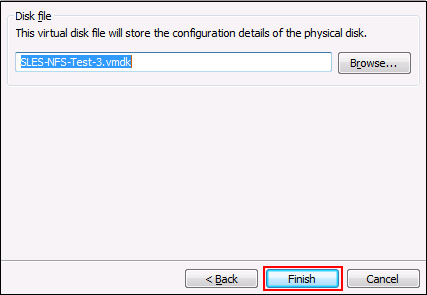
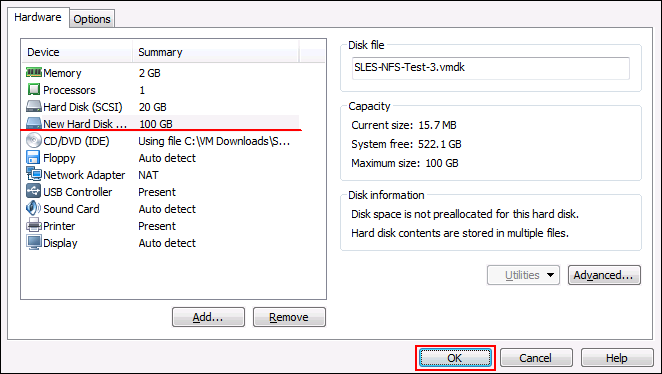
In VMware, add a new disk to the SLES 11 file server VM.
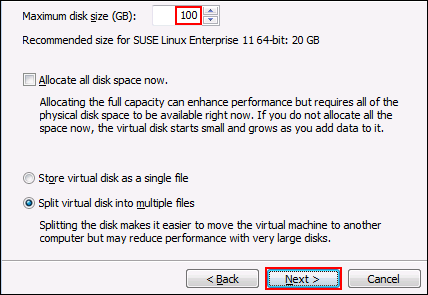
The example SLES 11 NFS server has only a single 20 GB hard drive. We could create a directory on that drive and export it. However, the Filr-clustered appliances need enough disk space for all of the Filr users’ personal storage as well as HTML renderings and text extractions. Obviously, the amount of disk space needed is probably much larger than the free space that exists on the example SLES 11 server.
The example below shows a 100 GB disk being added. Your installation might require much more. Be sure to follow the planning guidelines in
Filr Storage Requirements
in the Novell Filr 1.1 Installation and Configuration Guide.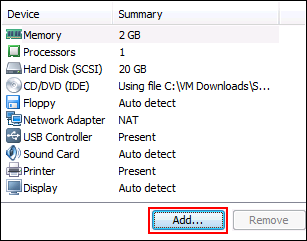
-
Restart the SLES server so that the new disk is recognized.
-
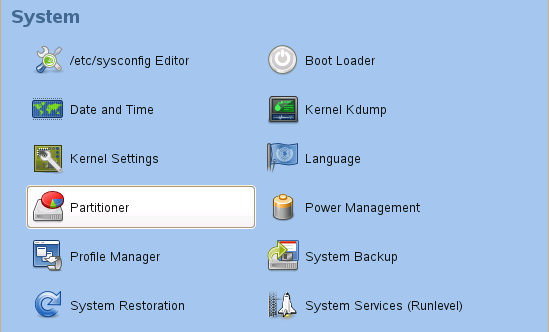
On the SLES server, click > > > .

-
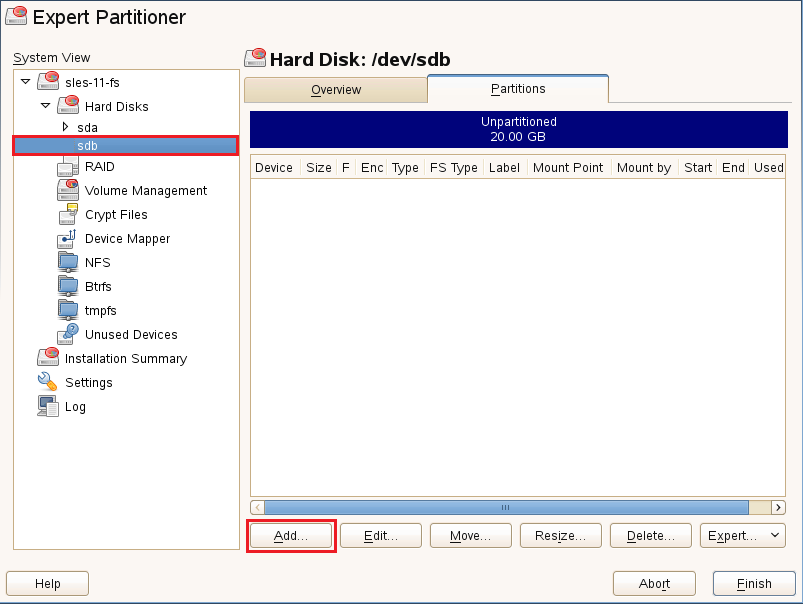
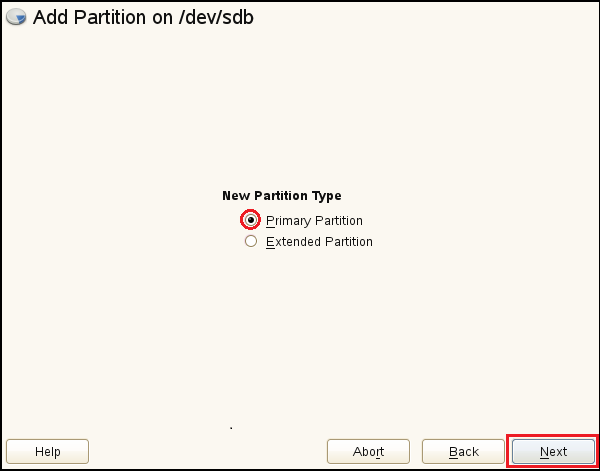
Add a primary partition to the new disk.
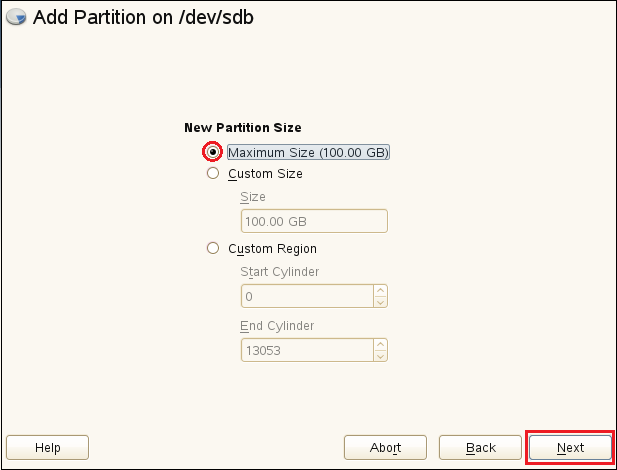
-
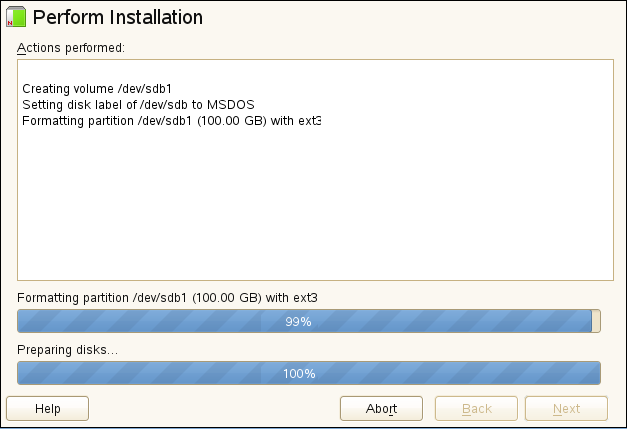
Format the partition, and specify its mount point as /nfs-filr, then click > > .
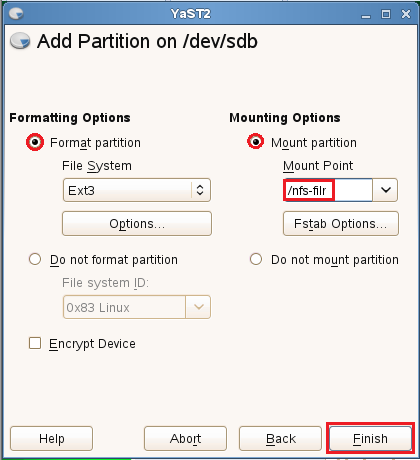
The partition is added and formatted.
-
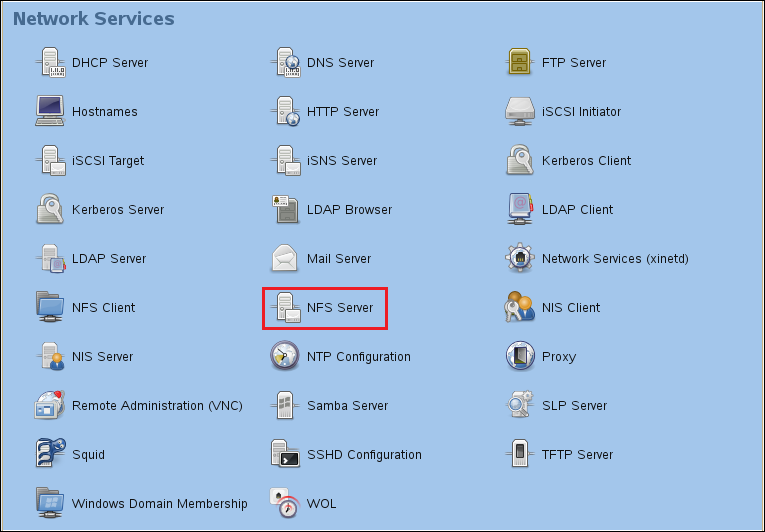
To set up the NFS server, click > > > .
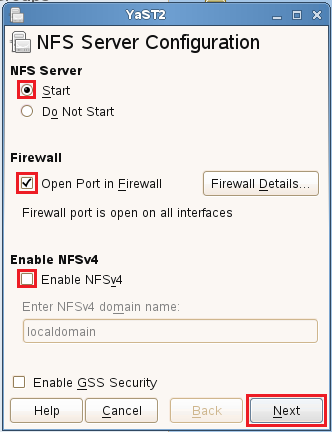
Figure 4-3 NFS Service on the OES server
-
Set the server to start, open the firewall port, and disable (deselect) NFS v4 support.
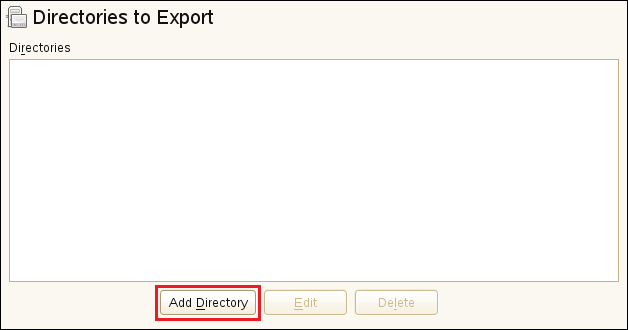
-
Click .
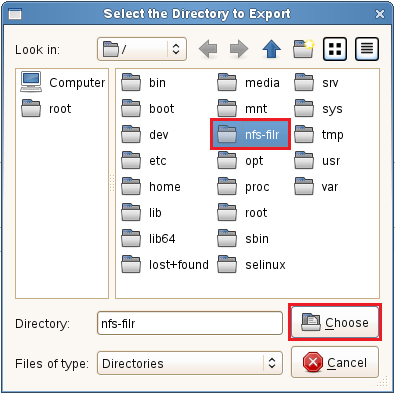
-
Browse to nfs-filr and Choose it for export.
-
Type /shared as the , then click ,

-
Click to confirm directory creation.

-
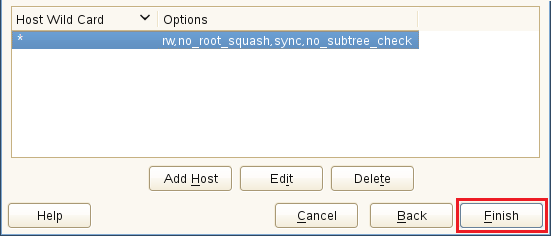
Change the ro and root_squash export options to rw and no_root_squash, then click .
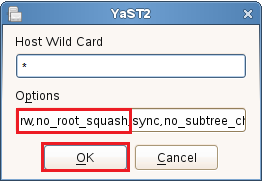
In this small environment, there is no need to create Host Wild Card entries for the Filr appliances that are allowed to mount the exported directory.
-
Click .