31.2 Securing LDAP Synchronization
If your LDAP directory service requires a secure LDAP connection (LDAPS), you must configure Novell Filr with a root certificate. The root certificate identifies the root certificate authority (CA) for your Filr site, which enables you to export a self-signed root certificate based on your eDirectory or Active Directory tree.
31.2.1 Exporting a Root Certificate
Exporting a Root Certificate for eDirectory
-
Launch and log in to iManager for your tree.
-
Click .
-
Click .
-
Click the magnifying glass icon to browse to and select the “Tree Name CA” object in the Security container of the eDirectory tree.
-
Click .
-
Click the tab.
-
Select the check box for the root certificate (this is not the certificate titled , but rather the root certificate), then click .
-
Select the check box for the root certificate, then click .
-
Deselect , then click .
-
Click , then select .
-
Save the file to a location where it can be accessed later and with a file name that you can remember, such as SelfSignCert.der.
-
Click > .
-
Continue with Section 31.2.2, Importing the Root Certificate into the Java Keystore.
Exporting the Root Certificate for Active Directory
-
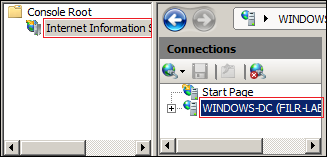
On the Windows server, click > , then enter mmc.

-
In MMC, type Ctrl+M.
-
If the snap-in is not installed on your Windows server, install it.
-
With IIS selected, click , then click .

-
In the left frame, click , then click a Windows server that Filr can connect to for synchronizing users.
-
In the Filter list, scroll down to and double-click the icon.

-
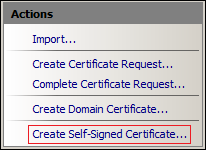
In the list, click .
-
Name the certificate with a name you can remember, such as the server name, then click .

-
Type Ctrl+M, select the plug-in, then click .

-
Select , then click .

-
Click .

-
In the Snap-ins dialog, click .
-
In MMC, expand the plug-in, expand , then click .

-
Right-click the certificate you created, select , then click .

-
In the Certificate Export wizard, click .

-
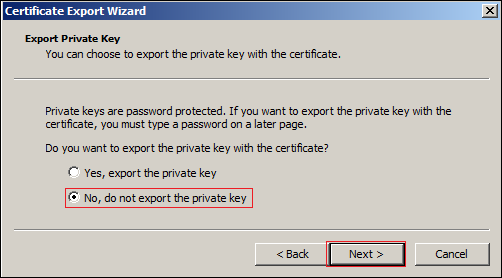
Ensure that is selected, then click .
-
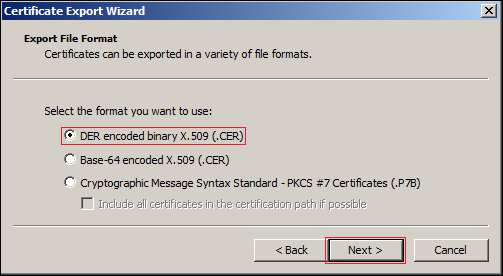
Ensure that is selected, then click .
-
Name the certificate, then click .

-
Click > .

The certificate is saved in C:\Users\Your-User-Name.
-
Ensure that the certificate is accessible from your management browser.
-
Continue with Section 31.2.2, Importing the Root Certificate into the Java Keystore.
31.2.2 Importing the Root Certificate into the Java Keystore
-
Navigate to the management console of your Novell Appliance:
https://ip_address:9443 -
Click the icon.

The Novell Appliance Configuration page is displayed.
-
Click .
-
In the drop-down list, select .
-
Click > > .
A .der certificate is required for the import to be successful.
-
Browse to and select the trusted root certificate that you want to import.
If you want to import multiple certificates, ensure that the certificate names are different for each certificate.
-
Do not make any changes to the field. It is populated by default.
-
Click .
The certificate should now be displayed in the list of JVM certificates.
-
Restart Filr so that Tomcat rereads the updated Java keystore file.
You can restart the Filr service as described in Section 2.7, Changing System Services Configuration.
You are now ready to configure your Filr site for secure LDAP synchronization, as described in Section 18.1, Synchronizing Users and Groups from an LDAP Directory.