10.6 Configuring Single Sign-On with KeyShield
For Filr to work with an existing KeyShield installation, you must have the following already in place.
-
A KeyShield SSO server that is registered with DNS and provides single sign-on services to your network users.
-
An API Key that is displayed in a defined API Authorization configuration.
-
One or more Authentication Connectors (defined on the KeyShield server) that are allowed to be used with the API Key.
-
Administrative Access to the KeyShield server for obtaining the following:
-
-
The API Authorization Key associated with the KeyShield Connectors you are leveraging for Filr
-
The SSL certificate, downloadable as a .CER file for importing into the Filr keystore.
-
To configure Filr to work with an existing KeyShield installation, complete the instructions in the following sections:
10.6.1 (Conditional) Allowing the Filr Appliance to Access the KeyShield APIs
The following procedure assumes that you have restricted access to the KeyShield APIs to only specific machines by listing their IP address. (If no IP addresses are listed, then access to the APIs is unrestricted.)
-
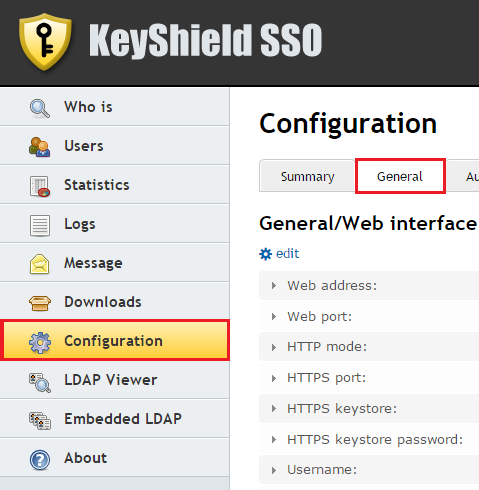
Acting as a KeyShield administrative user, access the KeyShield SSO browser-based console. Then click > the tab.
-
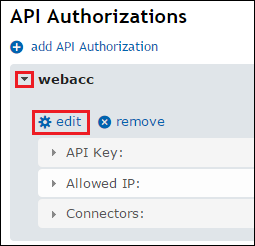
In the API Authorizations section of the General page, toggle open the API Authorization configuration to which you are adding the IP address, then click .
-
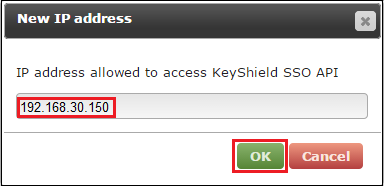
Click the bar below the already-allowed IP addresses.

-
Type the Filr IP address, then click .
10.6.2 (Conditional) Allowing the Authorization Connectors to Access the API Key
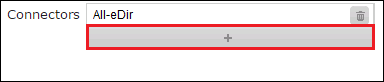
Continuing in the tab (accessed in the previous section), if access to the KeyShield SSO APIs is restricted to users on specific connectors, ensure that the connectors that your Filr users will be connecting through are listed by doing the following:
-
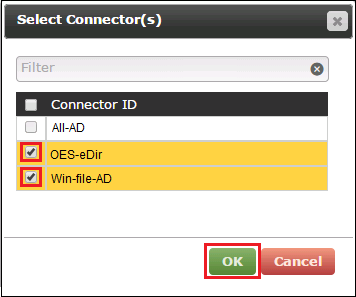
If the connectors your users will use are not listed, click the bar below the already-allowed connectors.
-
Select the connectors for your users, then click .
10.6.3 Configuring Filr for KeyShield SSO Support
-
Open a new tab or a new browser session to access Filr on port 8443:
https://filr-ip-address-or-dns-name:8443
For example https:192.168.30.150:8443
Having a new session will let you easily switch between the KeyShield administration console and the Filr Administration console.
-
In the new browser session, log in to Filr as an administrator.
-
Click the admin link in the upper-right corner of the page, then click the Administration Console icon
 .
.
-
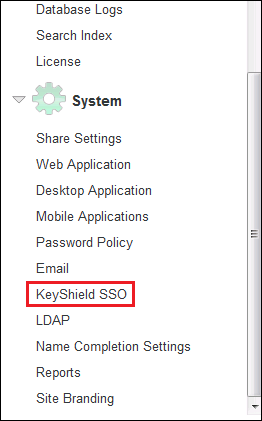
In the left frame, click .
-
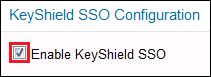
In the KeyShield SSO Configuration dialog, click .
-
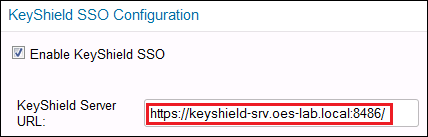
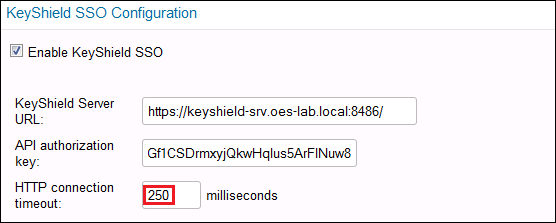
In the field, type the access URL for the KeyShield server:
https://ks-server-dns-name_or_ip-address:ks-server-https-port/
For example,
-
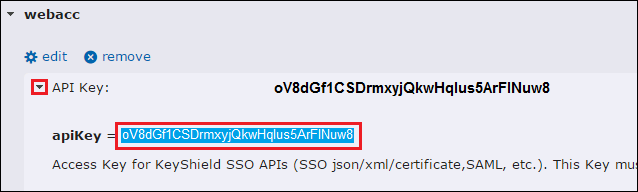
Switch to the KeyShield browser-based console, toggle open the API Key, then select and copy the key to your clipboard.
-
Switch to the Filr Administration panel and paste the API Key into the field.

-
The controls how long the Filr Appliance will wait for a response from the KeyShield server before prompting users for their login credentials.
Novell doesn’t recommend changing this value unless the connection between the Filr Appliance and the KeyShield SSO server doesn’t facilitate a quick response. For example the appliance and server are connected over a WAN.
-
In the Connector Names field, type the names of each KeyShield SSO connector that Filr users will connect through, then test the connection.
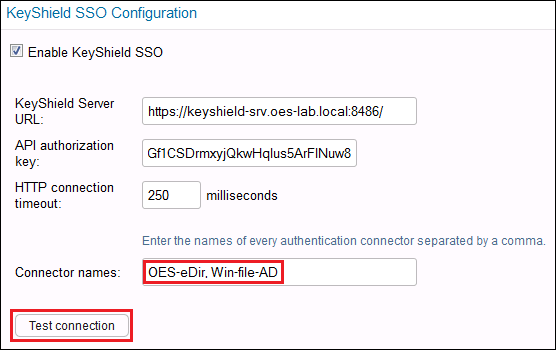
Because the Filr appliance doesn’t yet have the KeyShield SSO SSL certificate in its keystore, the test fails.
-
Continue with the next section, Downloading and Installing the KeyShield SSO SSL Certificate.
10.6.4 Downloading and Installing the KeyShield SSO SSL Certificate
-
Open a third browser session and access the Filr appliance on port 9443:
https://filr-ip-address-or-dns-name:9443
For example https:192.168.30.150:9443
-
Log in as vaadmin.
-
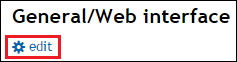
Switch to the KeyShield browser-based console and under General/Web Interface, click Edit.
-
Click the button for the .
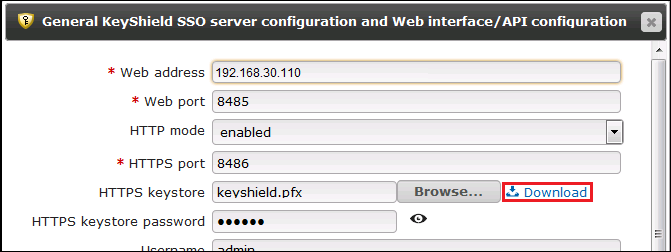
-
Save the Keyshield.cer file on the workstation running the browser.
-
Switch to the browser session opened in Step 1 and click the icon.

-
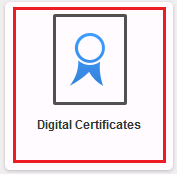
Click the icon.
-
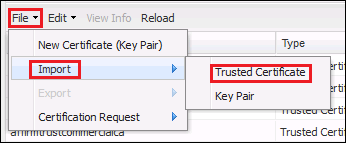
Click > > .
-
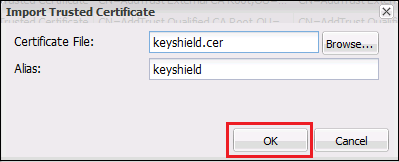
Click , then browse to the location where you saved the Keyshield.cer file and click .
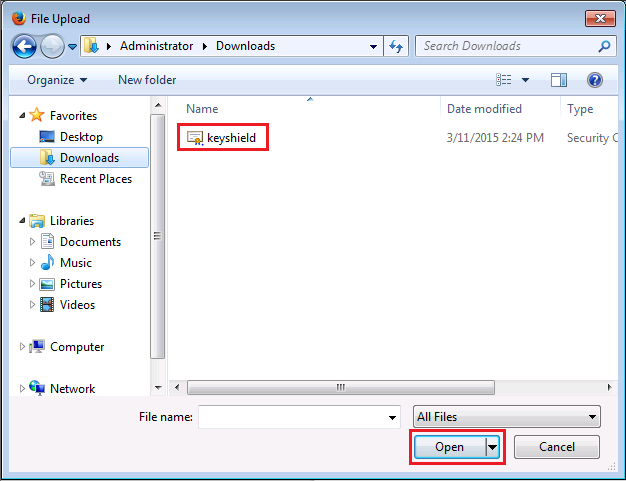
-
Click to import the certificate file.
-
Acknowledge the message about restarting the appliance by clicking .
-
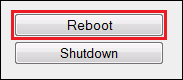
Click the back arrow in the browser, then select .
-
After the system restarts, continue with the next section, Testing the KeyShield SSO Configuration.
10.6.5 Testing the KeyShield SSO Configuration
-
Switch back to the Filr administration console (port 8443).
-
Click .

The test should succeed.
-
Click to finalize the configuration and complete the Keyshield SSO integration.