A.6 Installing and Configuring the Filr Appliance
For the hands-on exercises, Filr is installed using a small configuration. This means that Filr, the MySQL database, and the Lucene search server are installed together on the same virtual machine.
A.6.1 Downloading the Filr Files
To download Filr from the Web:
-
If you don’t already have a Novell account, register for one on the Web.
-
Access the Novell Downloads Web page.
-
Do a keyword search for .
-
In the section, click .
-
Click the button (upper-right corner of the first table).
-
If you are prompted to log in, type your > and , then click .
-
Accept the (required for first downloads only), and answer the survey questions about your download (optional).
-
Print the download page. You need the listed MD5 verification numbers in order to verify your downloads.
-
Scroll down to the section, then click the link.
-
Print the Download Instructions page for future reference.
-
Verify the integrity of each downloaded file by running an MD5-based checksum utility on it and comparing the values against the list that you printed in Step 8.
For example, on a Linux system you can enter the following command:
md5sum Filr.x86_64-0.0.version.ovf.zip
For a Windows system, you need to obtain a Windows-compatible MD5-based checksum utility from the Web and follow its usage instructions.
-
Continue with Deploying Filr.
A.6.2 Deploying Filr
-
Download the .zip file to your VMware virtual machine location.
-
Extract the .zip file until you have a folder containing three files with .mf, .ovf, and .vmdk extensions.
-
On VMware workstation, open the .ovf file.
To see the .ovf file listed, you might have to change the filter (by the File name field) to display all image files.
-
Change the VM name as shown, then click .
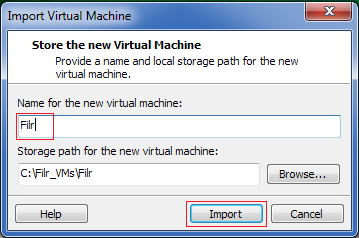
Filr is imported.

-
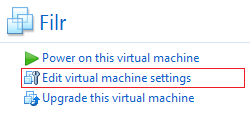
Click .
-
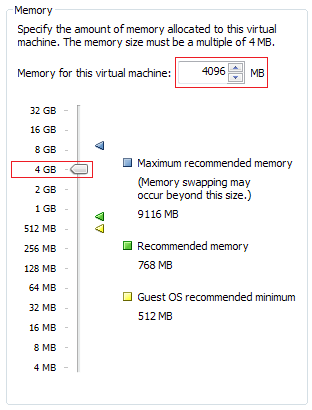
In the list, select , then reduce the memory allocation to 4 GB.
-
In the list, select , then click > .
-
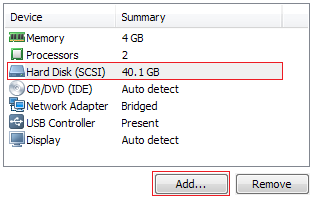
Click > > > > .
A second 20 GB hard disk is added.
-
In the Hardware list, click , then select .
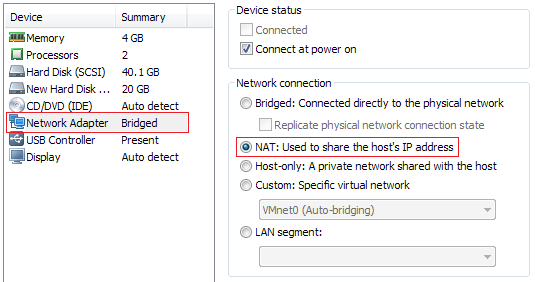
-
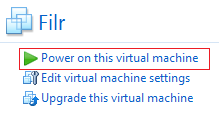
Click .
-
Click .
-
After the appliance starts, read and the license agreement.
-
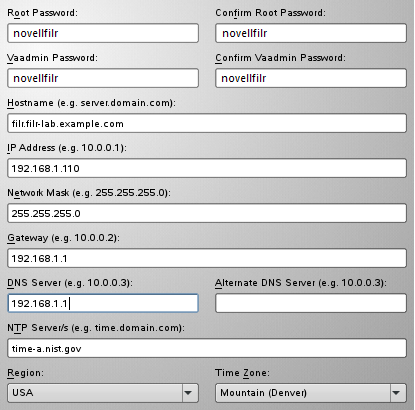
Complete the initial configuration settings, as shown in the screen shot below.
All administrative passwords are novellfilr. (In the actual dialog, passwords are obfuscated by asterisks (*).)
IMPORTANT:Ensure that the Time Zone settings match the settings of the OES 11 server that you specified in Step 24.
-
Click .
-
You created a second hard disk in Step 8, so click > > .
-
After the initial configuration process completes, you are instructed to open a browser and proceed with the configuration.
-
Continue with Configuring the Filr Appliance.
A.6.3 Configuring the Filr Appliance
-
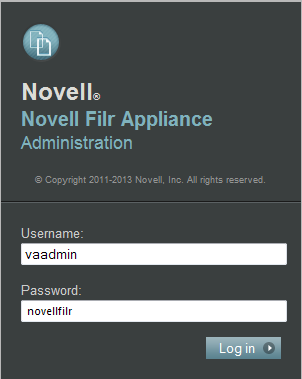
In your management browser, enter the following URL: https://192.168.1.110:9443.
-
Click through the security warnings and accept the certificate if needed.
-
Log in with Username: vaadmin and Password: novellfilr.
-
Click the icon.

-
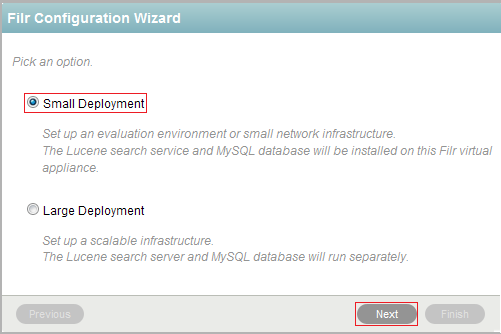
Ensure that is selected, then click .
A Small Deployment has all three Filr services (Filr, Search, and MySQL) running on the same appliance.
-
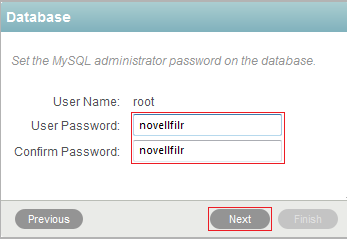
Specify and confirm novellfilr as the root user password, then click .
-
Click .
-
Wait until the appliance restarts, then continue with Adjusting the Java Heap Size.
A.6.4 Adjusting the Java Heap Size
By default the Java Heap Size is set to 4 GB. However, you have reduced the default memory (RAM) allocation for the appliance to 4 GB, so the heap size must also be set lower.
-
If needed, log in to the appliance management console again (https://192.168.1.110:9443) and click the icon.
-
Click .
-
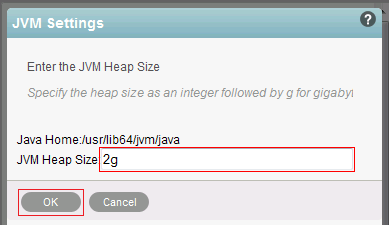
Change the to 2g, then click .
As a general rule, the heap size should be about 2 GB less than the total RAM assigned to the virtual appliance.
-
In the left panel, click .
-
After the appliance reconfigures, continue with Securing LDAP Synchronization between the Filr VA and the OES Server.
A.6.5 Securing LDAP Synchronization between the Filr VA and the OES Server
-
Generate a root certificate for the eDirectory tree:
-
In iManager, click the icon
 .
.
-
Click > .
-
Click the tab, then select the check box for the .
-
Click the sub-tab, select the check box again, then click the sub-tab.
-
Deselect .
The changes to DER.
-
Click .
-
Click > , then save the file to disk. Change the file name to something that you’ll remember and note the location.
-
Click > .
-
-
Import the certificate into the Java Keystore:
-
In the Filr Console, upper-right corner, click the Home link.
-
Click the icon.

-
Click the icon.
-
Click > > .
-
Browse to the certificate file that you saved in Step 1.g, then click .
-
Click > .
-
Click > > .
-
As soon as the Filr appliance restarts, both the OES server and Filr are prepared for the exercises in Section 3.0, Filr Hands-on Administration Exercises.