5.4 Setting Up the Other Hands-on Exercise Folders and Files
5.4.1 Creating Shares and Changing Share Permissions
Table 5-1 lists the rest of the Filr exercise folder names and the users to assign full share permissions.
Table 5-1 Share Permission Assignments
|
Folder Name |
Users to Assign Full Share Permissions |
|---|---|
|
Dev |
|
|
IS |
|
|
Mrktg |
|
|
Sales |
|
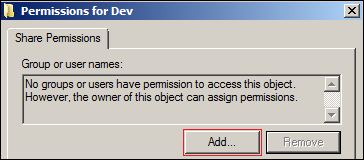
Create shares and assign share access by doing the following for each folder listed.
-
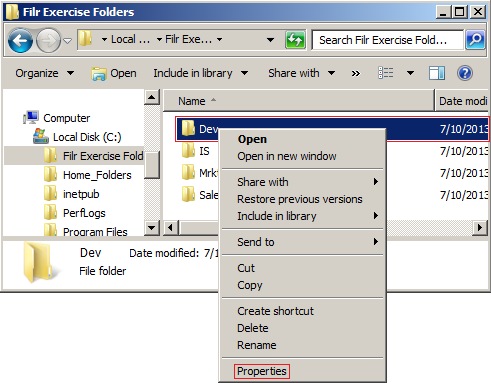
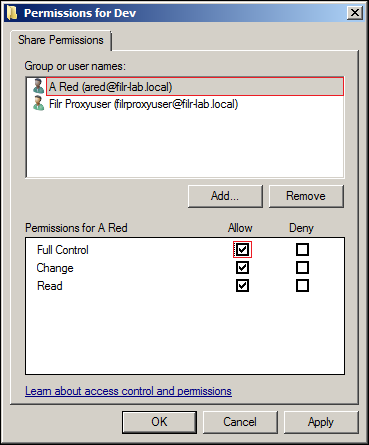
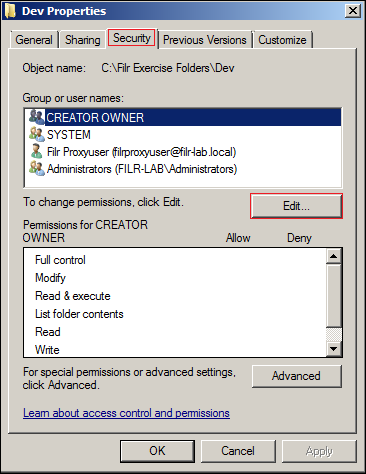
In Windows Explorer, right-click one of the four folders in Table 5-1, starting with Dev, then click .
-
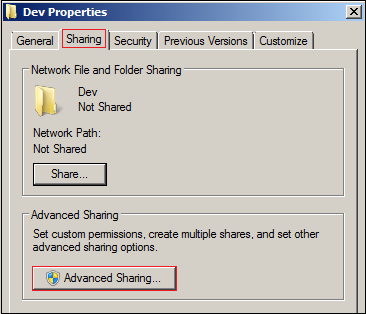
Click the tab, then click .
-
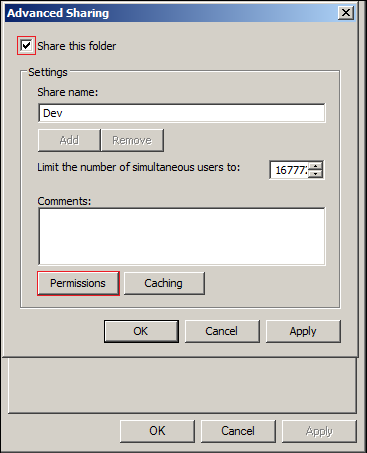
Select the option, then click .
-
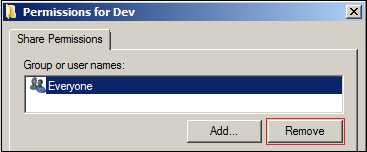
Click to remove access by the group.
-
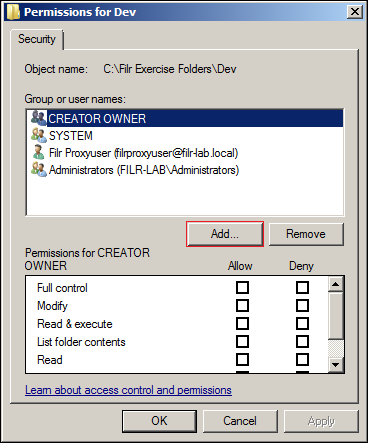
Click .
-
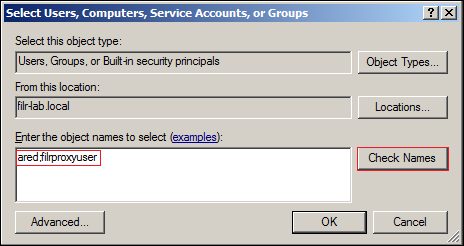
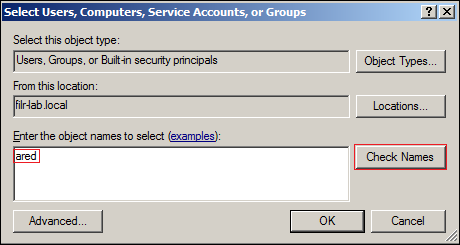
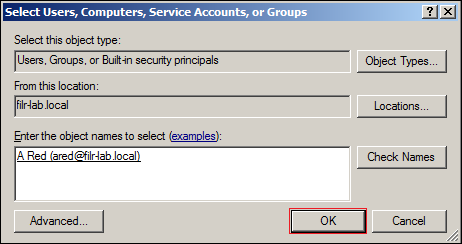
In the field, type the users listed in the second column of Table 5-1, separated by a semicolon.
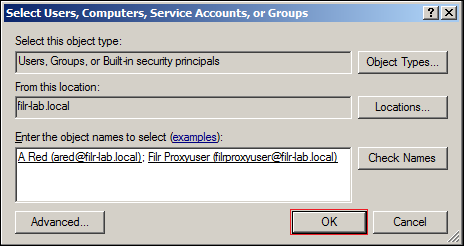
For example, for the Dev folder, type ared;filrproxyuser, then click to validate your entries.
-
Click .
-
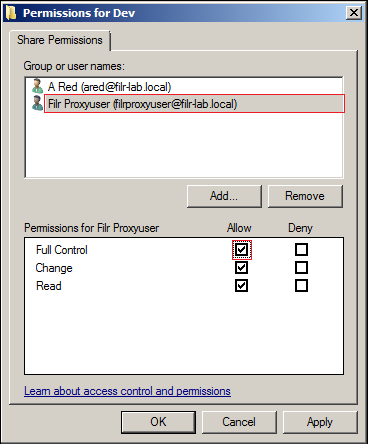
With selected, under > , select .
-
Select the other user and assign it as well.
-
Click > > .
-
Right-click the next folder (skipping Home_Folders), then repeat from Step 1 until all of the folders have been shared and secured.
-
Continue with Changing the NTFS Permissions.
5.4.2 Changing the NTFS Permissions
Table 5-2 lists the Filr exercise folder names and the users to assign full NTFS permissions.
Table 5-2 NTFS Permission Assignments
|
Folder Name |
Users to Assign Full NTFS Permissions |
|---|---|
|
Filr Exercise Folders |
filrproxyuser |
|
Dev |
ared |
|
IS |
ablue |
|
Mrktg |
ayellow |
|
Sales |
ablack |
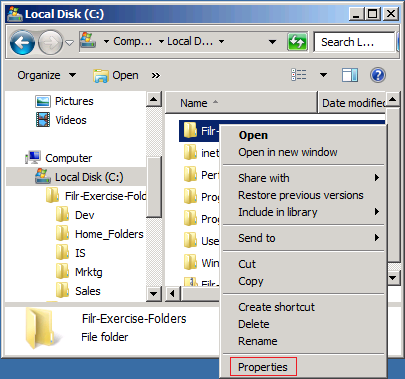
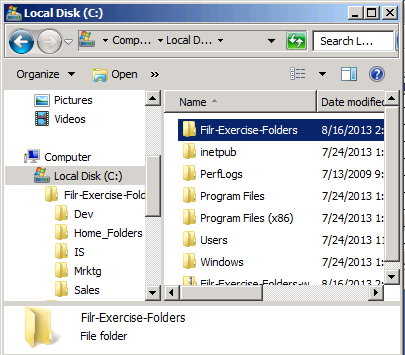
Adjust NTFS permissions to the Filr_Exercise_Folders folder by doing the following:
-
In Windows Explorer, right-click and select .
-
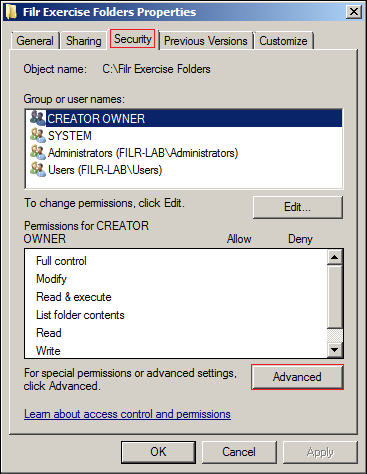
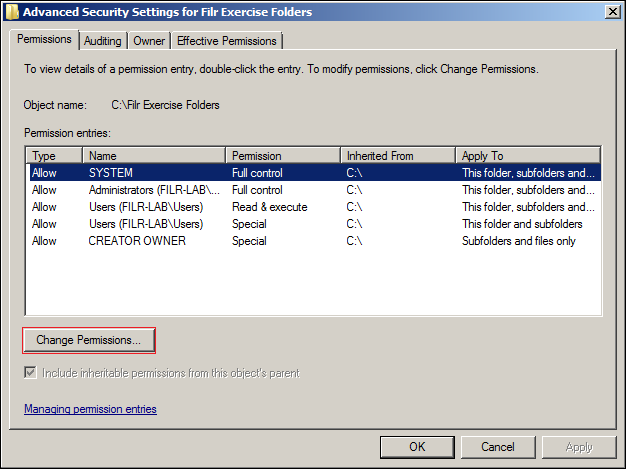
Click the tab, then click .
-
Click .
-
Deselect , then click .
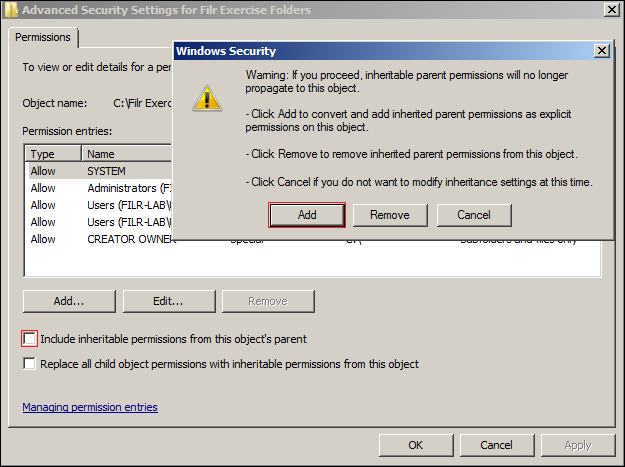
-
In the list, select the entries, then click .
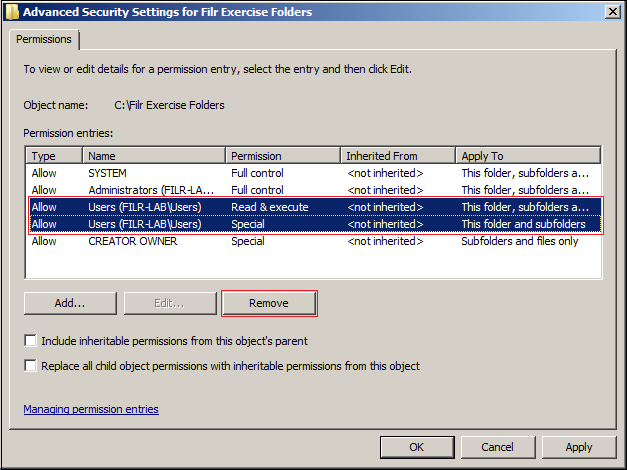
-
Click .
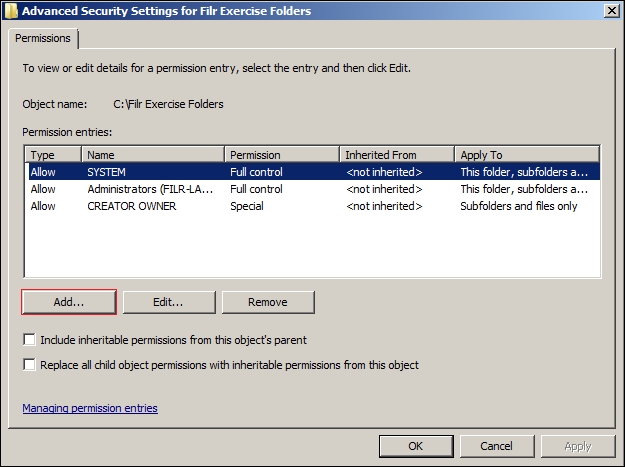
-
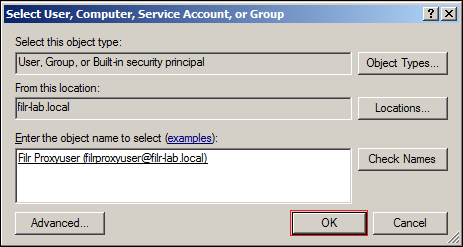
Type filrproxyuser, then click .
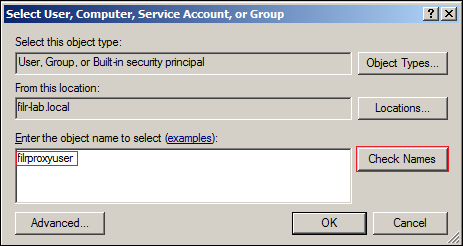
-
Click .
-
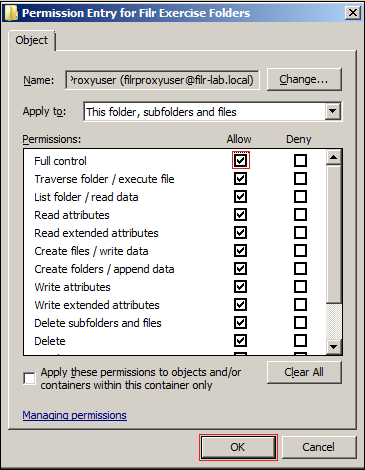
Allow full control, then click > > > .
-
Double-click .
-
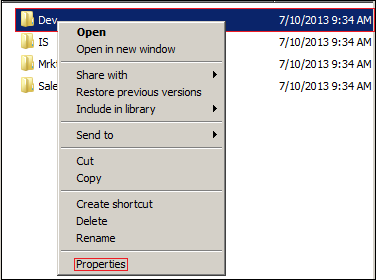
Right-click the Dev folder listed in the right frame, then select .
-
Click the tab, then click .
-
Click .
-
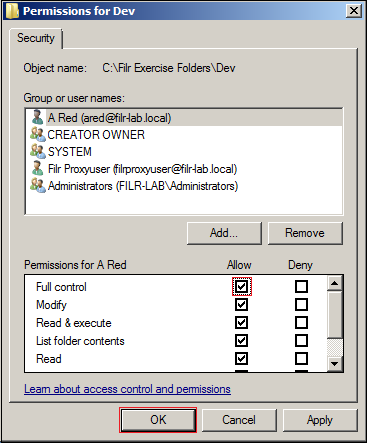
Referring to Table 5-2, type the user (object name) to assign full permissions to the directory (ared is for Dev), then click .
-
Click .
-
Allow full control, then click > .
-
Right-click the next folder name listed in Table 5-2, click , then repeat from Step 12 until full rights have been assigned as indicated in the table.
When all of the folders have been assigned, continue with Section 6.0, Deploying and Configuring the Filr Appliances.