8.10 Configuring Access Manager for NESCM
To use a smart card with Access Manager, you need to configure Access Manager to use the eDirectory server where you have installed the NESCM method. You then need to create a contract that knows how to prompt the user for the smart card credentials. The last task is to assign this contract to the protected resources that you want protected with a smart card. The following sections describe prerequisites and the tasks:
8.10.1 Prerequisites
-
Make sure you can authenticate to the eDirectory server using the smart card from a workstation.
-
The NESCM method needs to be installed on the eDirectory server and the workstation. See “Installing the Method”.
-
The NESCM method needs to be configured. See “Configuring the Server”.
-
Provision your smart card according to your company policy.
-
-
Make sure you have a basic Access Gateway configuration with a protected resource that you want to protect with a smart card. For more information, see the Novell Access Manager 3.0 SP4 Installation Guide and the Novell Access Manager 3.0 SP4 Setup Guide.
8.10.2 Creating a User Store
The Identity Server must be configured to use the eDirectory replica where you have installed the NESCM server method.
-
If you have already configured the Identity Server to use this replica, skip this section and continue with Section 8.10.3, Creating a Contract for the Smart Card.
-
If your Identity Server is using a different user store, you need to configure the Identity Server.
To configure the Identity Server for the eDirectory replica that has the NESCM method:
-
In the Administration Console, click > > > > > .
-
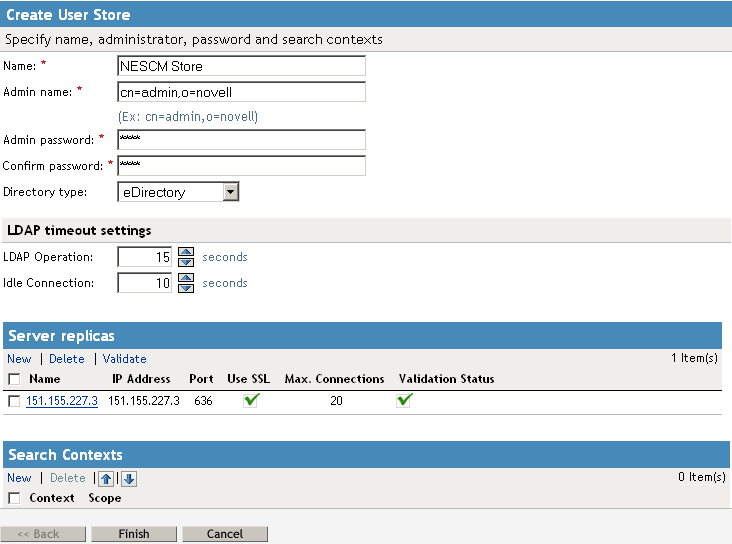
On the Create User Store page, fill the following fields:
Name: A display name for the eDirectory replica (for example, nescm_replica).
Admin Name: The distinguished name of the admin user of the directory. Administrator-level rights are required for setting up a user store.
Admin Password and Confirm Password: The password for the admin user and the confirmation for the password.
Directory Type: Select eDirectory.
-
In the Server replica section, click , and fill the following fields:
Name: The display name for the LDAP directory server (for example, nescm_server).
IP Address: The IP address of the LDAP directory server. The port is set automatically to the standard LDAP ports.
-
Click . You must enable SSL between the user store and the Identity Server. The port changes to 636, the secure LDAP port.
-
Click .
-
Click to confirm the import.
-
Select the to trust any certificate signed by that certificate authority.
-
Specify an alias, then click .
An alias is a name you use to identify the certificate used by Access Manager.
-
Click , then click .
-
Under , verify the .
The system displays a green check mark if the connection is valid.
-
(Optional) Set up a search context.
-
Click to save the information.
-
Continue with Section 8.10.3, Creating a Contract for the Smart Card
8.10.3 Creating a Contract for the Smart Card
You need to create a contract that uses the NESCM method. To do this, you need to first create an NMAS class, then a method that uses that class. The last task is to create a contract that uses the method. The following sections describe these tasks:
Creating an NMAS Class for NESCM
When you create a class, you can specify values for properties. In the following steps, you specify a property value that determines the sequence of login prompts that the user receives when authenticating with a smart card.
-
In the Administration Console, click > > > > > .
-
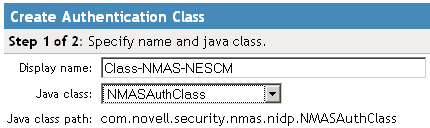
Specify a name for the class (for example, Class-NMAS-NESCM).
-
For the , select from the selection list.
-
Click .
-
On the Specify Properties page, click .

-
Specify the following values for the property:
Property Name: Specify NMAS_LOGIN_SEQUENCE
Property Value: Specify Enhanced Smart Card
These values match the method name as displayed in task > .
-
Click , then .
-
Continue with Creating a Method to Use the NMAS Class
Creating a Method to Use the NMAS Class
When creating a method, you can specify property values that are applied to just this method and not the entire class. In this tutorial, we want the method to use the same login sequence as the class. The method also allows you to specify which user stores can use the method. For a smart card method, you need to ensure that the user store or stores specified for the method have NESCM installed.
-
On the Local page for the Identity Server, click > .
-
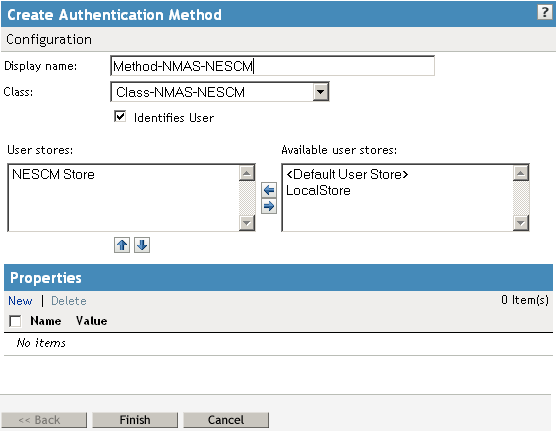
Specify a (for example, Method-NMAS-NESCM).
-
From the selection list, select the class created in Creating an NMAS Class for NESCM.
-
In the , select the user store created in Section 8.10.2, Creating a User Store, then click the left-arrow to move this user store into the list.
Leave other settings on this page unchanged.
-
Click .
-
Continue with Creating an Authentication Contract to Use the Method.
Creating an Authentication Contract to Use the Method
Contracts are the element you can assign to a protect a resource. Because NESCM uses certificates, you should assign only one method to a contract.
-
On the Local page for the Identity Server, click > .
-
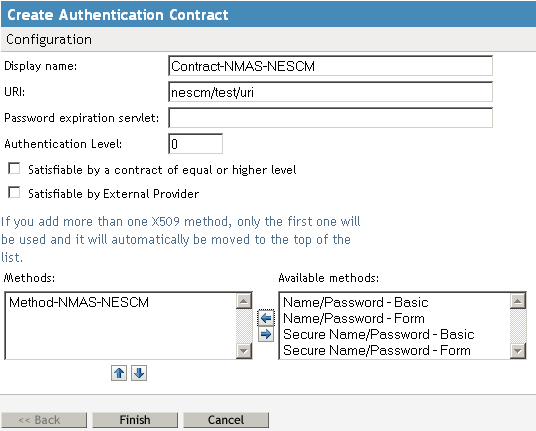
Specify a (for example, Contract-NMAS-NESCM-UserStore1).
-
Enter a (for example, nescm/test/uri).
The URI is used to identify this contract for external providers and is a unique path value that you create.
-
In the list, select the method created in Creating a Method to Use the NMAS Class, then click the left-arrow to move this method into the list.
All other fields can remain in the default state.
-
Click , then click .
-
Update the Identity Server by clicking .
-
Update the Access Gateway.
-
Continue with Section 8.10.4, Assigning the NESCM Contract to a Protected Resource
8.10.4 Assigning the NESCM Contract to a Protected Resource
Contracts must be created before they can be assigned to protected resources. The following steps explain how to assign the NESCM contract to an existing protected resource. If you have not created a protected resource, see the Novell Access Manager Setup Guide.
-
In the Administration Console, click > .
The reverse proxy should be configured with a resource that you want to protect with the smart card.
-
Click the link for the accelerator where you want to assign the NESCM contract.
-
To enable the NESCM contract on an existing protected resource, click the link for that resource, then in the selection list, select the NESCM contract created in Creating an Authentication Contract to Use the Method.
If the contract is not listed, make sure you have updated both the Identity Server and the Access Gateway, in this specified order. If you have multiple Identity Server configurations, make sure that the Access Gateway is assigned to the Identity Server configuration that contains the NESCM contract (click > > ).
-
Click .
-
Click the task, then update the Access Gateway.
-
Continue with Section 8.10.5, Verifying the User’s Experience.
8.10.5 Verifying the User’s Experience
-
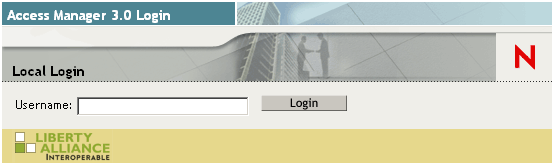
From the smart-card-equipped workstation, browse to and select the URL of the accelerator where the protected resource requiring NESCM type authentication is enabled.
-
When prompted by Access Manager, enter a .
-
When prompted for the smart card password, enter a password (the smart card PIN).
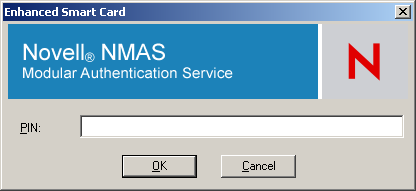
If the Smart Card contains a certificate that meets the defined criteria (in this example, a matching Subject name and trusted signing CA), the user is now successfully authenticated to the IDP and is connected through the Access Gateway to the protected resource.
8.10.6 Troubleshooting
|
Error |
Resolution |
|---|---|
|
Authentication fails without prompting the user for the token |
Verify that you have configured the class and method correctly. See Creating an NMAS Class for NESCM and Creating a Method to Use the NMAS Class |
|
Certificate validation fails |
Verify that a trusted root object created for the signing CA of the certificate on the Smart Card exists in the eDirectory trusted root container |