7.5 Modifying the Digital Airlines Example
The Digital Airlines example is a relatively simple server-side Web application that consists of a predefined PHP framework and its associated database, HTML, and graphic files. Although creating more robust Web applications for your actual production environment is outside the scope of this document, you might want to demonstrate the capabilities of Access Manager by using an example more tailored to your company.
This section explains how you change the look and feel of the Digital Airlines example by replacing its graphics with those you create yourself:
7.5.1 Prerequisites
-
Download and install the Digital Airlines example directory from the Novell Access Manager Demos Wiki site.
-
Create your own proprietary graphic files in GIF format to replace those in the default Digital Airlines example.
-
Select a suitable PHP or HTML editor that enables you to open, view, and edit the example source files.
Although you can edit files using a simple text-only editor, making changes to the example files is simpler if you use a more robust program that displays the source code integrated with your graphic files.
7.5.2 Understanding the Example Files
The files provided with the Digital Airlines example can be altered to meet your needs. The index.php and sales.php files in the htdocs directory are the master configuration files that define the visual appearance and functionality of the Web site. Other folders in the htdocs directory contain the image and database reference files required and specified by the PHP files.
Although you can change the functionality of this example by altering the PHP files, this document describes only how to integrate new graphic files into the existing database structure. By working through the Digital Airlines example, you should understand how to deploy Access Manager to protect your own Web services in a production environment.
7.5.3 Updating Static Graphics
You can easily update any of the graphic files contained in the Digital Airlines example:
Figure 7-6 Digital Airlines Composite GUI

-
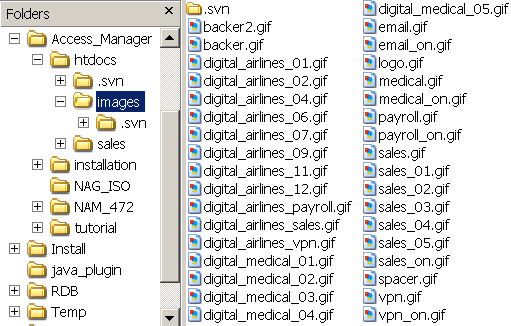
Navigate to the htdocs directory where your Digital Airlines components are located and open the images directory.
-
Open any of the GIF files to view the images you might want to replace.
For example, you might want to replace the Digital Airlines main header file with the look and feel of your own company:
Figure 7-7 digital_airlines_01.gif

-
Remember the name of this file, digital_airlines_01.gif.
-
Open the index.php file in an editor and search for digital_airlines_01.gif.

-
In the PHP code, notice the dimensions of the graphic are 747 pixels wide and 233 pixels high.
-
Create your own main header graphic file (your_company_01.gif) with approximately the same dimensions as the Digital Airlines graphic (digital_airlines_01.gif).
NOTE:Although your replacement graphics do not need to be exactly the same size, try to create the new files as close to the original size as possible to avoid possible display problems.
-
Replace the old digital_airlines_01.gif with your new your_company_01.gif.
-
In the PHP code editor, replace the old digital_airlines_01.gif name with your new your_company_01.gif string.

The PHP code points to this GIF file and the Web service will display it in the proper location and format when the HTML page is called.
-
Save the index.php file.
-
Repeat this procedure for every graphic in your sample that you want to replace, except mouse-over links. For this procedure, see Section 7.5.4, Updating Mouse-Over Links.
IMPORTANT:Check and update all of the sample graphics to give your own Web site a consistent look according to the design criteria of your company.
7.5.4 Updating Mouse-Over Links
Mouse-over links are dynamic links on your HTML Web page that change appearance when a user moves the mouse pointer over the link. Each of these links require two separate GIF files, one dormant file that displays normally on the Web page (Figure 7-8) and one active file, designated with the _on extension in its name, that is displayed when the mouse pointer hovers on the link (Figure 7-9).
Figure 7-8 Dormant medical.gif

Figure 7-9 Active medical_on.gif

The index.php file always defines where and how your GIF files are displayed on the active HTML Web page, as shown in the following code sample:

The following procedure explains how to update these mouse-over links with your own replacement graphics:
-
Follow the procedure outlined in Step 1 through Step 6 for the mouse-over links that you want to update.
Keep in the mind the pixel size requirements specified for your GIF files in index.php.
-
Name your new files [your_link].gif and [your_link]_on.gif.
-
In the htdocs/images folder, replace the original dormant and active GIFs with your new [your_link].gif and [your_link]_on.gif files.
-
In the PHP code editor, search for all instances of the old medical.gif and medical_on.gif files and replace with your new [your_link].gif and [your_link]_on.gif files.
-
Save the index.php file.
7.5.5 Deploying Your Updated Example Web Service
After you have updated and saved your PHP and graphics files in the htdoc sample folder, deploy the Web service explained in Section 7.1, Installation Overview and Prerequisites.