1.3 Installing the J2EE Agent on JBoss
The agent needs to be installed on the same machine as your JBoss server, and your JBoss server needs to be installed on a machine without any other Access Manager components. For other requirements, see Section 1.3.1, Prerequisites.
1.3.1 Prerequisites
-
You must know the path where the JBoss server is installed. For more information, refer to the JBoss documentation.
-
You must know the server configuration set you have selected for your JBoss server.
-
Verify that the machine meets the minimum requirements. See Section 1.2, Prerequisites.
-
If you use the custom configurations for JBoss, complete the steps in Section 1.3.2, Installing and Configuring the JBoss Web Deployer Service.
1.3.2 Installing and Configuring the JBoss Web Deployer Service
If you want to use a custom JBoss configuration, the Novell J2EE Agent depends on the JBoss Web deployer service. To verify if the JBoss Web deployer service is already installed, browse to the following location and check if a folder named jboss-web.deployer already exists:
<path-to-your-custom-configuration>/deploy/
If it does exist, proceed with installing the agent. See Section 1.3.3, Installing JBoss By Using the Installer.
If it does not exist, follow the steps given below to install and configure the JBoss Web deployer service for your JBoss server:
-
Enter the following command to copy the JBoss Web deployer:
cp -R <jboss-home>/server/default <path-to-your-custom-configuration>/deploy/
Replace <jboss-home> with the home directory of JBoss.
Replace <path-to-your-custom-configuration> with the location of the custom configuration.
-
To disable the services that JBoss Web deployer service depends on, open the <path-to-your-custom-configuration>/deploy/jboss-web.deployer/META-INF/jboss-service.xml file and comment lines that are within <depends></depends> tags. By default, JBoss depends on the following services:
<depends>jboss:service=TransactionManager</depends>
<depends>jboss.jca:service=CachedConnectionManager</depends>
You need to do this in order to be able to use the custom JBoss configuration.
-
Open the <path-to-your-custom-configuration>/deploy/jboss-web.deployer/server.xml file and delete content within <CachedConnectionValve></CachedConnectionValve> tags.
-
Add the required security services to the <path-to-your-custom-configuration>/conf/jboss-service.xml file within the <mbean></mbean> tags. For example:
<mbean code="org.jboss.security.plugins.SecurityConfig"
name="jboss.security:service=SecurityConfig">
<attribute name="LoginConfig">jboss.security:service=XMLLoginConfig</attribute>
</mbean>
<mbean code="org.jboss.security.auth.login.XMLLoginConfig"
name="jboss.security:service=XMLLoginConfig">
<attribute name="ConfigResource">login-config.xml</attribute>
</mbean>
<!-- JAAS security manager and realm mapping -->
<mbean code="org.jboss.security.plugins.JaasSecurityManagerService"
name="jboss.security:service=JaasSecurityManager">
<attribute name="ServerMode">true</attribute>
<attribute name="SecurityManagerClassName">org.jboss.security.plugins.JaasSecurityManager</attribute>
<attribute name="DefaultUnauthenticatedPrincipal">anonymous</attribute>
<attribute name="DefaultCacheTimeout">1800</attribute>
<attribute name="DefaultCacheResolution">60</attribute>
<attribute name="DeepCopySubjectMode">false</attribute>
</mbean>
-
Copy the login-config.xml and standardjboss.xml files from the <jboss- home>/server/default/conf location to the <path-to-your-custom-configuration>/conf location.
-
Copy the ejb-deployer.xml file from the <jboss-home>/server/default/deploy/ location to the <path-to-your-custom-configuration>/deploy location.
-
Specify the following commands to copy the additional JAR files in sequence:
cd default/lib/
cp jboss.jar jboss-j2ee.jar jbosssx.jar servlet-api.jar
jsp-api.jar jbossws* el-api.jar jboss-ejb3x.jar <path-to-your-custom-configuration>/lib
-
Restart the JBoss application server.
-
Proceed with the installation of the JBoss Agent. For more information, see Section 1.3.3, Installing JBoss By Using the Installer.
1.3.3 Installing JBoss By Using the Installer
-
Download the agent installer from Novell.
-
If JBoss is running, stop JBoss.
-
Run the installer.
-
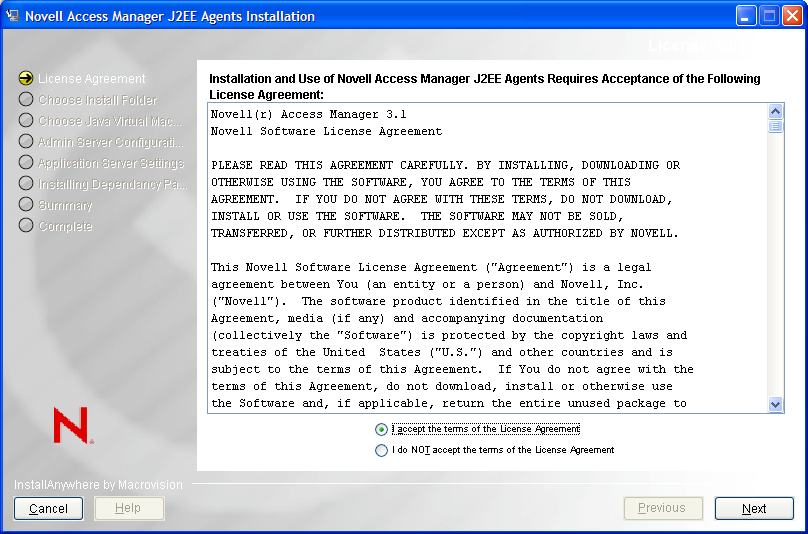
Review the License Agreement, accept it, then click . The installation selection page is displayed.
-
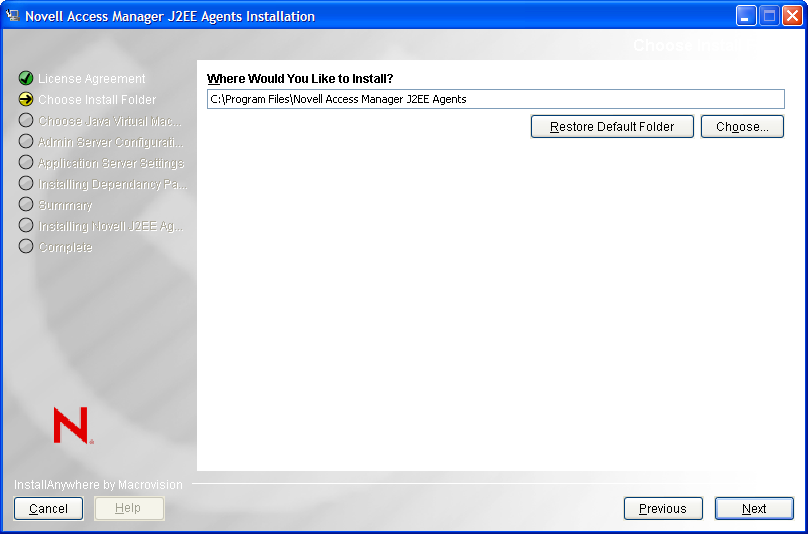
Select a directory to install the Novell J2EE agent components, then click . The Choose a Java Virtual Machine page is displayed.
-
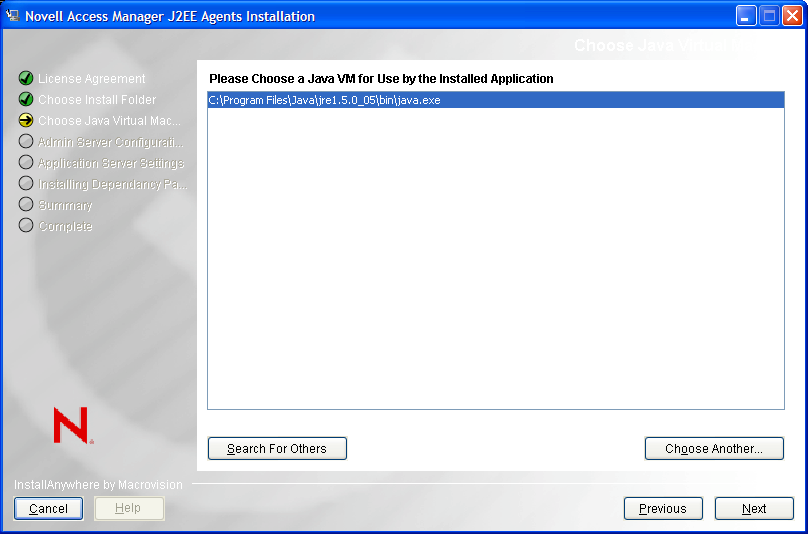
Select a Java Virtual Machine (JVM*) to be used by the installed application.
A default JVM is displayed.
NOTE:If you do not select a JVM here, the installer uses the java.home property value of the Java runtime that is used to run the installer to proceed with the installation.
-
(Optional) If you want to select another JVM, click and browse to select the JVM of your choice. Click to get a list of available JVMs and select the one you want to choose.
-
Click . the Administration Server Communication page is displayed.
-
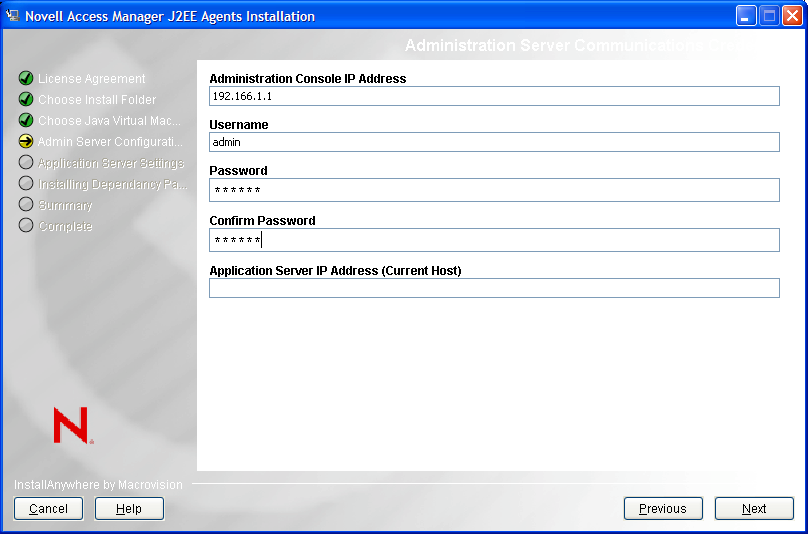
Specify the following information required for server communication between the agent and the Administration Console.
Administration Console IP Address: Specify the IP address of your Novell Access Manager Administration Console.
Username: Specify the username of the admin user of the Novell Access Manager Administration Console.
Password: Specify password of the admin user of the Novell Access Manager Administration Console.
Confirm Password: Specify the password again to confirm it.
Application Server IP Address (Current Host): Review the entered address. If your server is configured for more than one IP address, make sure you specify the IP address of the machine from which the Novell Access Manager administration console is reachable.
-
Click
-
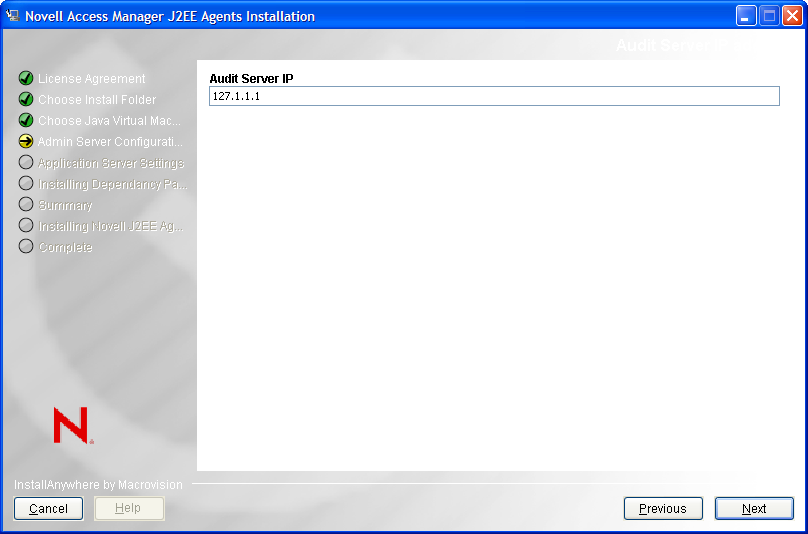
(Conditional) If you do not have the audit server installed, the J2EE installer installs the Audit server for you. Specify the IP address of the Novell Access Manager Administration Console as the .
-
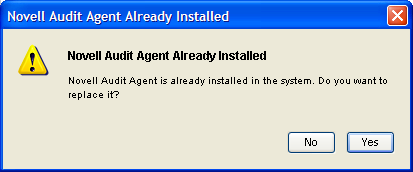
(Conditional) If you have the Audit server installed:
-
You are prompted to specify if you want to replace the existing audit server or use the existing server.
-
(Conditional) If you click , the Audit Server Setting page is displayed.
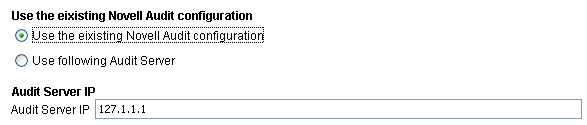
Select
-
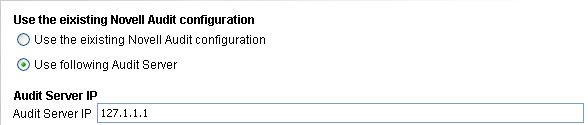
(Conditional) If you click , select Use following Audit Server, then specify an IP address of the Audit server.
-
-
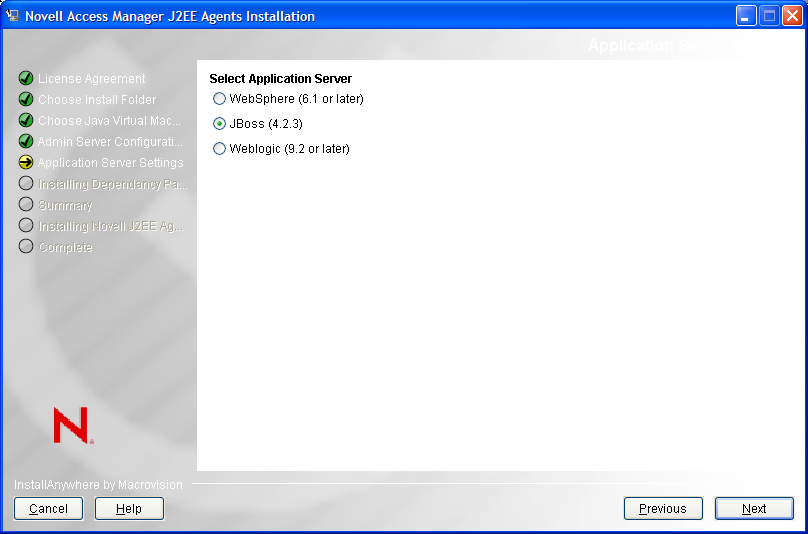
Click . The Select Application Server page is displayed.
-
Click at the Alert page.

-
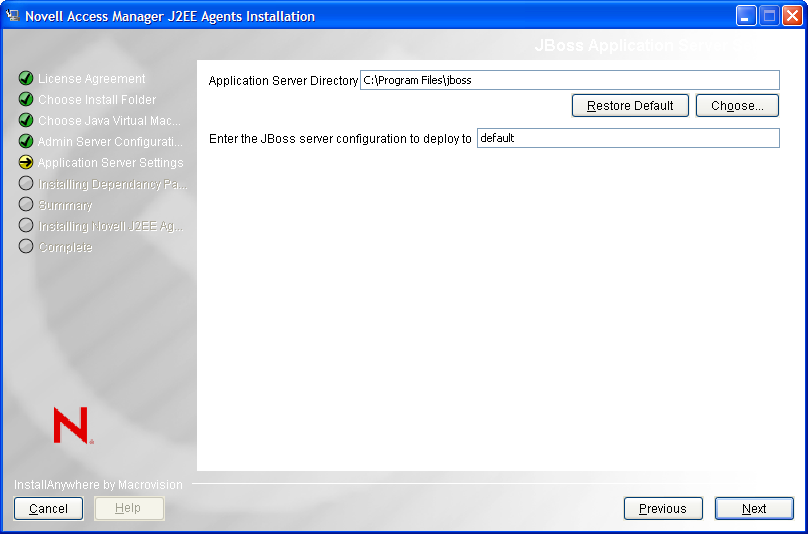
Select , then click . The JBoss Application Server Settings page is displayed.
-
Specify the following information:
-
Application Server Directory: Specify the directory where you have installed the JBoss server.
-
Enter the JBoss server configuration to deploy to: Specify the name of the server configuration folder.
-
-
Click . The JCC Dependencies page is displayed.
-
Click to install the dependent JCC packages.
-
Review the installation summary, then click to install the agent.
-
Click when the installation is complete.
-
When the installation completes, start JBoss.
The agent is not imported into the Administration Console until the JBoss server is running.
-
To verify the installation of the agent, see Section 1.6, Verifying If a J2EE Agent Is Installed.
1.3.4 Installing the JBoss Agent Through the Console
-
Download the J2EE agent for JBoss from Novell.
-
Enter the following command in the command prompt to run the installer on the console:
<filename> -i console
Replace <filename> with the name of the J2EE agent installer.
-
Review the License Agreement, then press Y to accept it.
-
Specify an absolute path to install the Novell J2EE agent components, or press Enter to continue with the default installation path.
-
Specify a Java Virtual Machine (JVM) to be used by the installed application.
All the available JVMs are displayed with a number. The default JVM is displayed with an arrow. Press Enter to select the default JVM, or specify the number of one of the listed JVMs.
-
Specify the following information required for communication between the agent and the Administration Console:
-
Specify the IP address of your Novell Access Manager Administration Console.
-
Specify the username and password of the admin user of the Novell Access Manager Administration Console. Confirm the password by re-entering it.
-
Specify the IP address of the Application Server. If your server is configured for more than one IP address, make sure you specify the IP address of the machine from which the Novell Access Manager administration console is reachable.
-
-
(Conditional) If you do not have the Audit server installed, J2EE installer installs the Audit server for you. Specify the IP address of the Novell Access Manager Administration Console as the , then press Enter.
-
(Conditional) If the Audit server is already installed on your machine:
-
You are asked to specify if you want to replace the existing Audit server or use the existing server.
-
Press 1 to use the existing Audit server.
-
Press 2 to replace the existing Audit server.
-
-
(Conditional) Press 1 to use the existing Novell Audit Configuration.
-
(Conditional) Press 2 to use a different Audit Server and then specify the IP address.
-
-
Specify a number for the Web Application Server installed. Specify 2 for JBoss, then press Enter.
-
Read the alert message and press Enter to continue.
-
Specify Directory where you have installed the JBoss server, then press Enter to continue.
-
Specify the name of the server configuration folder, then press Enter.
-
Review the installation summary, then press Enter to install the agent.
-
To verify the installation of the agent, see Section 1.6, Verifying If a J2EE Agent Is Installed.