1.4 Installing the J2EE Agent on WebSphere
The agent needs to be installed on the same machine as your WebSphere server, and your WebSphere server needs to be installed on a machine that does not contain any Access Manager components.
The WebSphere agent now supports the WebSphere LTPA and SWAM authentication mechanisms. To support this mechanism, the J2EE agent installer modifies the following JAAS login configurations in your WebSpehere configurations: LTPA, LTPA_WEB, SWAM, and WEB_INBOUND.
1.4.1 Prerequisites
-
You must know the following about your WebSphere installation:
-
Path to the directory where WebSphere is installed.
-
Username and password of the WebSpehere administrator.
-
-
Verify the version of the JVM used by WebSphere and download and install the JVM of same version. Do not use the JVM provided by WebSphere.
-
Verify that the machine meets the minimum requirements. See Section 1.2, Prerequisites.
NOTE:If you have disabled the admin security feature in Websphere, the installation of J2EE agent will be successful, but you must enable admin security to import the Agents into the administration console.
1.4.2 Installing on WebSphere By Using the Installer
-
Download the agent installer from Novell.
-
Run the installer.
-
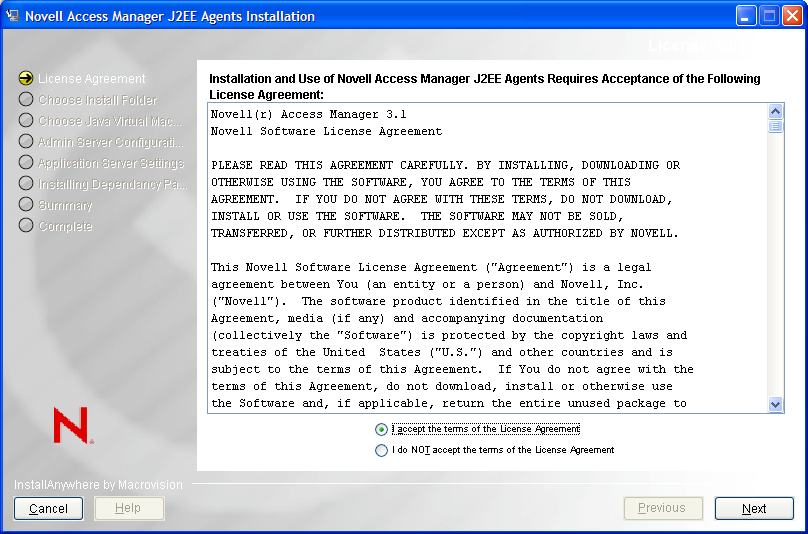
Review the License Agreement, accept it, then click . The installation selection page is displayed.
-
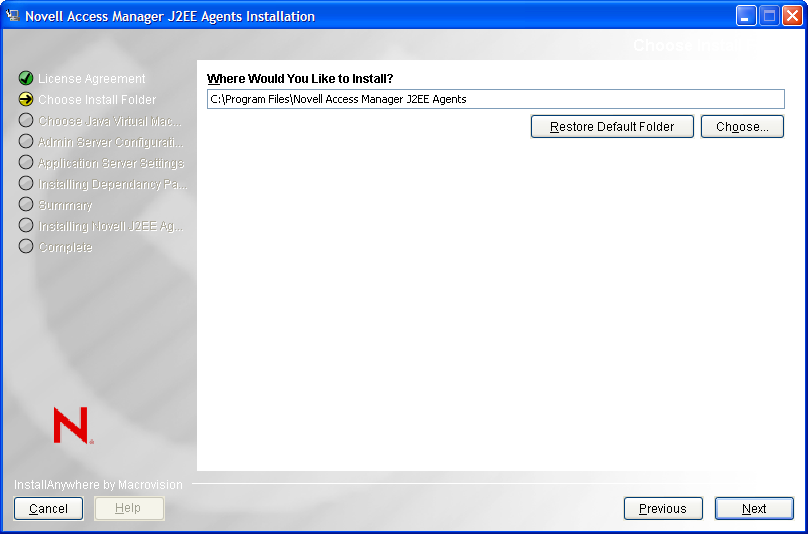
Select a directory to install the Novell J2EE agent components, then click . The Choose Java Virtual Machine page is displayed.
-
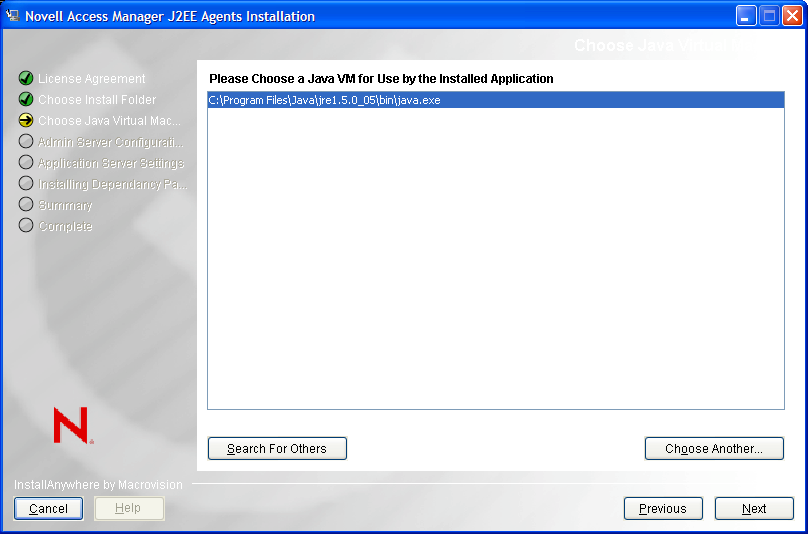
Select a Java Virtual Machine (JVM*) to be used by the installed application.
A default JVM is displayed.
NOTE:If you do not select a JVM here, the installer uses the java.home property value of the Java runtime that is used to run the installer to proceed with the installation.
-
(Optional) If you want to select another JVM, click and browse to select the JVM of your choice. Click to get a list of available JVMs and select the one you want to choose.
-
Click . The Administration Server Communication page is displayed.
-
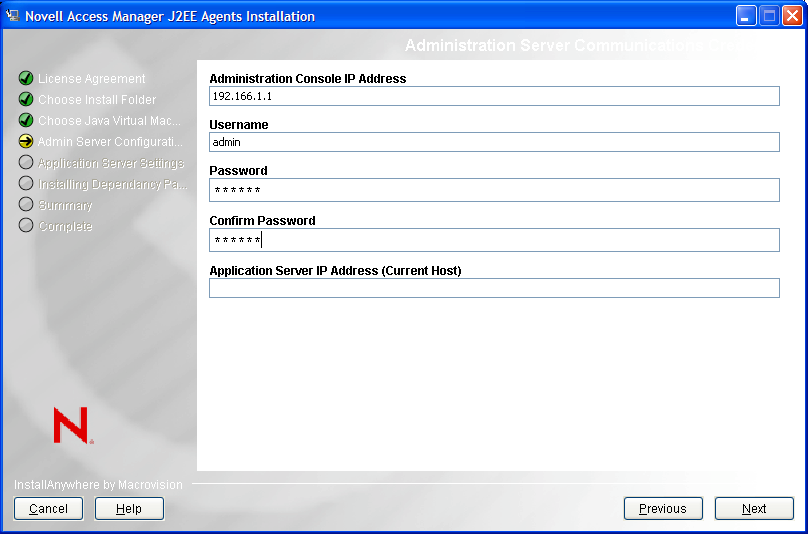
Specify the following information required for server communication between the agent and the Administration Console.
Administration Console IP Address: Specify the IP address of your Novell Access Manager Administration Console.
Username: Specify the username of the admin user of the Novell Access Manager Administration Console.
Password: Specify password of the admin user of the Novell Access Manager Administration Console.
Confirm Password: Specify the password again to confirm it.
Application Server IP Address (Current Host): Review the entered address. If your server is configured for more than one IP address, make sure you specify the IP address of the machine from which the Novell Access Manager administration console is reachable.
-
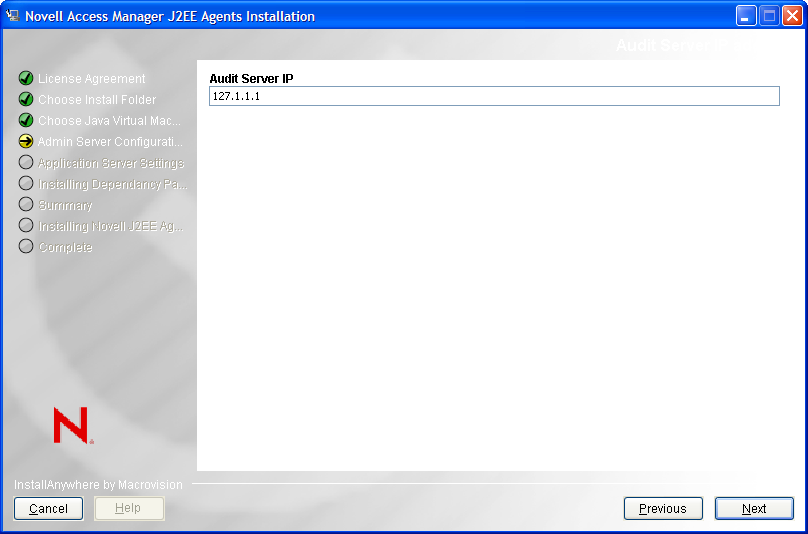
Click . The Audit Server page is displayed.
-
You have to specify the audit server IP address.
-
If you do not have the audit server installed, the J2EE installer installs the Audit server for you. Specify the IP address of the Novell Access Manager Administration Console as the .
-
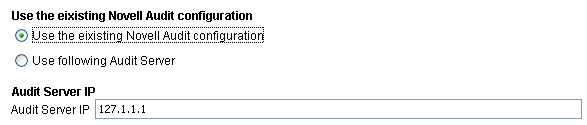
If you have the Audit server installed, specify if you want to replace the existing audit server or use the existing server.
-
-
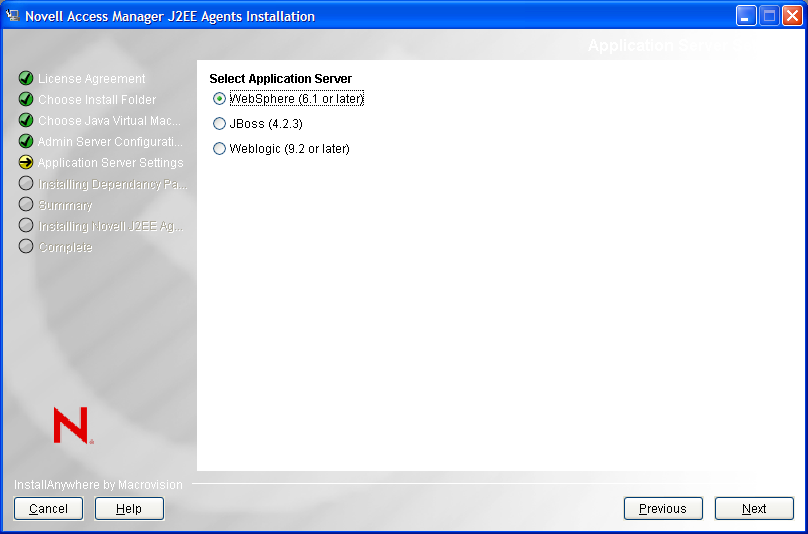
Click . The Select Application Server page is displayed.
-
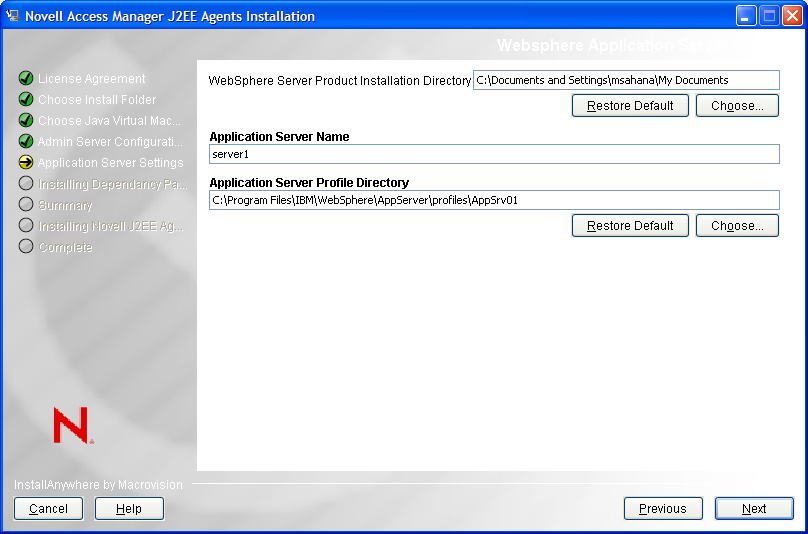
Select , then click . The WebSphere Application Server Settings page is displayed.
-
Specify the directory where you have installed the WebSphere server and click .
The JCC Dependencies page is displayed.
-
Click to continue with the Agent installation.
-
Review the installation summary, then click to install the agent.
When installation is complete, The Configure IBM WebSphere Application Server Instance page is displayed.
-
(Conditional) Select the option to configure application server instances and click . The configuration utility is launched. Complete the configuration procedure in Section 1.4.4, Configuring WebSphere for J2EE Agents.
-
(Conditional) If you choose to perform the configuration at a later point of time, click . The successful installation page is displayed.
-
Click to quit the installer.
1.4.3 Installing the WebSphere Agent Through the Console
-
Download the agent installer from Novell.
-
Enter the following command in the command prompt to run the installer on the console:
<filename> -i console
Replace <filename> with the name of the J2EE agent installer.
-
Review the License Agreement, then press Y to accept it.
-
Specify an absolute path to install the Novell J2EE agent components, or press Enter to continue with the default installation path.
-
Specify a Java Virtual Machine (JVM) to be used by the installed application.
All the available JVMs are displayed with a number. The default JVM is displayed with an arrow. Press Enter to select the default JVM, or specify the number of one of the listed JVMs.
-
Specify the following information required for communication between the agent and the Administration Console:
-
Specify the IP address of your Novell Access Manager Administration Console.
-
Specify the username and password of the admin user of the Novell Access Manager Administration Console. Confirm the password by re-entering it.
-
Review the entered address. If your server is configured for more than one IP address, make sure you specify the IP address of the machine from which the Novell Access Manager administration console is reachable.
-
-
(Conditional) If you do not have the Audit server installed, J2EE installer installs the Audit server for you. Specify the IP address of the Novell Access Manager Administration Console as the , then press Enter.
-
(Conditional) If the Audit server is already installed on your machine:
-
You are asked to specify if you want to replace the existing Audit server or use the existing server.
-
Press 1 to use the existing Audit server.
-
Press 2 to replace the existing Audit server.
-
-
(Conditional) Press 1 to use the existing Novell Audit Configuration.
-
(Conditional) Press 2 to use a different Audit Server and then specify the IP address.
-
-
Specify a number for the Web Application Server installed. Specify 1 for WebSphere, then press Enter.
-
Read the alert message and press Enter to continue.
-
Specify the directory where you have installed the WebSphere server. Press Enter to continue.
-
Review the installation summary, then press Enter to install the agent.
-
To verify the installation of the agent, see Section 1.6, Verifying If a J2EE Agent Is Installed.
1.4.4 Configuring WebSphere for J2EE Agents
After you install the WebSphere application server, you must configure it for the J2EE Agent as follows using the ConfigureWSAgent utility:
NOTE:You can run the ConfigureWSAgent utility multiple times, to configure multiple instances of a WebSphere application server on a single physical machine.
-
Start the ConfigureWSAgent utility located at:
Linux/AIX: /opt/novell/nids-agents/bin
Windows: <Installation-directory>/nids-agents/bin
-
Ensure that WebSphere is running.
-
Review the License Agreement, accept it, then click . The Novell J2EE Agent Configuration page is displayed.
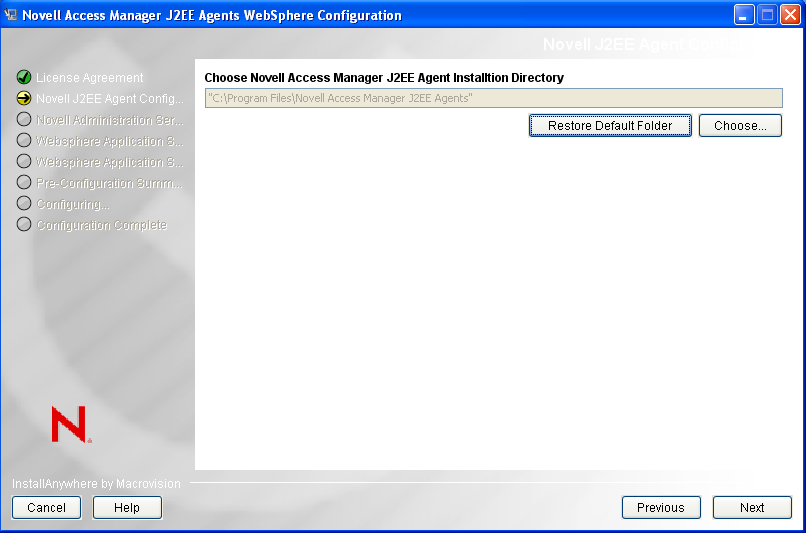
-
Select the directory where the J2EE agent is installed and click . The Novell Administration Server Communications Credentials page is displayed.
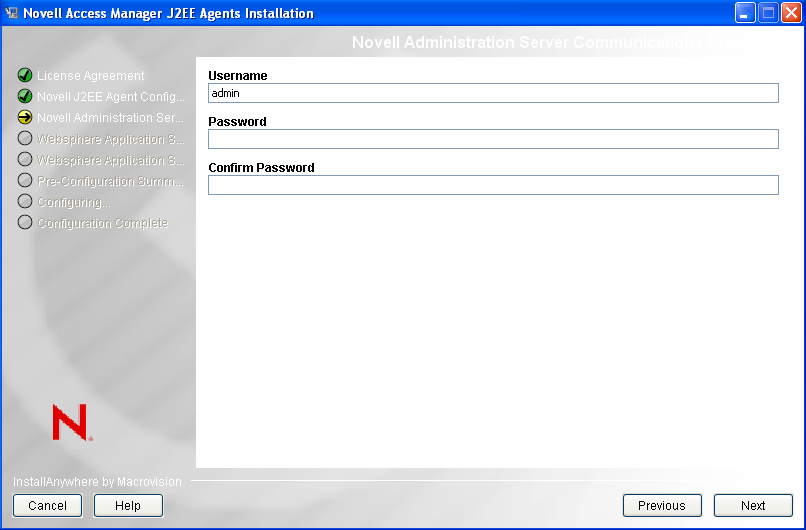
-
Specify the administration credentials to contact the Novell Access Manager and click . The Websphere Application Server Settings page is displayed.
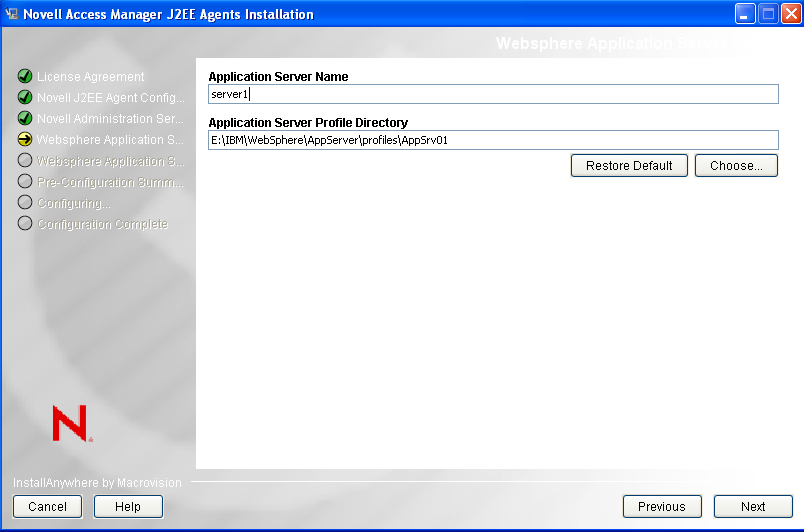
-
Specify the following:
Application Server Name: Specify the name for the application server.
Application Server Profile Directory: Specify the path to the application server profile.
-
Click . The WebSphere Application Server Security Settings page is displayed.
-
Specify the following:
Username: Specify the name of the WebSpehere administrator.
Password: Specify the password of the WebSphere administrator.
Re-enter Password: Specify the password again to reconfirm.
-
Click . The Pre-configuration Summary page is displayed.
-
Click to configure changes required for this application server instance. The Configuration Complete page is displayed.
-
Click to exit the utility.
-
When the installation completes, restart WebSphere.
The agent is not imported into the Administration Console until the WebSphere server is running.
-
(Conditional) If you are using the WEB_INBOUND login configuration (which is the default), you need to manually move the J2EE agent login module (com.novell.nids.agent.auth.websphere.NidsLTPALoginModule) to the top of the list:
-
Open the IBM administration console.
-
Click >
-
Expand the option and click .
-
Select > .
-
Change the order of com.novell.nids.agent.auth.websphere.NidsLTPALoginModule so it is first in the list.
-
Save your changes.
-
-
(Optional) To verify the installation of the agent, see Section 1.6, Verifying If a J2EE Agent Is Installed.