3.3 Installing the Linux Access Gateway
-
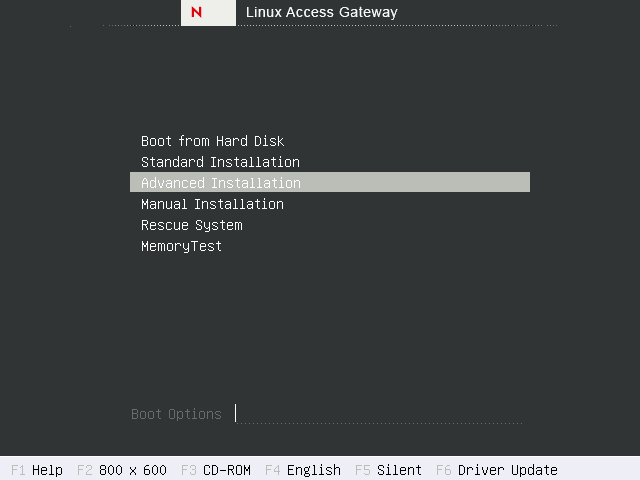
Restart the system. Insert the Linux Access Gateway installation CD.
The boot screen appears.
-
Use the down-arrow key and select .
-
If an error message on continuing the text mode of installation is displayed, press to continue with the installation.
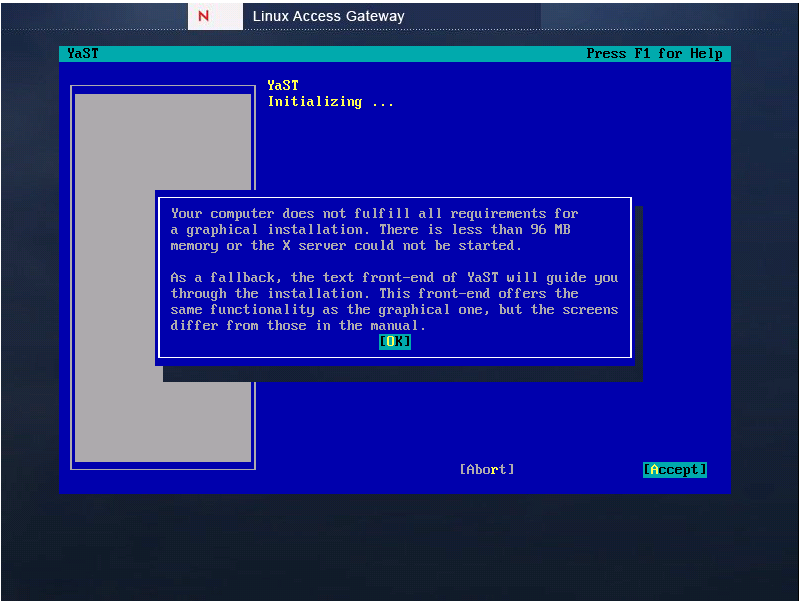
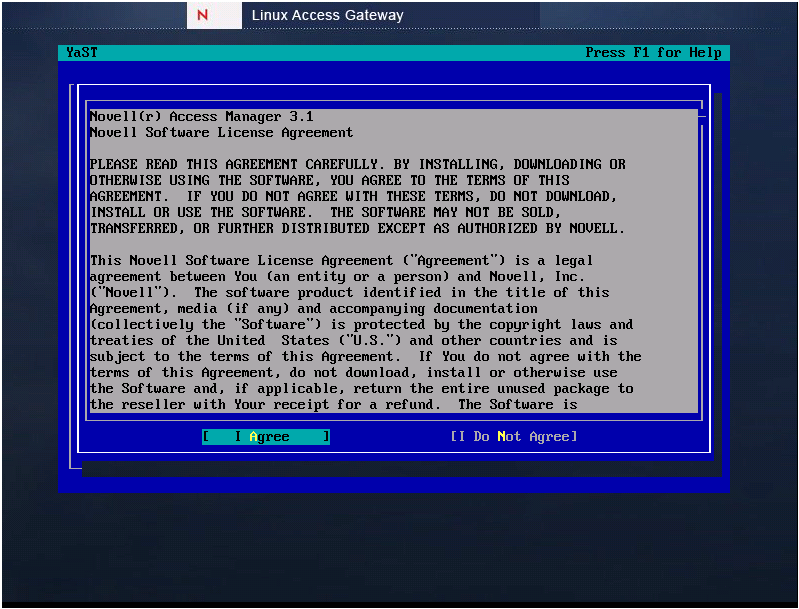
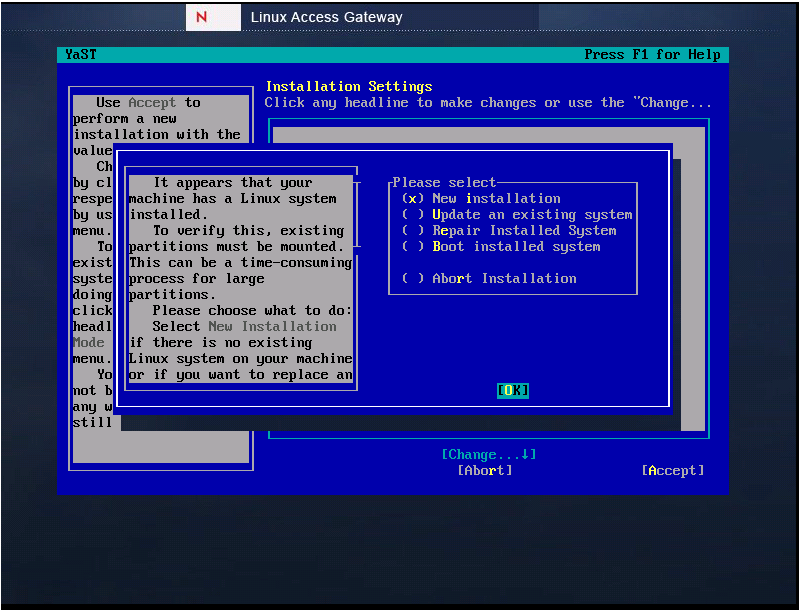
The Linux kernel loads, and the advanced installation starts and displays the Linux Access Gateway splash screen followed by the License Agreement screen.
-
Read the agreement, then select to proceed.
-
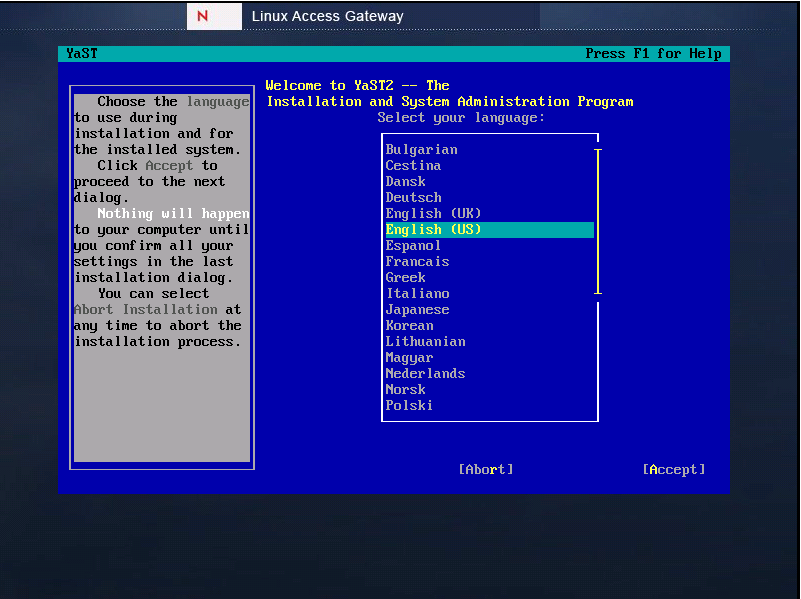
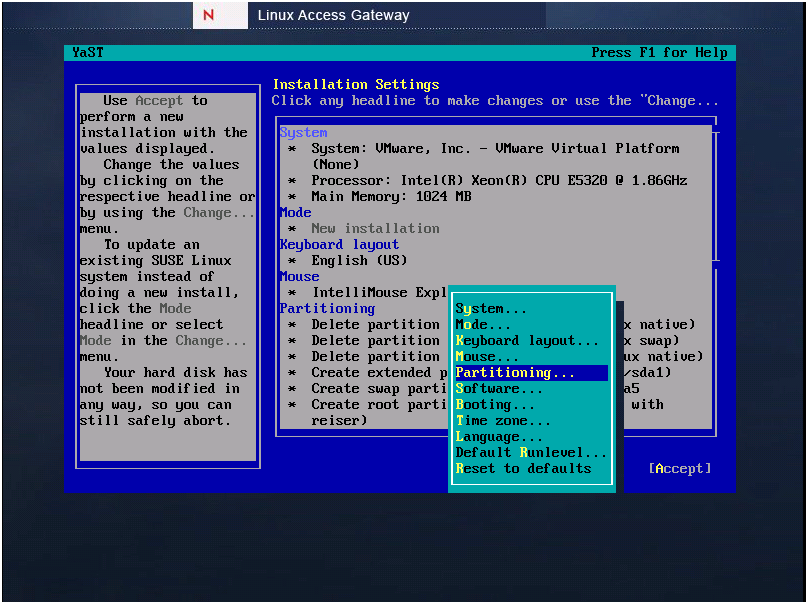
Select on the Language selection screen, then select
-
Select , then select .
-
Select , then select .
-
Select , then tab to.
-
Select , then tab to .
-
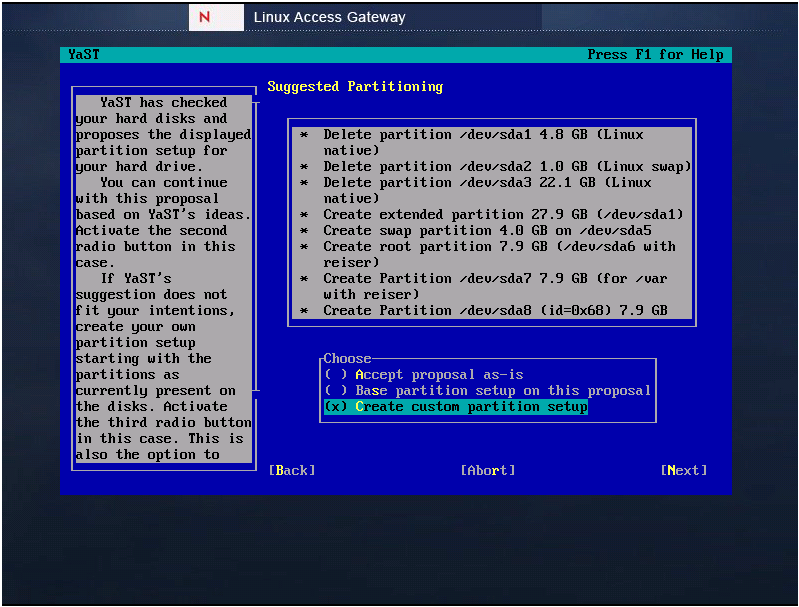
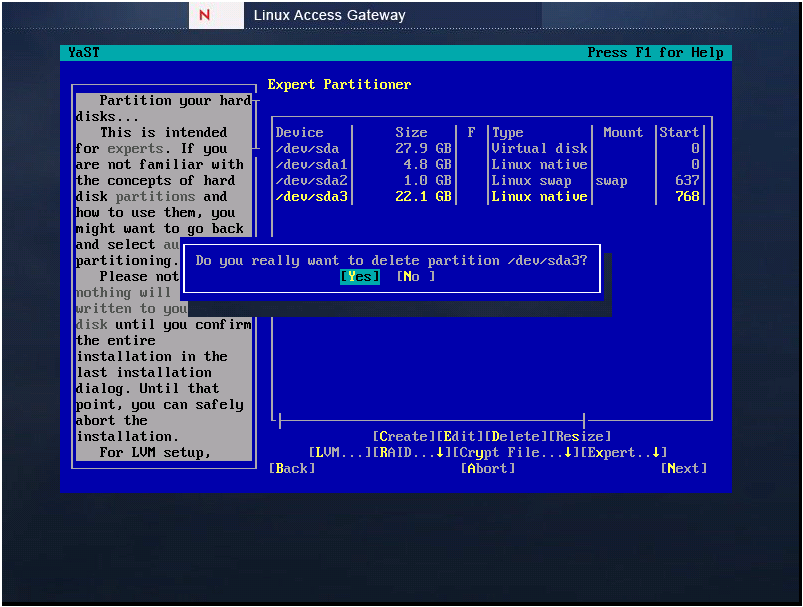
To get free space to install Linux Access Gateway, select an existing partition in RHEL for removal. If you already have free space, go to Step 12.
-
Select when prompted to reconfirm deletion.
-
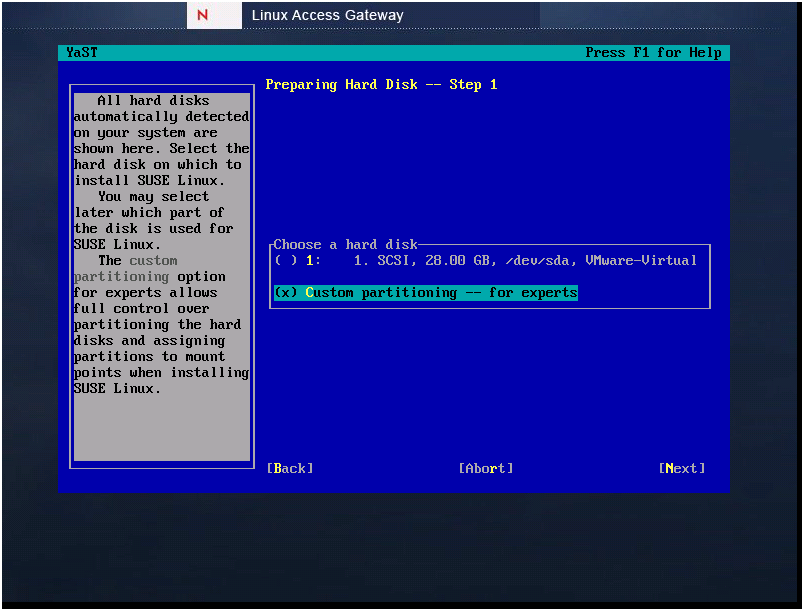
Select to create a new partition.
-
Select , then tab to

-
Specify 100 GB as the value, then tab to .

-
Create a root partition as follows:
-
Select , select , then select .

-
Fill in the following fields:
Format: Make sure is selected.
File system: Select for the type.
Size: Specify +30GB for the cylinder value.
Mount Point: Select as the mount point.
-
Select .
-
-
Create a var partition as follows:
-
Select the hard drive, select >, then select .

-
Fill in the following fields:
Format: Make sure is selected.
File system: Select for the type.
Size: Specify +20GB for the cylinder value.
Mount Point: Select as the mount point.
-
Select .
-
-
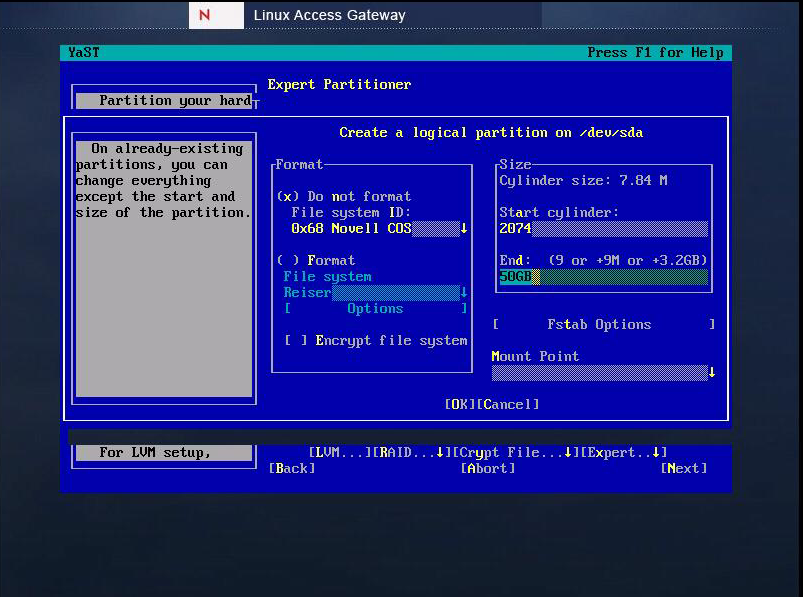
Create a COS partition that uses the remaining space on the hard disk:
-
Select the hard drive, select , select , then select .
-
Fill in the following fields:
Format: Select .
File system ID: Select for the ID.
Size: Accept the default value for the cylinder value. This selection allocates the remaining space (50 GB) to the
Mount Point: Make sure the has no value.
-
Select .
-
Select .
-
-
Select to continue with the installation of Linux Access Gateway.

-
Select when prompted to proceed with the installation. This selection completes the RPM installation.
The hard disk is formatted, removing all data, and the partitions are created. After all the packages are installed, the system reboots in SUSE® Linux Enterprise Server (SLES) 9, and finishes the installation.
-
Continue with Section 3.4, Configuring Hardware and System Services.