4.4 Configuring Full Tunneling
Novell SSL VPN is configured for split tunneling by default. This means that only the traffic that is enabled to go through the protected network, such as items meant for the corporate network, goes through the VPN tunnel. Traffic to public networks does not go through the tunnel. However, if you want all traffic in the client machine to go through the tunnel, you must configure SSL VPN for full tunneling.
When you configure SSL VPN for full tunneling, all traffic to the protected network as well as the public network passes through the tunnel, thereby making the SSL VPN connection more secure. Any session management information between the client and the Identity server, Linux Access Gateway -- (for Traditional SSL VPN), and the SSL VPN server is exchanged outside the SSL VPN tunnel. You can configure full tunneling for both Kiosk mode as well as Enterprise mode.
You must configure traffic policies for both split tunneling and full tunneling in your organization in order to permit access to specific internal hosts as well as prevent a hacker from controlling the machine via a connection external to the tunnel. The split tunneling policies must be ordered at the top of the policy list and the full tunneling policy must be placed as the last policy.
For more information on Configuring Full Tunneling for SSL VPN, see http://www.novell.com/communities/node/8699/configuring-full-tunneling-ssl-vpn
4.4.1 Creating a Full Tunneling Policy
-
In the Administration Console, click > .
-
Click to create a new traffic policy.
-
Specify a name for the traffic policy.
-
Select .
-
Select to allow the service in encrypted form or select to deny services
-
Click.
-
Select from the section.
-
Specify the following information in the section:
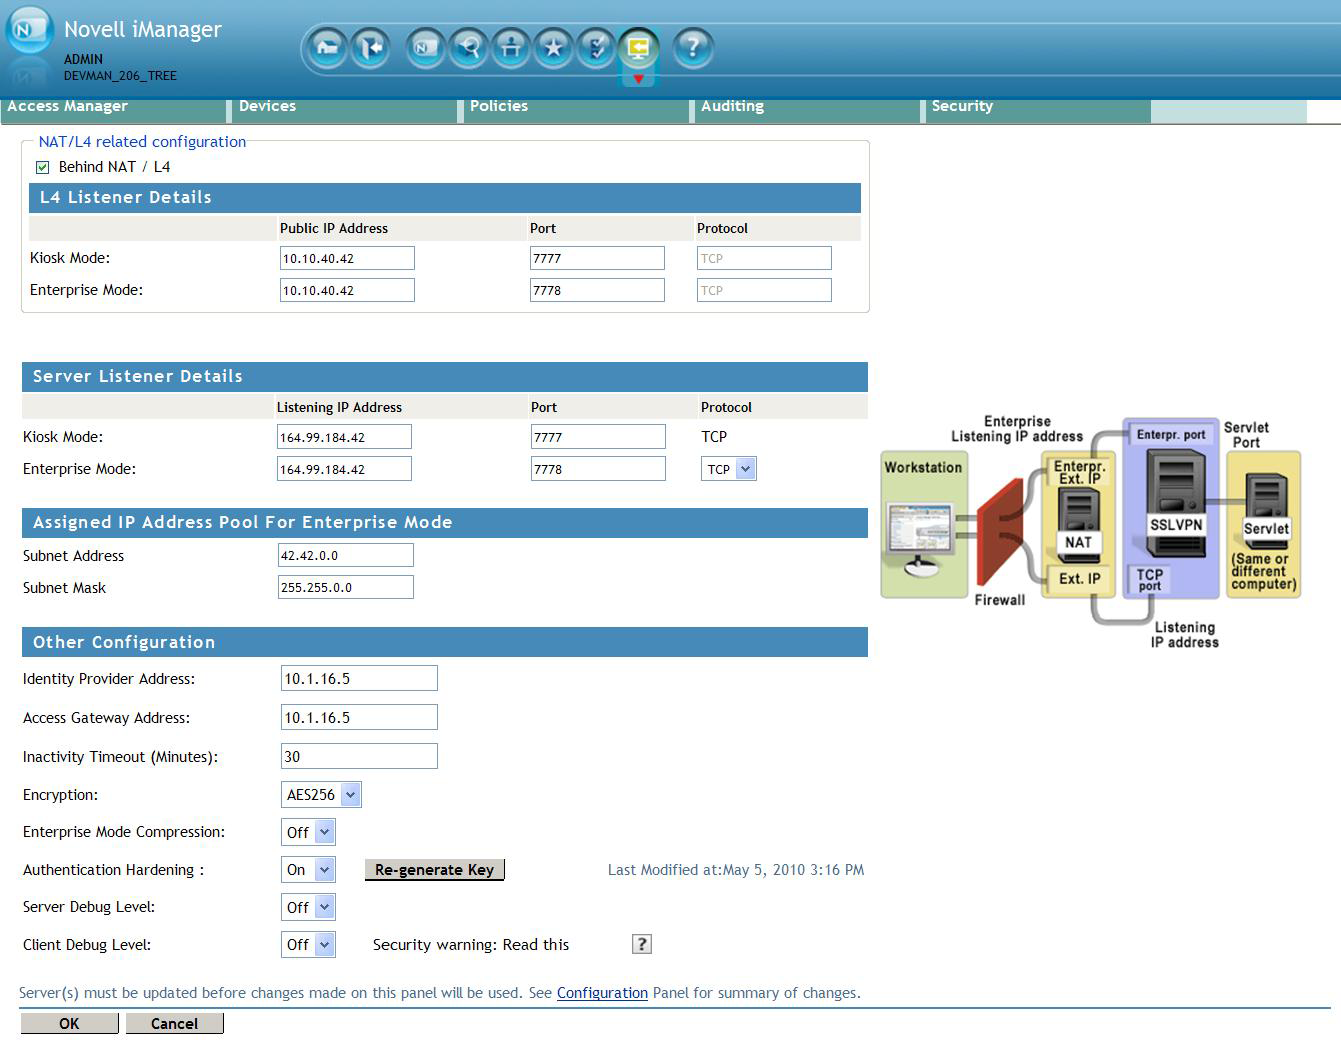
Identity Provider Address: Specify the IP addresses or the DNS name of the Identity Server.
Access Gateway Address: Specify the IP address or DNS name of the Access Gateway if your server is accelerated by the Access Gateway. This field is not present if you have installed the ESP-enabled SSL VPN.
-
To save your modifications, click , then click on the Configuration page
4.4.2 Modifying Existing Traffic Policies for Full Tunneling
-
In the Administration Console, click > .
-
Click the traffic policy that you want to modify. The Edit Traffic Policy page is displayed.
-
Configure the following fields:
Destination Network: Specify 0.0.0.0 as the destination network IP address.
Action: Select to allow the service in encrypted form or select to deny services.
Leave the default values in the other fields unchanged.
-
Click to save your changes.
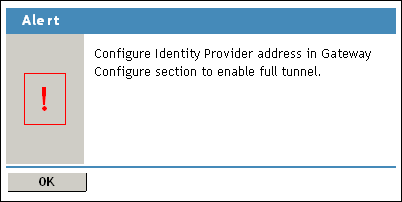
If you are using Traditional SSL VPN, you are prompted to configure the IP address or DNS name of the Identity Server, and the Linux Access Gateway.
-
Click .
-
Select from the section.
-
Specify the following information in the section:
Identity Provider Address: Specify the IP addresses or the DNS name of the Identity Server.
Access Gateway Address: Specify the IP address or DNS name of the Access Gateway if your server is accelerated by the Access Gateway. This field is not present if you have installed the ESP-enabled SSL VPN.
-
To save your modifications, click , then click on the Configuration page
4.4.3 Examples for Full Tunneling Policy
The below examples displays different scenarios for Full Tunneling policy.
Example 1: Basic Full Tunneling Scenario
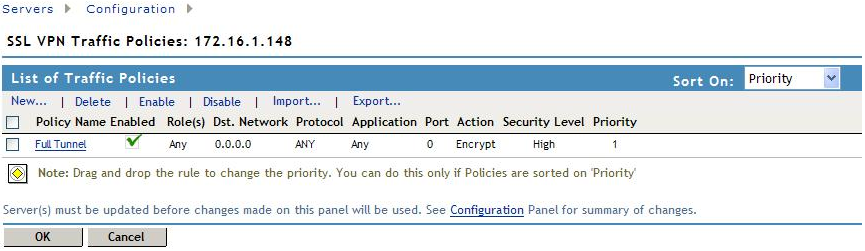
If an administrator wants to allow all the traffic through the tunnel then you need to configure the full tunneling policy with the required CIC level. If the CIC level is not met then policy will not be downloaded to the client and all access will be denied as the SSL VPN connection itself will not go through and displays an error.
Example 2: Only Groupwise Access is Allowed and All Access Are Denied Including Internet Access
In the below example you can view the Groupwise server full tunneling access scenario.
If an administrator wants to:
-
Allow access or encrypt only Groupwise server
-
Deny all other access including Internet access
-
CIC level not met or fails
then the administrator has to configure the full tunneling encrypt policy allowing only access to Groupwise server.

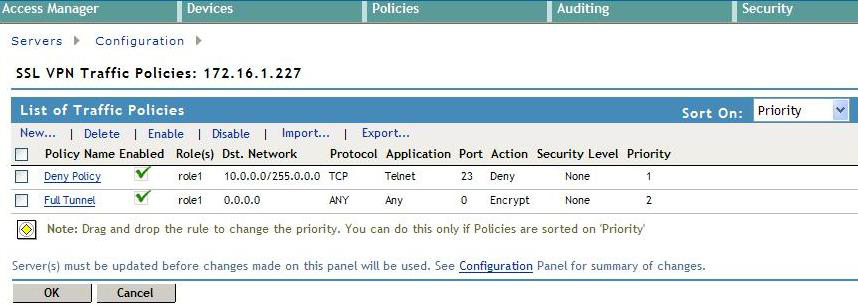
Example 3: Policies Are At The Same Roles and Security Level
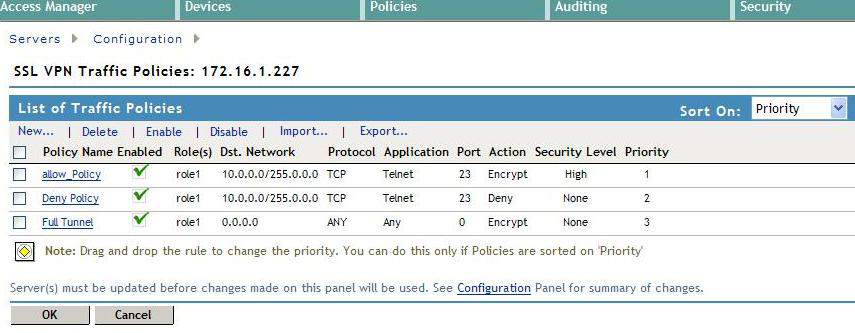
If an administrator wants all the user traffic to go through corporate network and deny access to Telnet server, then the administrator configures a telnet deny policy with higher priority and a full tunnel allow policy as shown below.
NOTE:Ensure that policies are at the same roles and security level.
Example 4: Policies Are At The Same Roles With Different Security Levels
If an administrator wants to allow or encrypt Telnet server from clients at HIGH security level (if the client is at a different security level) and deny access to the same application, then the administrator can define allow or encrypt policy for the HIGH security level to allow connection to Telnet server and define a deny policy for Telnet with NONE security level.
In the below example two traffic policies are configured with the same role out of which one of them is configured with a Security level for which traffic is allowed and the other is configured with the same application without security level.