9.2 Setting Up a Search Master and Defining a Cluster
After you have configured both the QuickFinder servers and virtual search servers for each server to be included in the QuickFinder Synchronization cluster, you now need to configure a search master and define one or more clusters.
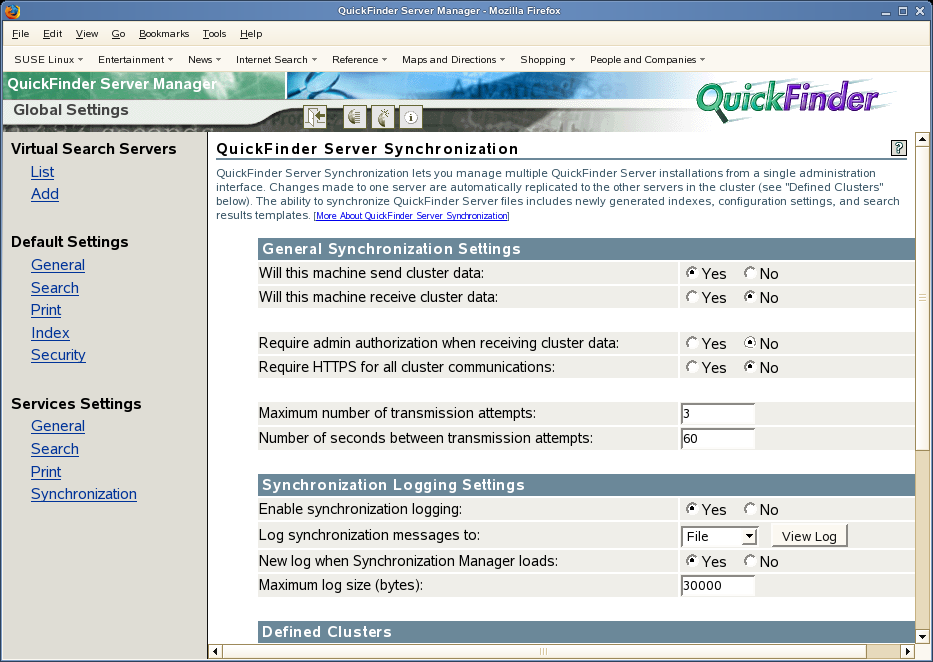
9.2.1 Setting Up a QuickFinder Server to Send Updates
-
On the Global Settings page of QuickFinder Server Manager, click under .
-
Under , click next to .
-
Click next to .
If you want the search master to receive updates from another server in the cluster, select . You can configure a QuickFinder server to both send and receive updates.
-
Because this is the search master and will probably not be receiving cluster data, click next to .
-
(Optional) To ensure a secure connection with the other QuickFinder Servers, click next to .
If the risk of intrusion to your server is low—for example, if your server is behind a firewall—it is better to disable this feature by clicking . Enabling it can slow down system performance because of the rights checking that happens each time a request to send cluster data is received by the server.
-
In the , specify the number of times the search master should attempt to transmit data to an unresponsive QuickFinder Server in the cluster before quitting.
After the number of transmission attempts specified here is reached, QuickFinder stops trying to transmit data to other servers in a cluster. If the e-mail notification capability has been enabled, then QuickFinder also sends an e-mail identifying the cause of the problem. For information about enabling the e-mail feature, see Section 7.3, Configuring Services Settings.
-
In the , type the number of seconds QuickFinder should wait between each transmission attempt specified in the .
-
(Optional) Under , click next to if you want QuickFinder to log cluster-related errors.
-
(Optional) Specify where you want log results displayed by selecting one of the following options from the drop-down list:
-
File: When this option is selected, you can click next to the drop-down list to display the log results in your browser.
-
Console: When this option is selected, the synchronization logging settings writes the logs to /var/opt/novell/tomcat6-32bit/logs/catalina.out file.
-
Both: Displays results in both your browser and at the system console.
-
-
(Optional) Click next to to start a new logging session when the synchronization manager servlet is loaded (or restarted).
The contents of the current log are replaced with the new data.
-
(Optional) In the field, specify the maximum file size of the log file (in bytes) before a new one is started.
The number you specify here is divided evenly between two log files. For example, if you specify 30000, each log file allows up to 15000 bytes of logged data. This ensures that you always have at least 15000 bytes of logged synchronization data.
-
Click .