6.10 Creating an LVM Logical Volume
You can use NSSMU to create a Linux LVM volume group and logical volume on a device, make a file system on the volume, and mount the volume. You must have free unpartitioned space available on a device. The device should not be shareable for clustering.
-
From the NSSMU main menu, select , then press Enter.
-
View the devices to determine which device you want to use for the volume and the amount of space available on it.
-
If the device has not been initialized, or if you need to reformat the device, initialize the device.
For information, see Section 6.5, Initializing a Device.
WARNING:Do not initialize a device that contains data you want to keep.
-
From the NSSMU main menu, select , then press Enter.
-
Press Insert to begin creating a new Linux LVM logical volume.
-
When you are prompted, specify the following parameters for the volume:
Parameter
Description
LVM Type
Select from the following volume types to create an LVM volume group and volume, then press Enter.
-
Non-LVM2 Volume (local disk)
-
LVM2 Volume (local disk)
-
Cluster Enabled LVM2 Volume

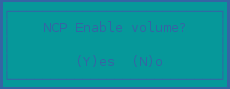
NCP
Enables the Linux POSIX file system on the volume to be accessed with the NetWare Control Protocol (NCP). It creates an NCP volume of the same name, and creates an NCP share at the root of the volume.
Volume name
Type a name to use for the LVM volume group and logical volume (such as lvvol1), then press Enter.

NOTE:If you enable NCP for the volume, the LVM volume name must comply with the limitations for NCP volume names described in Section 5.4, Naming Conventions for NCP Volume Names. If you use lowercase letters for the volume name, they are automatically changed to uppercase for the NCP volume name.
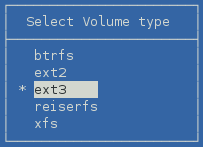
File System Type
Select one of the following file system options to make on the volume, then press Enter:
-
btrfs (requires btrfsprogs)
-
ext2
-
ext3
-
reiserfs
-
xfs
Mount Point
Specify the full Linux path where you want to mount the device, then press Enter. The default path is /usr/novell/<lv_volume_name>.

For example, type /mnt/lvvol, then press Enter.
The mount path’s final directory can be the same or different than the name used for the logical volume.
Make Options
(Optional) Specify the make options to use for your selected file system, then press Enter.

For information, see the mkfs(8), mkfs.btrfs(8), mkfs.ext2(8), mkfs.ext3(8), mkfs.reiser(8), and mkfs.xfs(8) man pages.
If a specified make option is invalid for the specified file system, the file system creation fails.
Mount Options
Specify the default set of options to use when mounting the volume after a reboot, then press Enter.

The Read/Write (rw) mount option is specified by default.
For information about mount options that are available for each file system, see the mount(8) man page.
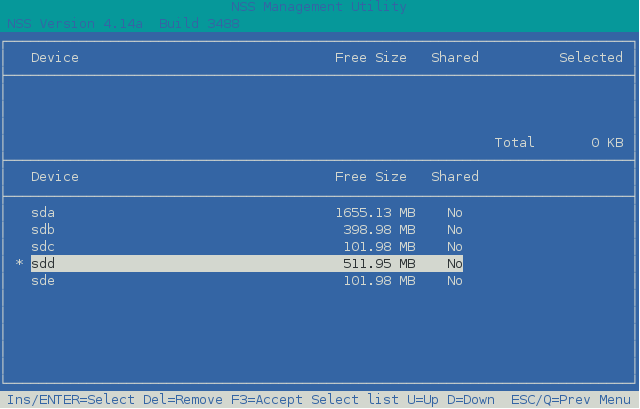
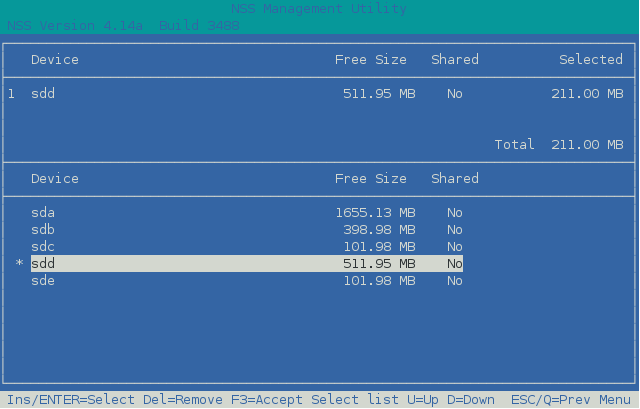
Devices
Use the Up-arrow and Down-arrow keys to highlight a device from the list, then press Insert or Enter to select the device.
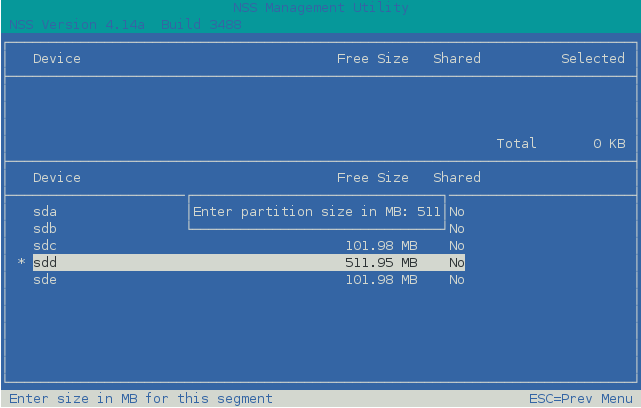
Partition Size
Specify the maximum amount of space in MB to use from the selected device, then press Enter.
You can use part or all of the available space on the selected device.
Confirm
Select F3 to accept and create the Linux POSIX volume.
-
-
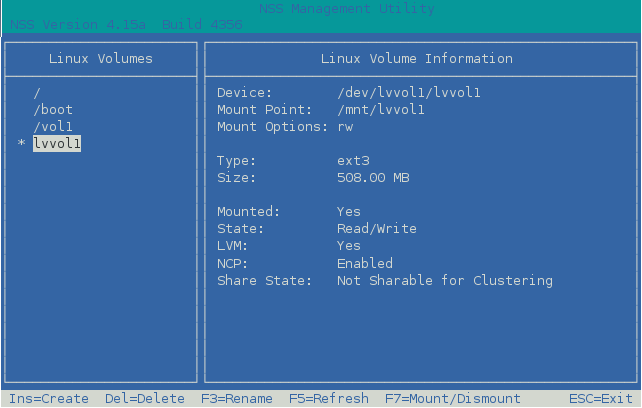
View the details of the newly created volume.
For information, see Section 6.8, Viewing Details for a Linux Volume.
-
Press Esc twice to exit NSSMU.