7.1 Using Novell iManager to Manage Linux User Management
Novell iManager is a management utility that runs in an Internet browser. Linux User Management is installed as part of the Open Enterprise Server installation.
7.1.1 Running iManager
-
Open an Internet browser.
-
Enter the domain name or IP address of the server followed by /nps/. For example, if the server address is 10.10.1.1, specify the address as http://10.10.1.1/nps/
-
When prompted, provide the administrator name and password.
-
Click .
If you do not see the Linux User Management category of , the Linux User Management plug-in to iManager is not installed. You can download the Linux User Management plug-in for iManager from the Novell Download Web site.
7.1.2 Creating a New Group Object for Linux User Management Users
-
Launch iManager.
-
In , select > .
-
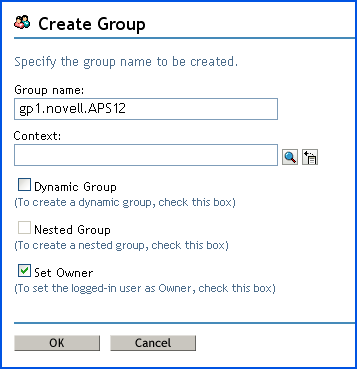
On the Create Group page, specify the Group name and the Context for the group.
-
Select the group type.
-
Select to make the new group a dynamic group, of the dynamic Group class.Otherwise, the group is created as a static group, or as the Group class.
-
Select to make the new group a nested group so that the group is created with the auxiliary class nestedGroupAux.
-
Select to make the creator of a group object the group owner. The group’s Owner attribute is set to the DN of iManager’s logged-in user. Deselect to leave the Owner attribute undefined.
-
-
Click . A message confirming that a new group object is successfully created is displayed.

7.1.3 Enabling an Existing Group Object for Linux User Management
-
Launch iManager.
-
In , select > .
-
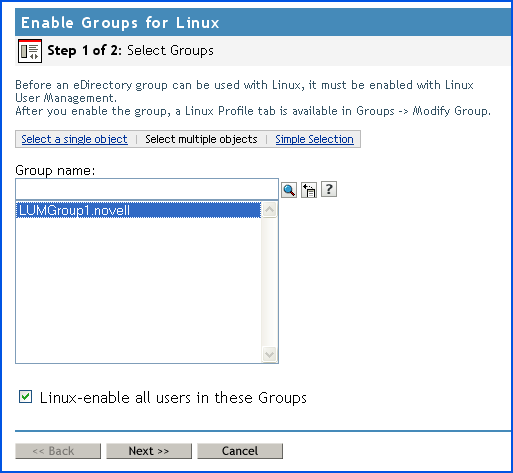
Select a group to be enabled for Linux User Management.
-
(Optional) Select to enable all the users in the group for Linux User Management.
-
Click .
-
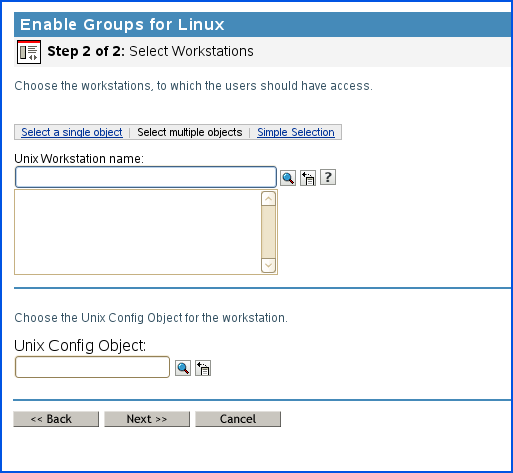
Select a UNIX workstation to which the user has access and the unix config object to the workstation.
-
Click .
-
Select an UNIX workstation to which the user has access.
-
Select the (UCO) for this workstation.
-
Click . A summary of the selected object and workstation is displayed.

-
Click .
7.1.4 Creating a User Object for Linux User Management
-
Launch iManager.
-
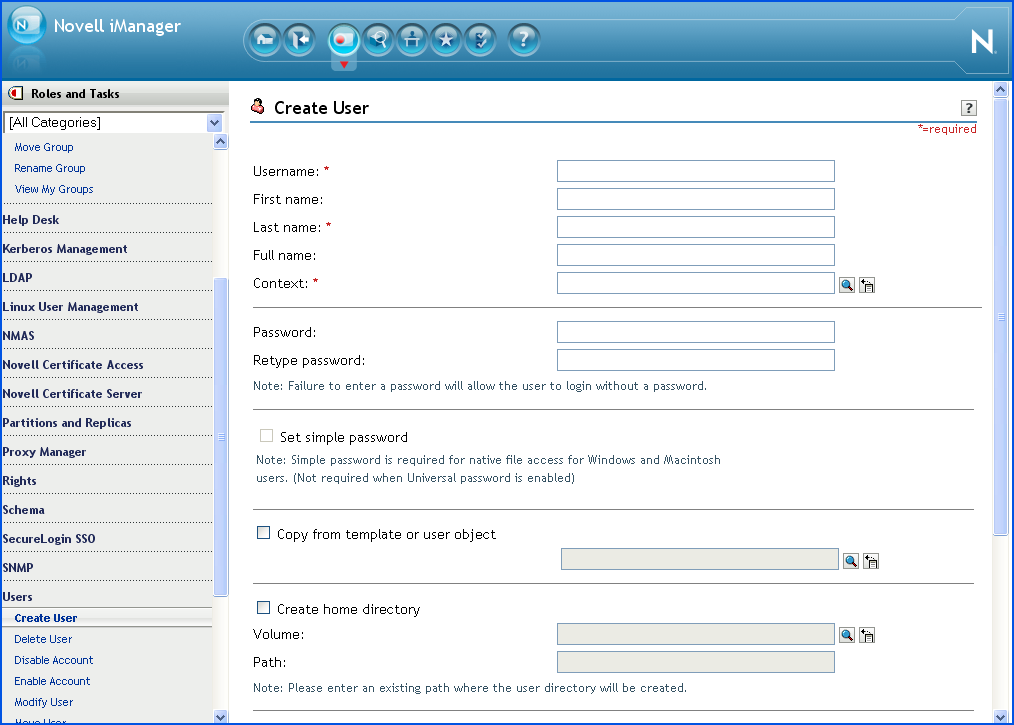
In , select > .
-
On the Create User page, provide the username, first name, last name, full name, context, and password for the user object.
If you fail to specify a password, you are prompted to either allow the user to log in without a password, which is not recommended, or require a password for login.
Select to define a simple password, which is required for native file access for Windows and Macintosh users. It is not necessary when Universal Password is enabled.
-
Select to create a user based on an existing template or user object. When copying from a user object, iManager allows only a copy of the new object’s eDirectory rights instead of a copy of all eDirectory rights, to prevent users from receiving the same rights as the administrator.
-
Select to specify a location for the user’s home directory, which is created when the user object is created. If you specify a path that doesn't exist, a message appears stating that the user's home directory has not been created.
-
(Optional) Add more details such as title, location, department, telephone, fascimile number, e-mail address, and a description.
-
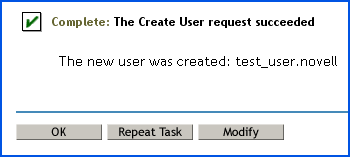
Click . A message confirming that a new user object is created is displayed.
7.1.5 Enabling an Existing User Object for Linux User Management
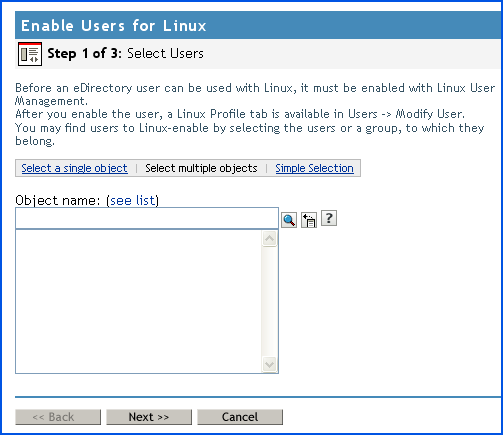
Before an eDirectory user can be used with Linux, it must be enabled with Linux User Management.
-
Launch iManager.
-
In , select > .
-
Specify the users to be enabled.
You might be prompted to confirm if you want to enable users in the group for Linux User Management.
-
Click .
-
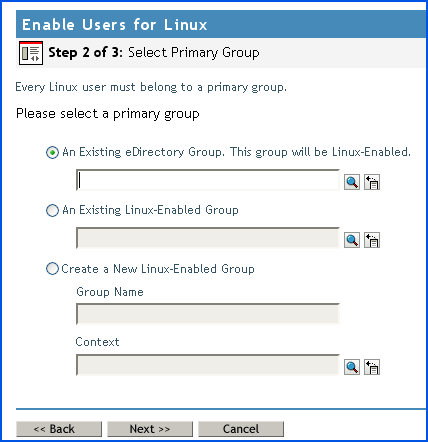
Select a primary group to which the Linux user belongs. You have three options:
-
Select an existing eDirectory group
-
Select an existing Linux-
enabled group
-
Create a new Linux-enabled group. If you choose this option, specify the group name and the context.
-
-
Click .
-
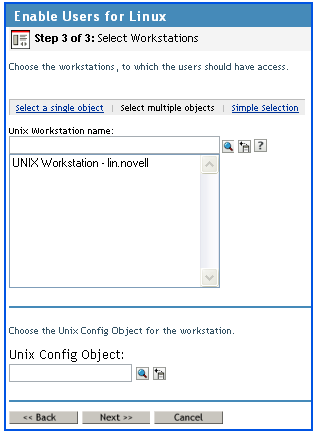
Select a UNIX workstation to which the user has access.
-
Click . A summary of the users who are enabled for Linux is displayed.
-
Click .
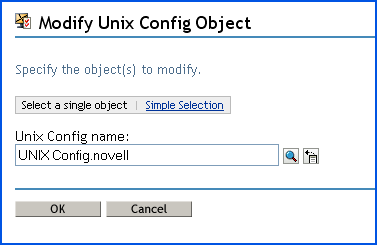
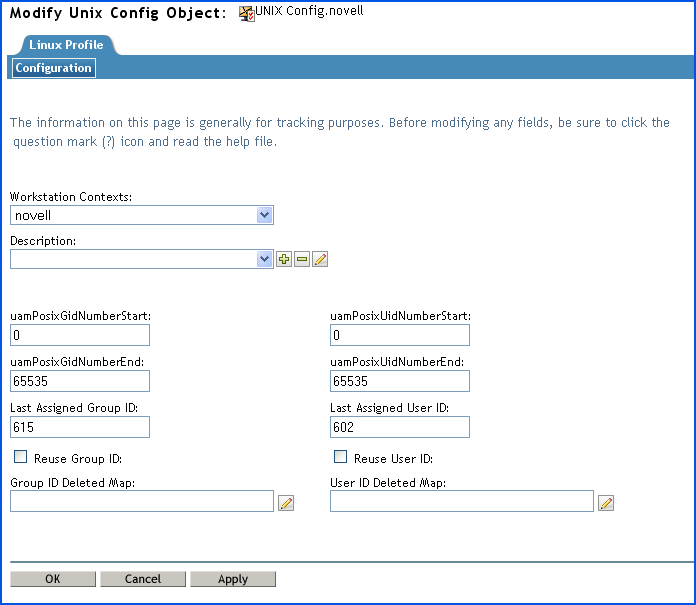
7.1.6 Modifying a UNIX Config Object
-
Launch iManager.
-
In , select > .
-
Specify the name of the object to modify.
-
Click .
-
Make required configuration changes.
-
Click to apply the changes.
-
Click to save and exit.
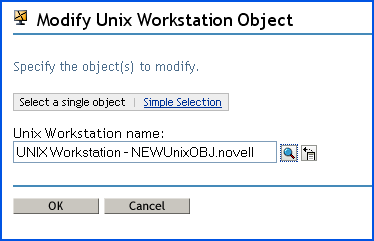
7.1.7 Modifying a UNIX Workstation Object
-
Launch iManager.
-
In , select > .
-
Specify the name of the object to modify.
-
Click .
-
Make the required changes.
-
Click .