18.3 Creating a New Pool Snapshot
18.3.2 Using iManager
-
In iManager, click .
For instructions, see Section 10.1.5, Accessing Roles and Tasks in iManager.
-
In the server field on the page, select a server to manage to view a list of pools.
For instructions, see Section 10.1.6, Selecting a Server to Manage.
-
If the pool you want to snapshot is not active, select the pool from the list, then click .
-
In the list, select the active pool that you want to snapshot, then click to go to the page.
IMPORTANT:If the selected pool is a online pool snapshot, the option is not available. Select the original pool instead.
-
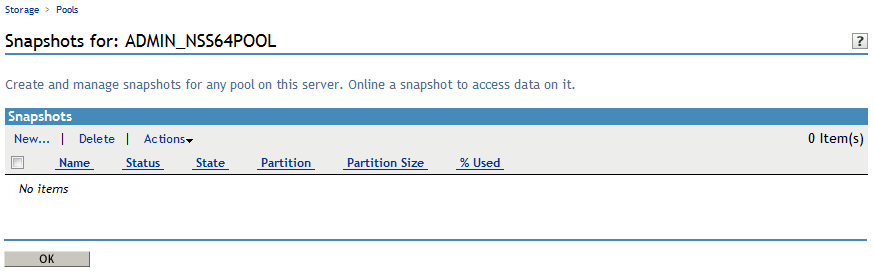
In the menu, select to open the page.
-
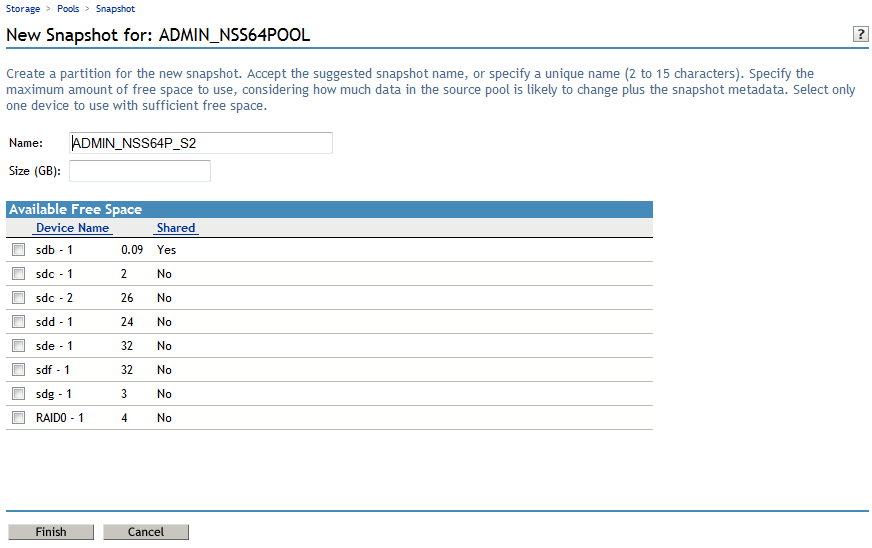
On the page, specify the following:
-
Name: Optionally modify the default snapshot name.
For information about pool snapshot names, see Guidelines for Naming Pool Snapshots.
-
Size: Type the amount of free space (in MB) to use for the stored-on partition.
-
Stored-on Partition: From the list of active devices, select the device where you want to create the stored-on partition.
Each snapshot is stored on a separate partition. The partition for the snapshot cannot be expanded after it is created. If the pool is shared in a cluster, the snapshot feature is not supported. For information, see Guidelines for Choosing the Stored-On Location.
-
-
Click to create the snapshot, or click to back out of the process.
-
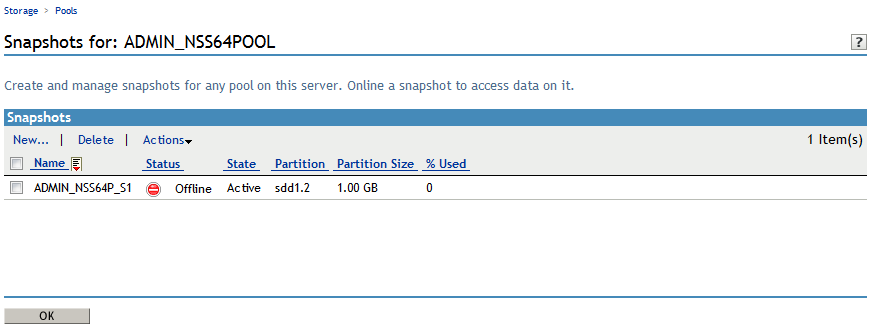
After NSS creates the pool snapshot, NSS automatically opens to the page so that you can further manage the snapshot. The list contains the newly created snapshot.
IMPORTANT:You might see an error message if the iManager connection to the server you are managing times out before the snapshot is created. The pool snapshot creation should continue on the managed server. If a timeout error occurs, navigate to the page to view and manage the snapshot.
By default, the snapshot is always and . This means that the snapshot is functioning, but that the pool snapshot is not mounted as an online pool.