6.4 Model Your Consolidation Project
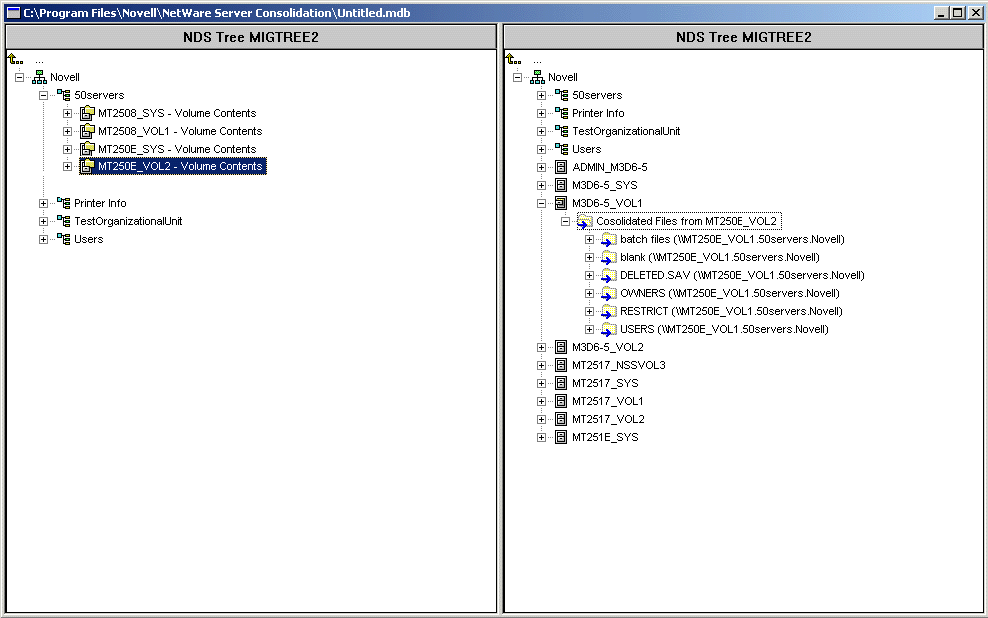
The Project Window (see Figure 6-1) is where you select which volumes and directories to copy and which Printer objects to move. The Project Window is divided into two panes that each show the trees that you are working in.
Figure 6-1 Server Consolidation Utility Project Window
You drag objects from the left pane and drop them into the right pane. You select volumes and directories to copy to different servers, and Printer Agents to move to different Print Managers. You can also create new eDirectory containers or file system folders by right-clicking on an existing container or folder and selecting New Container or New Folder from the pop-up menu.
Creating containers and folders and dragging-and-dropping objects in the Project Window does not immediately perform the action. It only creates a preview of where the files and objects will reside. The actions are completed only after the verification process is complete and the copy process begins.
Volume Drop Options
When you drag-and-drop volumes into the right pane of the Project Window, a Volume Drop Options dialog box displays. You must choose to either migrate the volume contents into the directory or volume that you selected or create a new directory with the name of the volume that is being moved.
-
Click the radio button next to the option you want.
-
Click .
Duplicate Folder Options
If you drag-and-drop a folder onto a destination folder of the same name, a Duplicate Folder Options dialog box displays. You have several options:
-
Don’t Copy the Directory: The directory on the source server is not copied and the directory on the destination server is not replaced.
-
Merge Directory Contents: The contents of the source directory are merged into the destination directory with the same name.
-
Rename: The directory on the source server is copied to the destination server with a new name assigned to it. You must enter a new name in the field provided if you select this option.
-
Merge All: If you are dragging-and-dropping multiple directories at once, select this option if you want to merge the contents for all duplicate directories.
-
Click the radio button next to the option you want.
-
Click .
Other Project Window Options
In addition to dragging-and-dropping objects, you can perform several other tasks from the Project Window menu:
-
Save project settings: Click > .
-
Move created and dropped objects around by dragging them to the desired location.
-
Create a new container or folder: Select the parent container or existing folder in the right pane, then click > .
-
Cancel a “dropped” action: Select the volume or directory in the right pane, then click > .
-
Rename a newly created container or folder: Select the parent container or existing folder in the right pane, then click > .
-
Show where a folder or object went: Select the object in the left pane, then click > . The directory or volume that was moved is highlighted in its new location in the right pane.
-
Show where a folder or object came from: Select the object in the right pane, then click > . The directory or volume that it came from is highlighted in the left pane.
-
Show all folders or objects selected for copying: Select a container in the left pane, then click > (or ).
HINT:The previous six tasks can also be performed by right-clicking the object to see the same menu option.
-
View the available disk space before performing the verification by right-clicking the destination volume in the right pane of the Project Window and then selecting . Right-clicking the source folder or volume in the left pane of the Project Window and then selecting displays the size of the source object.