3.1 LDAP with eDirectory
eDirectory 8.6.2 or later supports LDAP. If you have eDirectory with LDAP functionality enabled, you have an LDAP server.
NOTE:If Universal Password is not enabled or configured in the eDirectory, and if users are to log in to an eDirectory server by using SecureLogin LDAP Authentication and using any NMAS method, you must install the NMAS Simple Password. Also, all users authenticating using NMAS via LDAP must have a simple password assigned to them.
3.1.1 Preparing for an LDAP Directory
This section provides information on the following:
Extending the eDirectory Schema
If you are installing on workstations that use Novell® eDirectory™, do the following:
-
Login from your workstation to a tree as admin, using Novell Client.
-
Extend the eDirectory schema by running ndsschema.exe.
This utility assigns rights, but ldapschema.exe does not.
The is found in the directory of the installation CD.
Extending the LDAP Directory Schema
-
Run ldapschema.exe, found in the \securelogin\tools directory.
-
Provide information in the LDAP Schema Extension dialog box.
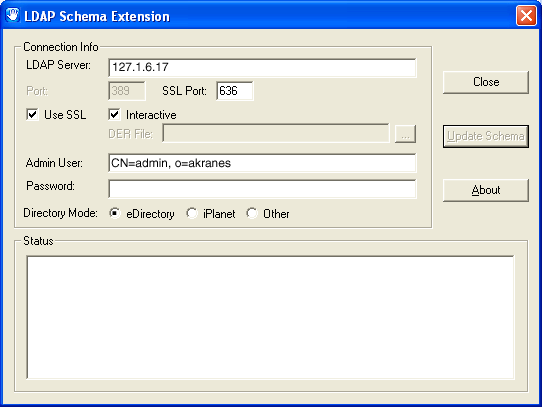
In the LDAP Server edit box, type the LDAP server name or IP address.
In the Admin User edit box, type the fully distinguished name of the admin user that you log in as. For example, type cn=admin,o=akranes.
For SecureLogin to be able to save user single sign-on information, the directory schema must be extended. Ldapschema.exe extends the schema and automatically maps LDAP attributes in the extended LDAP schema. The following table illustrates these mappings:
These mappings are case-sensitive.
IMPORTANT:You have to extend the LDAP schema on all servers if you want them to act as failover servers.
3.1.2 Installing SecureLogin: LDAP with eDirectory
The LDAP option installs SecureLogin into LDAP v3.0 directory environments (for example, Novell eDirectory 8.5 or later).
You can specify more than one LDAP server for the SecureLogin installation. Although the dialog box in the installation program only allows you to specify one LDAP server, you can specify additional servers by modifying the file.
The LDAP option does not require the Novell Client for Windows. However, if Novell Client32 is installed on the workstation, Client32 is the initial authentication or GINA. If you want LDAP authentication to be the initial authenticator, you must uninstall Novell Client32.
To install the LDAP option:
-
Run setup.exe found in the securelogin/client directory.
-
Select a language, click , and accept the license agreement.
-
Select , then click .
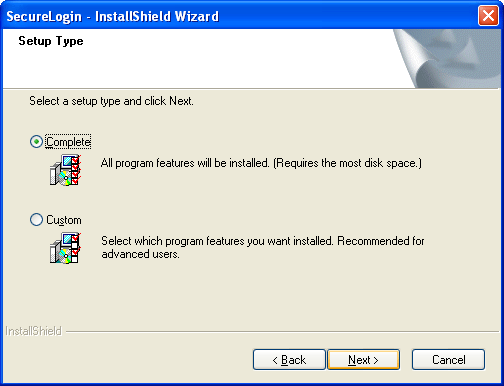
The Complete option uses default values and installs SecureLogin in c:\program files\novell\securelogin. For options available through the Custom option, see Section 3.1.3, Using the Custom Option for LDAP on eDirectory.
-
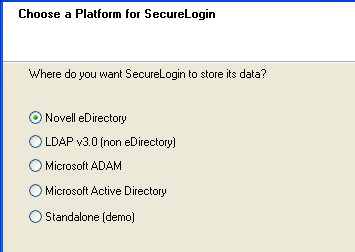
Select eDirectory as the platform where SecureLogin stores its data, then click .
-
Click as the protocol.
LDAP is recommended if the Novell Client is not installed or if LDAP was previously installed but you are overwriting that installation (even if the Novell Client is installed).
NOTE:The above screen is displayed only if you have Novell Client for Windows installed on your machine. Otherwise, LDAP is auto-selected as the protocol.
-
Select when to log in to LDAP, then click .
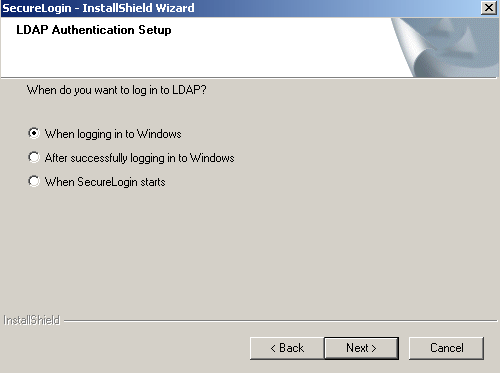
If the workstation is running Novell Client software, the When Logging In to Windows option is not provided and the Primary authentication is always done through the Novell Client.
-
(Conditional) If you do not want to use smart card, select click then continue with Step 10.
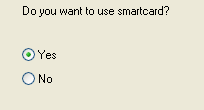
-
(Conditional) If you want to use smart card and if ActiveClient is detected in your system, select Click click then continue with Step 10.
-
(Conditional) If you want to use smart card and if ActiveClient is not detected in your system:
-
Select then click
-
(Conditional) Select a cryptographic service provider from which SecureLogin will request PKI credentials via Microsoft Crypto API.
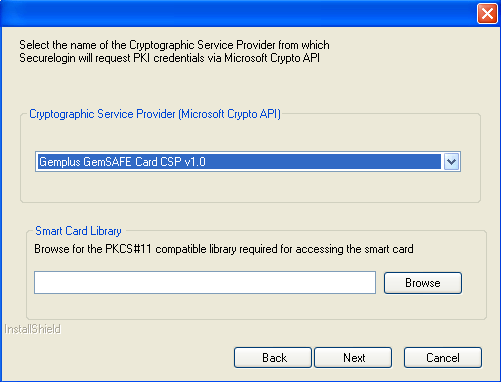
-
Select a PKCS#11 compatible library required for accessing the smart card, then click .
NOTE:This will specify the location of the Cryptographic Token Interface installed as part of the smart card vendor’s software. These API files will be used by SecureLogin to communicate with the smart card.
Manually configuring the third party smart card PKCS library Assumes a high level of understanding the Cryptographic Service Provider’s product.
For more information and instructions about smart card settings and cryptographic tokens, see the Novell SecureLogin 6.0.SP1 Administration Guide.
-
-
Select whether SecureLogin is to install the SecretStore client, the NMAS client, or both, then click .
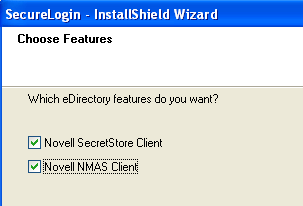
NOTE:Select Novell SecretStore only if SecretStore is installed on a server. For information on SecretStore, see the SecretStore Administration Guide .
The Novell SecretStore option installs the SecretStore client, which provides additional security. If you deselect this option and want to install it later, you must uninstall SecureLogin, then run the SecureLogin installation again.
However, if you install the SecretStore client and then later run the install program and deselect the SecretStore client, you will cause problems to the directory cache. All the credential sets that are stored in SecretStore will be unavailable to the eDirectory client. Nevertheless, as long as the local cache is enabled, you can still run SecureLogin. The local cache will populate the eDirectory cache.
The uninstall program does not delete user credentials.
The Novell NMAS Client option installs the NMAS client. SecureLogin uses this option with the AAVerify command, to enable advanced authentication access to an application and also for NMAS authentication using LDAP.
-
Click .
-
(Conditional) If you selected the NMAS client, select one or more NMAS login methods, then click .
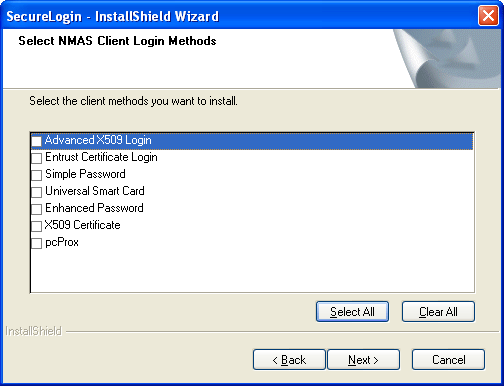
Here, selecting the option is mandatory if Universal Password is not created or configured on the eDirectory.
-
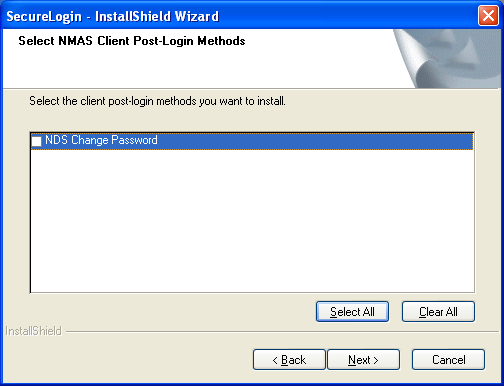
Select post-login methods, then click .
-
By default, the Launch Readme option is selected. Click .
-
Click .
-
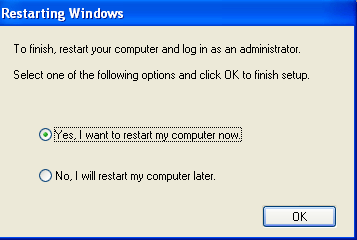
Specify when you want to restart computer and click .
3.1.3 Using the Custom Option for LDAP on eDirectory
The Custom option provides the same defaults as does the Complete option, but enables you to do the following:
-
Specify LDAP server information.
-
Specify a path for SecureLogin’s local cache.
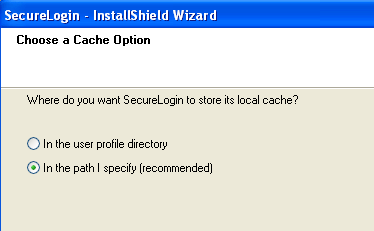
The user profile directory is the default path.
User profiles for Windows 2000 and Windows XP are in located in Documents and Settings\Username.
-
Select the SecureLogin components.
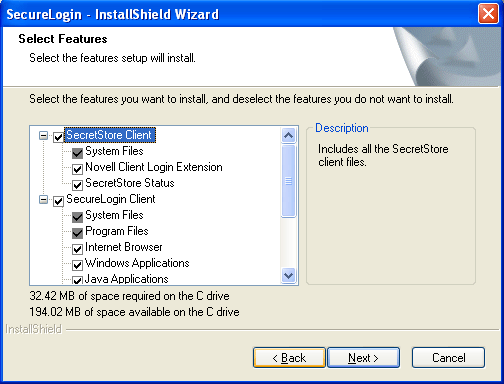
The Description panel provides information about a component that you select.