3.1 Setting Up Hummingbird HostExplorer 7
This section provides information on the following:
- Section 3.1.1, Creating the Emulator Macro Script
- Section 3.1.2, Configuring Hummingbird HostExplorer for Usernames
- Section 3.1.3, Configuring Hummingbird HostExplorer for Passwords
- Section 3.1.4, Configuring the Emulator Session
- Section 3.1.5, Creating a SecureLogin Application Definition
- Section 3.1.6, Enabling Hummingbird HostExplorer for Single Sign-On
- Section 3.1.7, Testing the Configuration
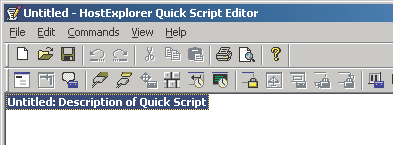
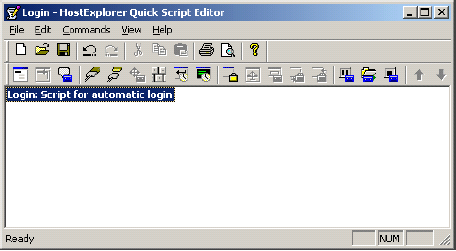
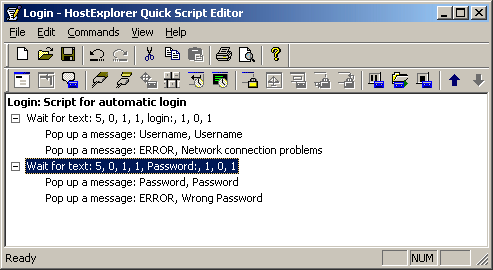
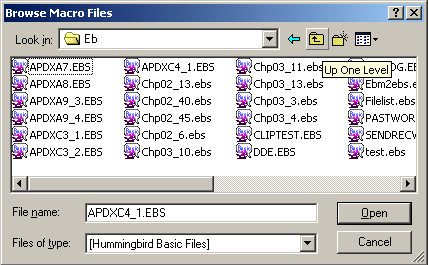
3.1.1 Creating the Emulator Macro Script
-
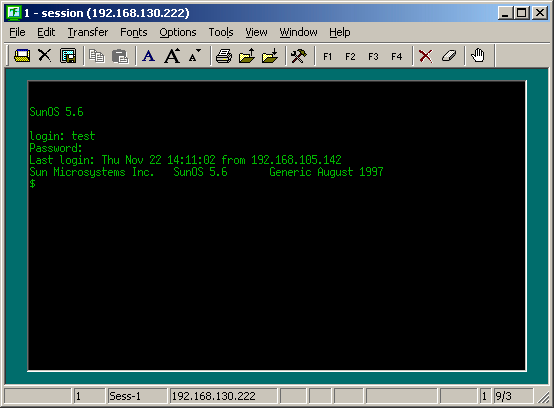
Create and configure a session in the emulator for your environment, then open the session.
-
Click .

-
Double-click .
-
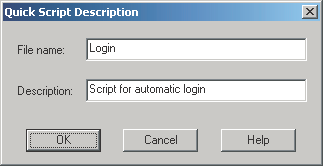
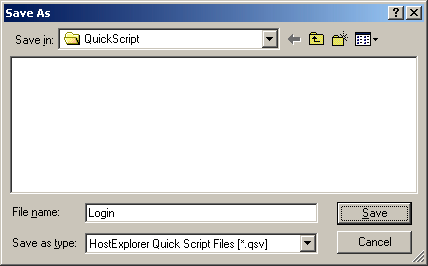
Specify a filename and description for the Quick Script, then click .
Ensure that the filename is only one word (no spaces).
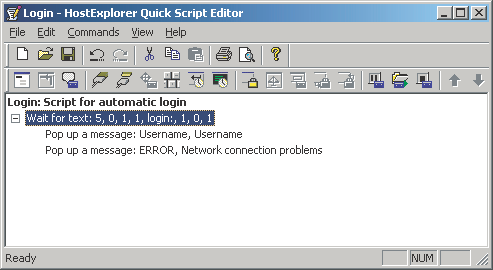
3.1.2 Configuring Hummingbird HostExplorer for Usernames
-
In the Login dialog box, click .
-
Configure the Wait For Text dialog box for username prompts, then click .
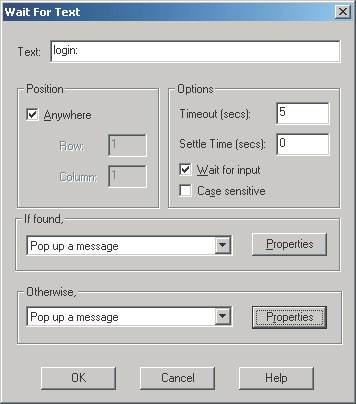
- In the field, specify the text that the server displays when it prompts for a username.
- Check the check box.
- Specify a timeout period.
We recommend a setting of five seconds.
- From the If Found drop-down list, select .
- From the Otherwise drop-down list, select .
- In the pane, click ,
configure the Popup Message Box window, then click .
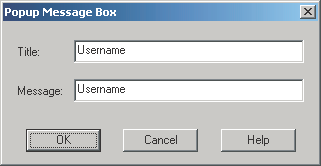
- Specify the username in the field.
- Specify the username in the field.
- In the pane, click ,
configure the error box, then click .
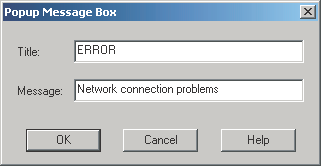
This is the message that is displayed if the prompt text is not found within the set timeout period.
- In the field, specify a title for the error dialog box.
- Specify a message in the text box.
3.1.3 Configuring Hummingbird HostExplorer for Passwords
-
In the Login dialog box, click .
-
Configure the Wait For Text dialog box for password prompts, then click .
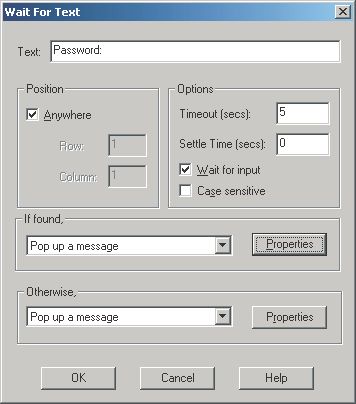
- In the field, type the text that the server displays when it prompts for the password.
- Check the check box.
- Specify a timeout period.
We recommend a setting of five seconds.
- In the If Found pane, select from the drop-down list.
- In the Otherwise pane, select from the drop-down list.
- In the If Found pane, click ,
configure the Popup Message Box dialog box, then click .
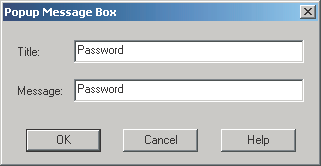
- Specify as the title.
- Specify as the message.
- In the pane, click ,
configure the error box, then click .
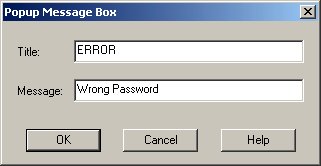
This is the message that is displayed if the prompt text is not found within the set timeout period.
In the text box, specify a title for the error dialog box.
Specify a message in the text box.
-
At the Login dialog box, click .
-
Specify Login as the filename, click , then close the Quick Script editor.
The macro is now complete.
3.1.4 Configuring the Emulator Session
-
Click .

-
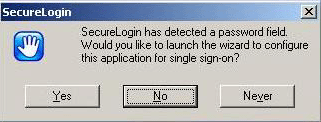
(Conditional) Select not to use the SecureLogin wizard at this time.
If SecureLogin prompts you to run the SecureLogin wizard, check the check box, then click .
-
Expand the in the panel.
Click in the panel, then click the button next to the Auto Start Quick-Key drop-down list.
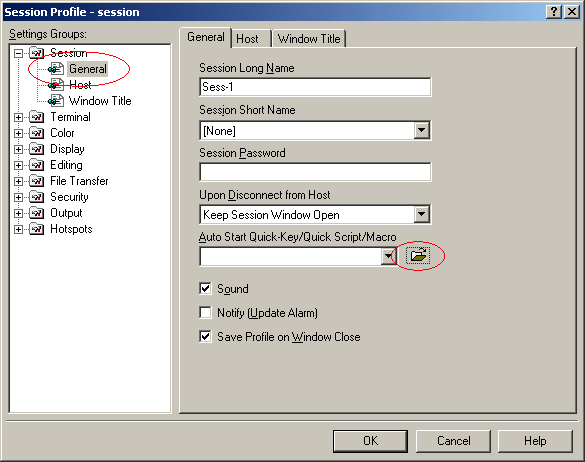
-
Browse to where you saved the Quick Script macro file, then click .
The default path is c:\Documents and Settings\All Users\Application Data \Hummingbird\Connectivity \7.10\HostEx\QuickScript\Login.qsv.
-
Click , then close the emulator.
-
Open the session again.
You can use the shortcuts on the Start menu, then follow the prompts, or create a shortcut directly to the session.
To create a shortcut directly to the session, use the following format:
"Path to hostex32.exe" –P Session name
For example, type
"C:\Progra~1\Hummingbird\hostex32.exe" –P Session1
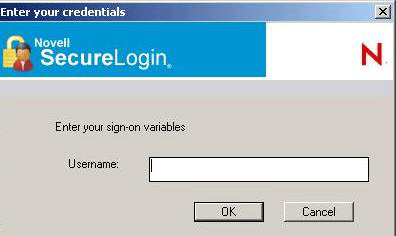
The emulator connects and displays the following dialog box.
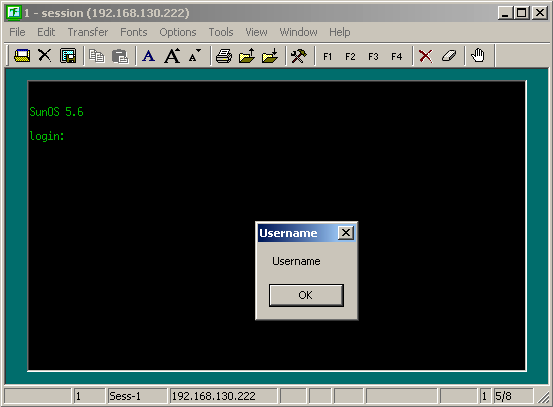
IMPORTANT:Don’t click .
3.1.5 Creating a SecureLogin Application Definition
-
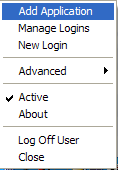
Right-click the SecureLogin icon on the system tray, then click .
-
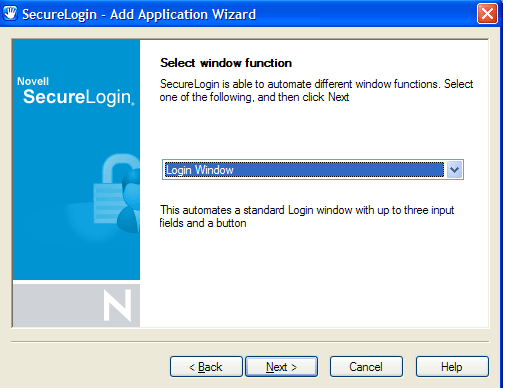
Click next until you reach the Select a Web Site or Application dialog box.

-
Select , then click .
-
Drag the hand icon and drop it onto the title bar of the Username dialog box.

-
In the Select Window Function dialog box, select from the drop-down list, then click .
-
Select the login fields.

-
Drag the hand icons and drop them onto the , and (if appropriate) fields.
-
Drag the hand icon for the Button and drop it onto the login button (for example OK, Next, or Continue).
-
-
Click confirm login details, then click again.
-
In the Name the Application Definition dialog box, specify a name, then click .
3.1.6 Enabling Hummingbird HostExplorer for Single Sign-On
-
Right-click the SecureLogin icon on the system tray, then click .
-
Select hostex32.exe from the list, then click .

-
Click , then edit the application definition.

Place the following application definition:
Dialog
 Class #32770
 Title "Username"
EndDialog
Click #2
Delay 50
Type -raw $Username
Type -raw \N
Dialog
 Class #32770
 Title "Password"
EndDialog
Click #2
Delay 50
Type -raw $Password
Type -raw \N
-
Click OK twice, then close SecureLogin.
3.1.7 Testing the Configuration
-
Start the emulator session, specify your username, then click .
-
(Conditional) Respond to error messages.
Depending on the values that you entered for the Timeouts in the emulator macro, the error message might be displayed after you click .
If the error message is displayed, click to close the session, then restart the session. This might happen twice. To avoid the problem, raise the timeout value in the Macro settings, or enter the username and password more quickly.
-
Specify the password, then click.

SecureLogin launches the emulator, enters your username and password, and logs you in to the session.