5.3 Installing
This section provides the following information:
5.3.1 Extending The Active Directory Schema
Novell SecureLogin leverages the directory to store and manage Novell SecureLogin data. Novell SecureLogin extends the directory schema to add six Novell SecureLogin schema attributes where Novell SecureLogin data is stored.
After you extend the directory schema, you must give permissions to objects including group policy, organizational units, and containers. These implement Novell SecureLogin to access the attributes. Authorizing read or write rights to the Novell SecureLogin directory schema attributes is referred to as assigning user rights.
These are the six Novell SecureLogin attributes that are added to the Directory schema:
-
Protocom-SSO-Auth-Data
-
Protocom-SSO-Entries
-
Protocom-SSO-Entries-Checksum
-
Protocom-SSO-Profile
-
Protocom-SSO-SecurityPrefs
-
Protocom-SSO-Security-Prefs-Checksum
The Novell SecureLogin Microsoft Active Directory schema extension executable extends the schema on the server and enables you to assign user rights. You must determine which containers and organizational units need Novell SecureLogin access, and you must know their distinguished name (DN), because you must assign rights to each container and organizational unit separately.
You can also extend the Microsoft Active Directory schema to the root of the domain and assign rights to each container and organizational unit below the root.
IMPORTANT:Keep the following information in mind as you extend the schema:
-
If Novell SecureLogin version 3.5.x is installed, you do not need to extend the directory schema, because the attributes are the same. However, any new directory objects for example organizational units still require you to assign rights.
-
If the Microsoft Active Directory instance is deployed by copying and running the adsscheme.exe file from another location, you must copy the entire folder containing the Microsoft Active Directory Schema and configuration files to the new preferred location. The Microsoft Active Directory Schema and configuration files must be located in the same folder in order for the Active Directory instance to successfully deploy.
The following instructions apply to the configuration of the Microsoft Active Directory instance stored and administered on a separate server from the Active Directory server domain controller.
-
Log in to the server as an administrator.
-
Click > .
or,
If you are installing from the Novell SecureLogin installer package, locate the Tools folder and double-click adsschema.exe.
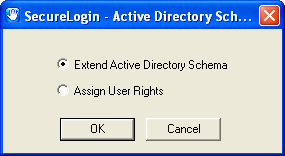
The Novell SecureLogin Active Directory Schema dialog box is displayed.
-
Select .
-
Click . A confirmation message is displayed.
-
Click to return to the Active Directory Schema dialog box.
Now that you have extended the schema, you need to assign access rights to the relevant containers and organizational units.
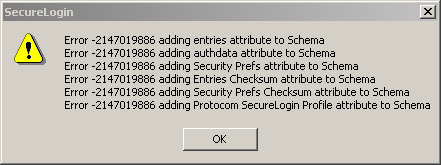
NOTE: If the schema has previously been extended, a message box listing the existing schema attributes is displayed.
-
Ignore this message and click .
5.3.2 Assigning User Rights
You must assign permission to objects in the directory to store data against the new Novell SecureLogin schema attributes. Assign user rights to all objects that access Novell SecureLogin, including user objects, containers, group policies, and organizational units.
When you assign rights to containers and organizational units, the rights filter down to all associated user objects, so unless you are required to do so, it is not necessary to assign rights at the individual user object level.
-
Run adsschema.exe, found in the \securelogin\tools directory.
-
Select , then click . The Assign Rights to This Object dialog box is displayed.
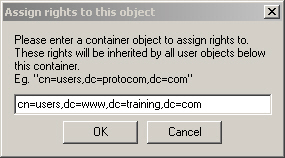
In the above figure, rights are assigned to the Users container.The Users container definition is: cn=users, dc=www, dc=training, dc=com To assign rights to an organizational unit, for example Marketing, in the domain www.company.com, the definition is: ou=marketing, dc=www, dc=company, dc=com
-
Specify your container or organizational unit definition in the field. The confirmation dialog box appears.
-
Click to return to the Active Directory Schema dialog box.
-
Repeat Steps 4 and Step 5 to assign rights to all required user objects, containers and organizational units.
If the above error message is displayed, rights have already been assigned to this object. This message box is for your information only.

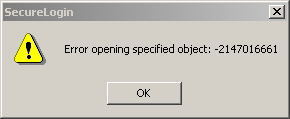
If the above error message is displayed, you have attempted to assign rights to an object that does not exist on this directory. Check your punctuation, syntax, and spelling, and repeat the procedure.
-
After all required rights are successfully assigned, Click to return to the Active Directory Schema dialog box.
-
Click
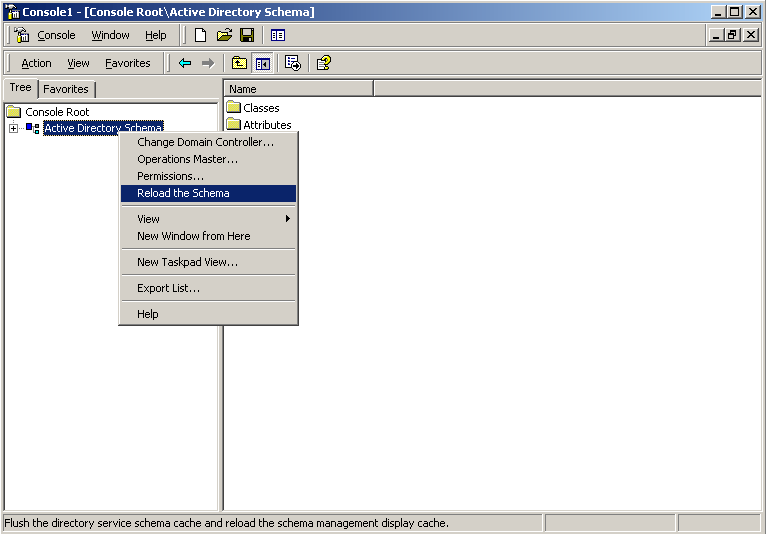
5.3.3 Refreshing the Directory Schema
-
Run the Microsoft Management Console (MMC) and display the Active Directory Schema plug-in.
-
Right-click , then select .
-
On the Console menu, click to close the MMC.
In a multiple-server environment, schema updates occur on server replication.
NOTE: You can extend rights to objects at any time after the schema is extended. If you add organizational units, then you need to rerun the adschema.exe tool and assign rights to the new object to permit Novell SecureLogin data to write to the directory.
5.3.4 Installing on the Administration Workstation
After you have extended the Active Directory schema and assigning permissions to the required directory objects, install the Novell SecureLogin application on the administration and user workstation.
-
Log in to the workstation as an administrator.
-
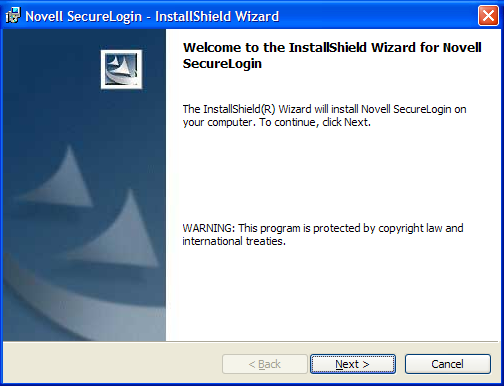
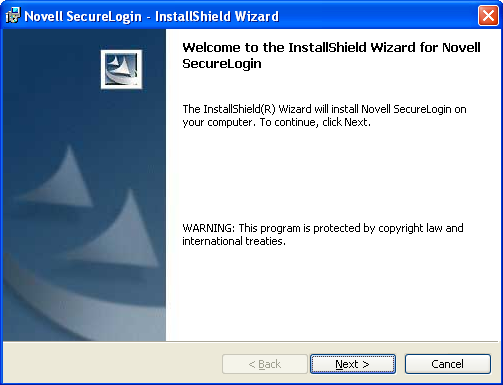
If you are installing from the product installer package, double-click the Novell SecureLogin.msi that is available in SecureLogin\Client directory of the installer package. The Welcome page is displayed.
-
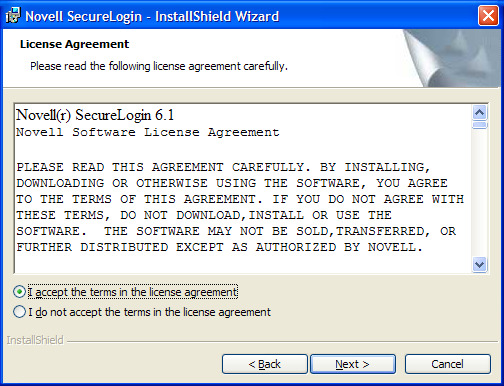
Click . The License agreement page is displayed.
-
Read the license agreement. Select if you want to proceed with the execution of the license agreement. If you do not want to proceed with the execution of the license agreement, click to quit the setup.
-
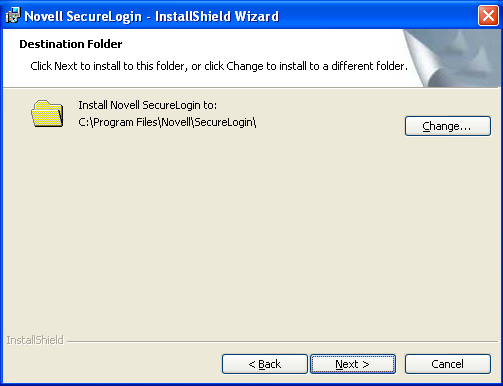
Click . The program location folder is displayed. The default location for Novell SecureLogin is, ..\Program Files\SecureLogin\. If you want to change the location, click and select an alternative location for Novell SecureLogin on the drive.
-
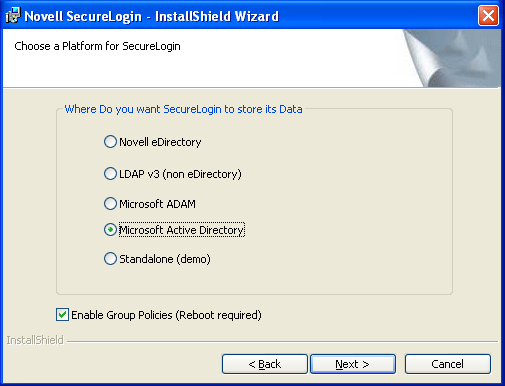
Click . The installation environment page is displayed.
-
Select .
IMPORTANT:There are no additional installation or configurations required when running Microsoft Active Directory in LDAP mode. The only variation is in selecting the installation environment. You select the instead of the .
-
(Optional) Select .
-
Click . The smart card support page is displayed.
The ActivClient card settings are used if they are detected.

-
Select .
NOTE:This option is based on whether you want to have Novell SecureLogin users use their smart cards to store single sign-on data to encrypt the users’ directory data by using Public Key Infrastructure (PKI) tokens.
-
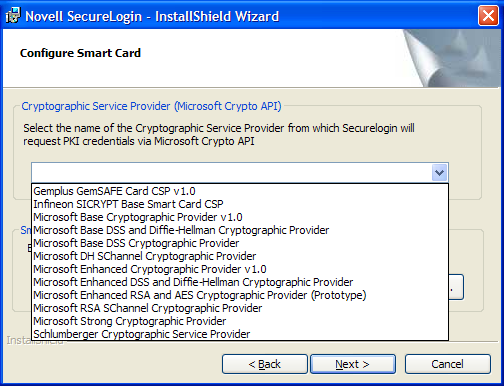
If you are not using the option, or you want to change the smart card or cryptographic token, select the option. This is the recommended setting.
-
From the drop-down list, select the appropriate cryptographic service provider.
-
Browse to locate and select the appropriate link (.dll) file.
-
Manually configure the third-party smart card PKCS#11 link library assumes a high level of understanding of the cryptographic service provider’s product, so, we recommend that you use the ActivClient smart card support.
-
Click .
-
Click . The installation features page is displayed.
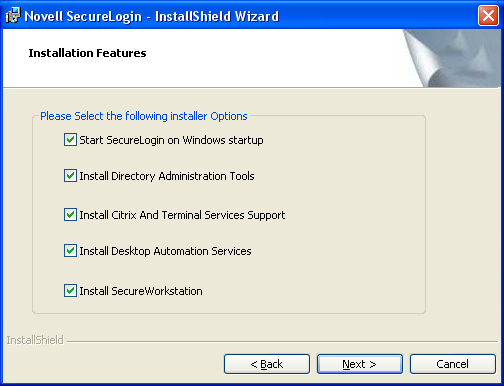
Select the startup options.
We recommend you to select the option. However, depending on your enterprises’s operating environment, you can opt to have Novell SecureLogin start at Windows startup or at user login.
Select .
The Directory administration tools are provided for corporate environments to manage users centrally at the directory. In the LDAP mode, Novell SecureLogin installs the Administrative Management utility.
If applicable, select .
This is highly recommended to enhance the performance of Novell SecureLogin in a Citrix environment.
-
Click . The cache location folder page is displayed.
If you want to change the location of the cache folder, select > and locate the an alternative folder.
IMPORTANT:Consider the following information before changing the cache location:
-
The user's application data folder is the Triple DES or optionally AES encrypted repository for all Novell SecureLogin user data, which includes credentials, preferences, password policies, preconfigured applications, and application definitions.
-
By default, Novell SecureLogin data is stored in both your organization's corporate directory and in the Novell SecureLogin offline cache on your workstation's hard drive. The data in the directory and the local cache are synchronized to ensure user data is always current.
-
When the smart card is used to store application credentials, the credentials are stored on the smart card and directory only. The cache and directory contain the application definitions, policies, and settings for single sign-on.
-
If smart cards are not used in the LDAP implementation, you can turn off the cache using an administrative preference so that the users access their single sign-on data from the directory only. This option has an impact on system performance.
-
-
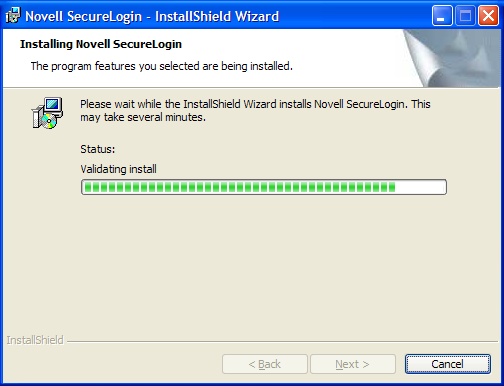
Click . The Ready to install the program page is displayed.
-
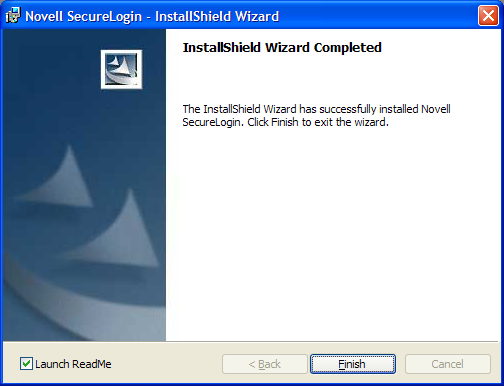
Click . The installation process takes a few minutes. A confirmation message appears after the installation is complete.
-
Click .
-
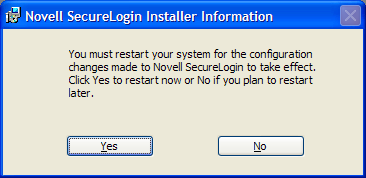
If you are prompted for a restart, click . The computer is automatically restarted.
On login or restart, the Novell SecureLogin launches automatically and the Novell SecureLogin icon is displayed in the Windows notification area.
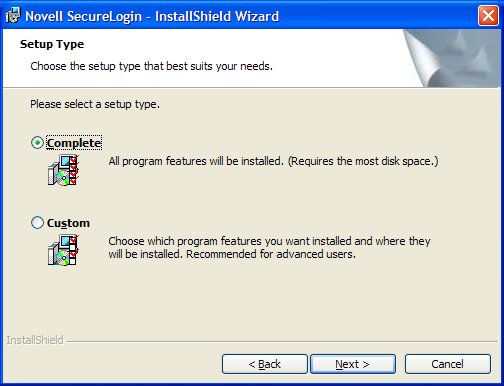
5.3.5 Using the Complete Option for Active Directory
The option uses default values and installs Novell SecureLogin in c:\program files\novell\securelogin. Refer to Section 5.3.6, Using the Custom Option for Active Directory for options available through the option.
-
Run Novell SecureLogin.msi found in the securelogin/client directory.
-
Select , then click .
-
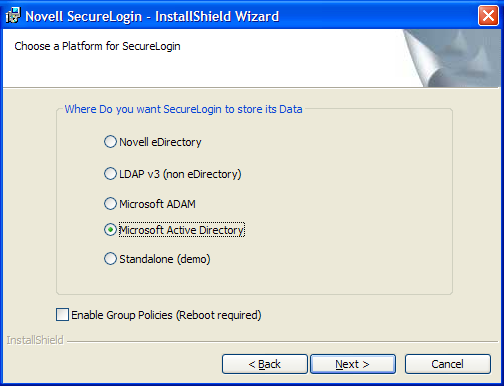
Select as the platform where SecureLogin stores its data, then click .
-
(Conditional) If you do not want to use smart card, select click then continue with Step 10.
-
(Conditional) If you want to use smart card and if ActiveClient is detected in your system, select Click click then continue with Step 10.
-
(Conditional) If you want to use smart card and if ActiveClient is not detected in your system.
-
Select then click
-
(Optional) Select a cryptographic service provider from which SecureLogin will request PKI credentials via the Microsoft Crypto API.
Select a PKCS#11 compatible library required for accessing the smart card, then click .
This specifies the location of the Cryptographic Token Interface installed as part of the smart card vendor’s software. These API files are used by SecureLogin to communicate with the smart card.
Manually configuring the third-party smart card PKCS library assumes a high level of understanding of the Cryptographic Service Provider’s product.
For more information and instructions on smart card settings and cryptographic tokens, see the Novell SecureLogin 6.1 SP1 Administration Guide.
-
-
Specify when you want to restart the computer, then click .
5.3.6 Using the Custom Option for Active Directory
The option provides the same defaults as does the option, but enables you to do the following:
-
Specify a path for Novell SecureLogin’s local cache.
The user profile directory is the default path.
User profiles for Windows 2000 and Windows XP are stored in Documents and Settings\username.
User profiles for Windows Vista are in c:\users username.
-
Select Novell SecureLogin components. The Description panel provides information about a component that you select.
-
Select options for starting Novell SecureLogin.
-
Specify when you want to restart the computer, then click .