3.2 Installing in an eDirectory Environment
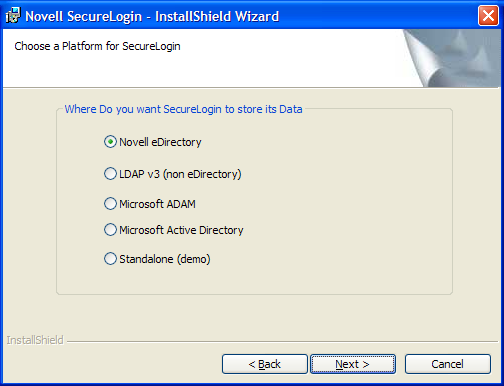
The Novell eDirectory option installs Novell SecureLogin onto networks that are running eDirectory. This option provides secure, centralized storage of user login data by performing encryption once on the workstation before the data is saved to eDirectory.
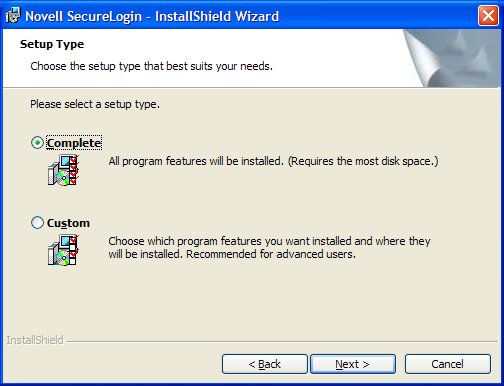
3.2.1 Using the Complete Option to Install
The options uses the default values and install Novell SecureLogin in c:\program files\novell\securelogin. For options available through the option, see Section 3.2.2, Using the Custom Option for Novell eDirectory.
-
Run Novell SecureLogin.msi, found in the Securelogin\Client directory of the installer package.
-
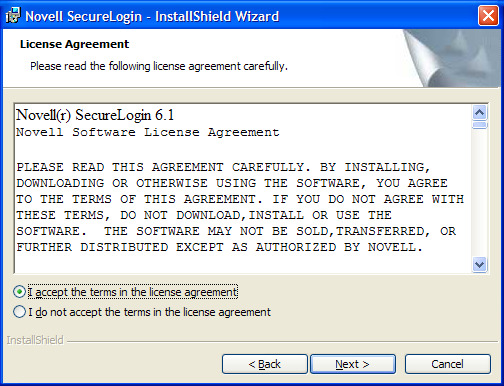
Accept the license agreement, then click
-
Select , then click .
-
Select as the platform where Novell SecureLogin will store its data, then click .
-
Select , then click .
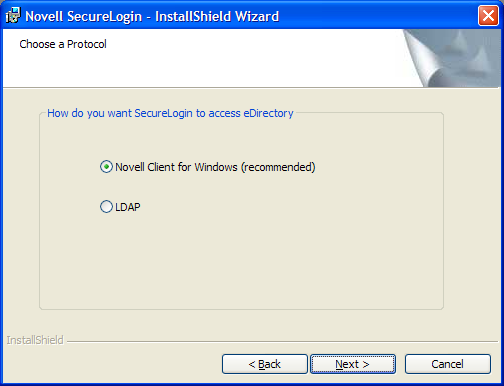
If the Novell Client™ is installed, the installation program recommends the option. Otherwise, is recommended.
NOTE:The above dialog box is displayed only if you have Novell Client for Windows installed on your machine. Otherwise, LDAP is auto-selected as the protocol.
In the complete mode of installation, the install takes the default values and proceeds with the installation. If the Novell Client is installed, the default Account association is Novell Client association. If you do not have not Novell Client installed, the default Account association is Windows association.
However, if you want to associate the account association to Novell Client, change the registry setting in hklm/software/novell/login/ldap as follows:
DoNTAssoc REG_SZ 1
DoClient32Assoc REG_SZ 0
-
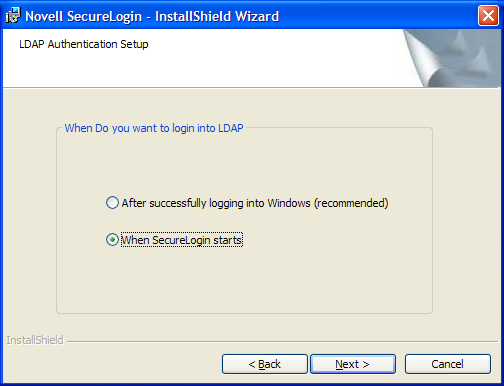
If you have selected LDAP, choose when you want to log in to LDAP.
-
Specify the LDAP server information.

-
(Optional) If you do not want to use smart card, select click then continue with Step 10.

-
(Optional) If you want to use smart card and if ActiveClient is detected in your system, select > click then continue with Step 10.
-
(Conditional) If you want to use smart card and if ActiveClient is not detected in your system:
-
Select then click
-
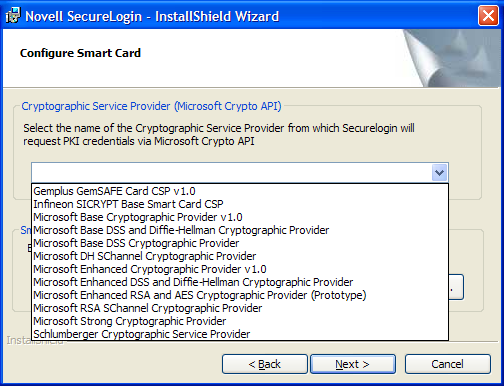
Select a cryptographic service provider from which Novell SecureLogin requests PKI credentials through a Microsoft Crypto API.
-
Select a PKCS#11 compatible library required for accessing the smart card, then click .
NOTE:This specifies the location of the Cryptographic Token Interface installed as part of the smart card vendor’s software. These API files are used by Novell SecureLogin to communicate with the smart card.
Manually configuring the third-party smart card PKCS library assumes a high level of understanding the Cryptographic Service Provider’s product.
-
-
Select the eDirectory features that you want to release, then click .
You can select both the features.
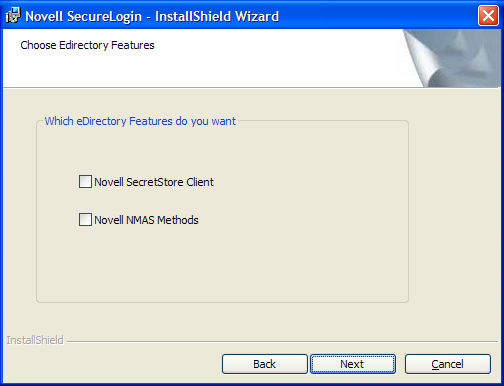
IMPORTANT:Install the NMASClient manually.
-
For installing on Vista, NMAS is available in \Nmas\NmasClient\Vista-x86\nmasclient_setup_v32 that is available as part of the Novell SecureLogin installer package.
-
For installing on Windows XP, 2000, and 2003, NMAS is available in \Nmas\NmasClient\win32\nmasclient_setup_v32 that is available as part of the Novell SecureLogin installer package.
-
Install the Challenge Response before installing Novell SecureLogin. To install Challenge Response, run setup from \NMAS\NMASMethods\ChallengeResponse that is available as part of the Novell SecureLogin installer package.
The user still needs to install NMASClient manually, select the NMAS Methods like pcProx, Challenge Response, and Secure Workstation, and proceed with the installation.
Select Novell SecretStore only if SecretStore is installed on a server. For more information on SecretStore, see “Installing SecretStore” in the SecretStore 3.4 Administration Guide.
-
-
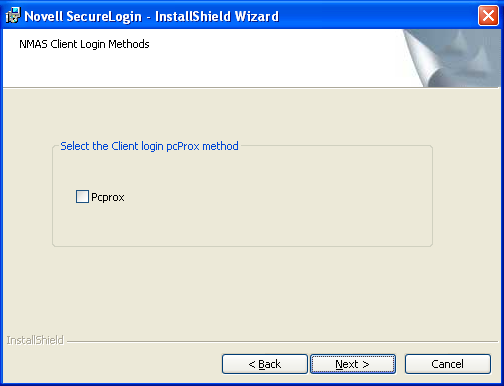
If you select and if NMAS is available, the NMAS Client Login Methods dialog box is displayed.
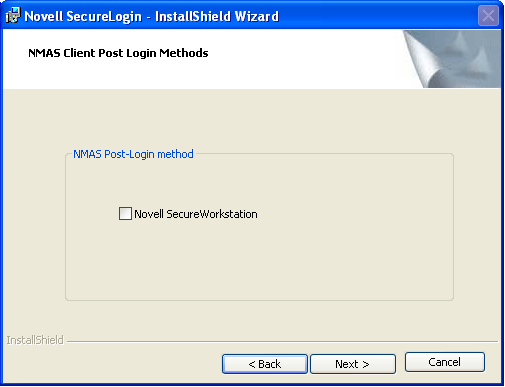
Select , then click . The NMAS Client Post Login Methods dialog box is displayed.
-
Select the post-login methods, then click .
-
Select the installation features. Click .
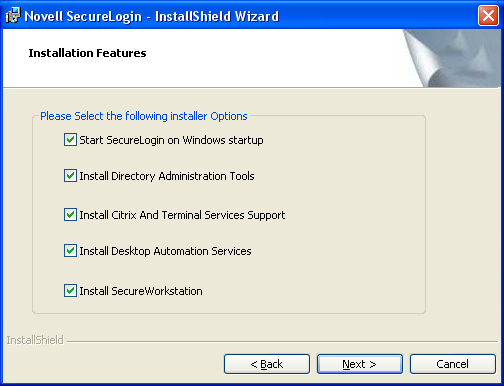
The Install SecureWorkstation option is available on this page if you have selected the option on the previous page.
-
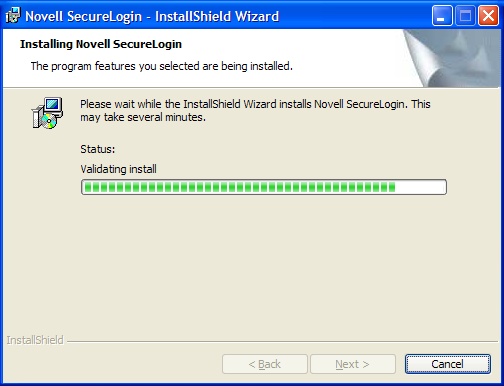
Click . The Ready to Install the Program dialog box is displayed.
-
Click .
-
Click . By default, the option is selected.
-
You are prompted to restart your system. Select to restart the system so Novell SecureLogin can take effect.
3.2.2 Using the Custom Option for Novell eDirectory
The option provides the same defaults as does the option, but enables you to do the following:
-
Specify where Novell SecureLogin files should be stored.
You can use the default path or specify a different one.
-
Specify a path for the Novell SecureLogin’s local cache.
The user profile directory is the default path.
User profiles for Windows 2000 and Windows XP are in Documents and settings\Username.
User profiles for Windows Vista are in c:\users username.
-
Select Novell SecureLogin components (for example, Citrix and Terminal support) and SecretStore client components (for example, SecretStore Status).
If you select the Novell eDirectory with SecretStore option, the installation program installs Novell SecureLogin components and SecretStore components by default