6.5 Creating and Configuring an ADAM Instance
This section contains information on the following:
6.5.1 Creating an ADAM Instance
The ADAM setup files are provided in the Tools folder of the Novell SecureLogin installer package.
To create an ADAM instance for Novell SecureLogin:
-
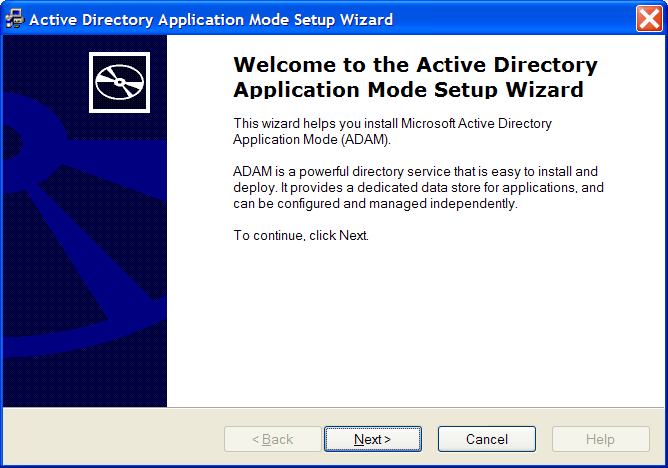
Double-click the adamsetup.exe file. The Active Directory Application Mode Setup Wizard is displayed.
-
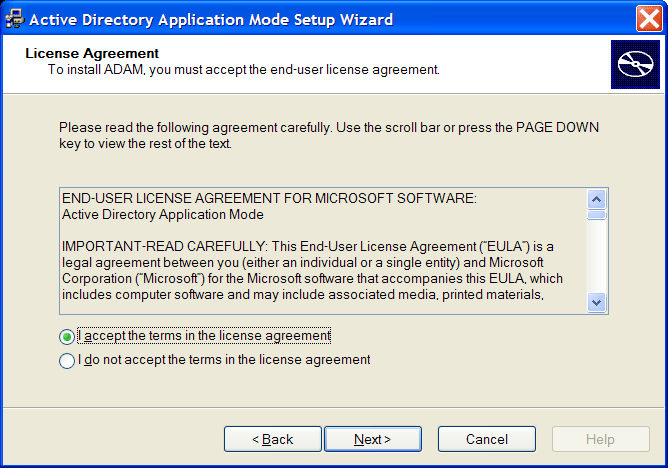
Click the button. The License Agreement dialog box is displayed.
-
Accept the license agreement, then click .
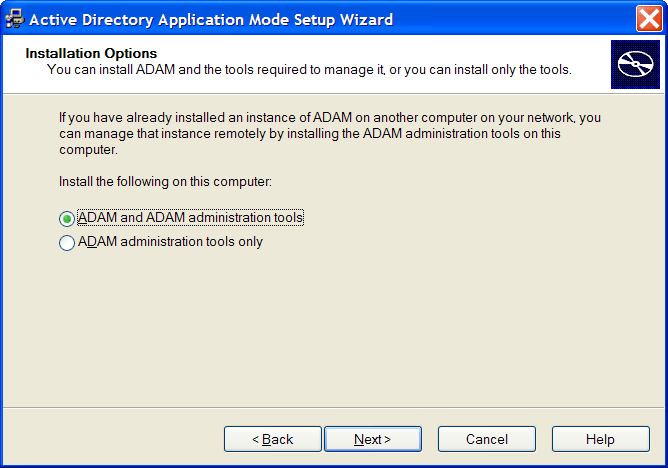
The Installation Options dialog box is displayed.
-
Select the option.
-
Click . The Setup Options dialog box is displayed.
-
Select the option.

-
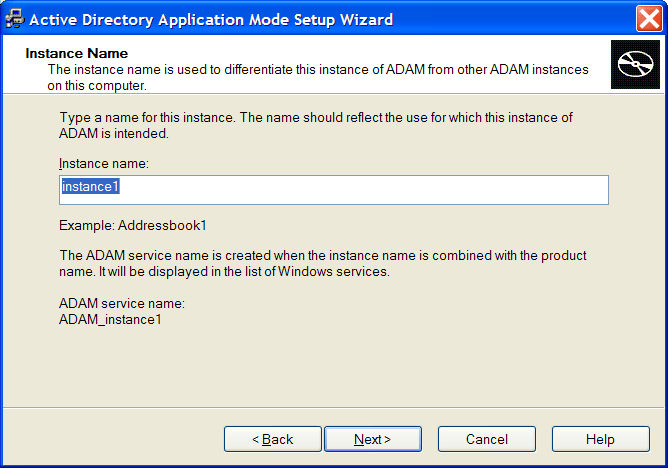
Click . The Instance Name page is displayed.
-
Specify a name for the ADAM instance in the field.
-
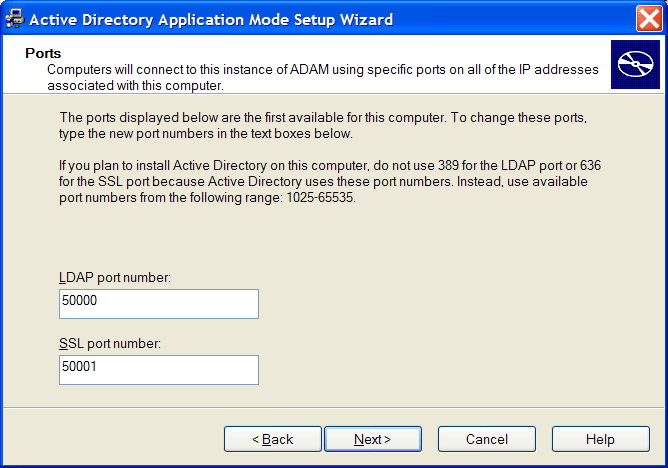
Click . The Ports page is displayed.
-
Specify the ADAM instance port number in the LDAP port number field and specify the ADAM instance SSL port number in the SSL port number field.
The default LDAP port number is 50000 and the SSL port number 500001. If Active Directory is not installed on the computer, the default will be LDAP port number 389 and SSL port number 636. The default values are recommended; however, the port numbers can be manually configured.
Make a note of the LDAP port number and SSL port number because this information is required for SecureLogin ADAM configuration.
-
Click . The Application Directory Partition page is displayed.
-
Select .

-
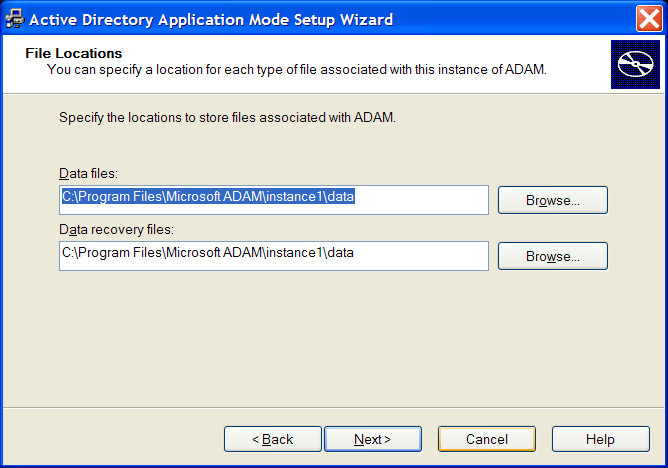
Click . The File Locations page is displayed.
-
Specify alternative locations for ADAM files in the and fields, or accept the default values.
-
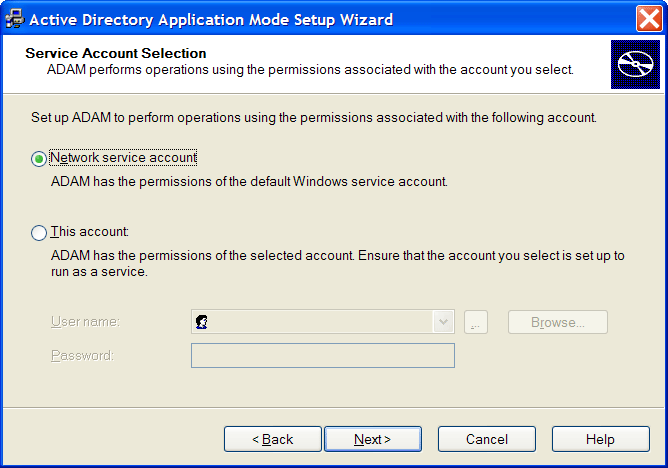
Click . The Service Account Selection page is displayed.
-
Select the option or the Select the option and type the credentials for the selected service account.
The service account selected must have permissions to register a Service Connection Point (SCP) and permission to install and execute Novell SecureLogin. Selecting the service account option is recommended; however, an account with a static password can also be specified.
-
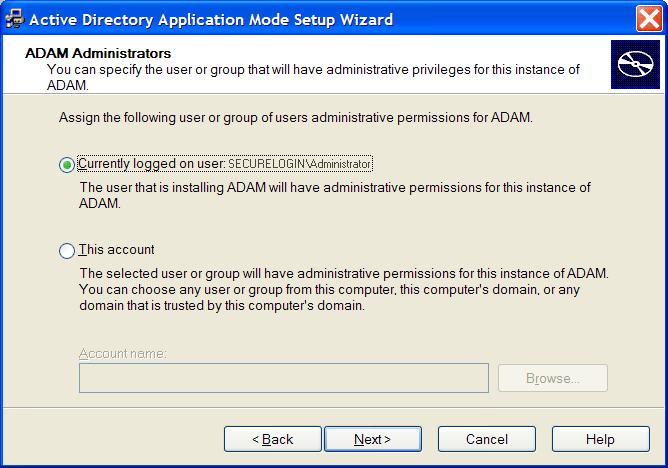
Click . The ADAM Administrators page is displayed.
-
Select the option or select and specify the account or group name in the field, if required.
The account selected needs administrator level permissions for the ADAM instance. In this example, the default is selected as the current user, so the Administrator will administer this ADAM instance.
If an alternative account or group is preferred, select and provide the account or group name and credentials.
-
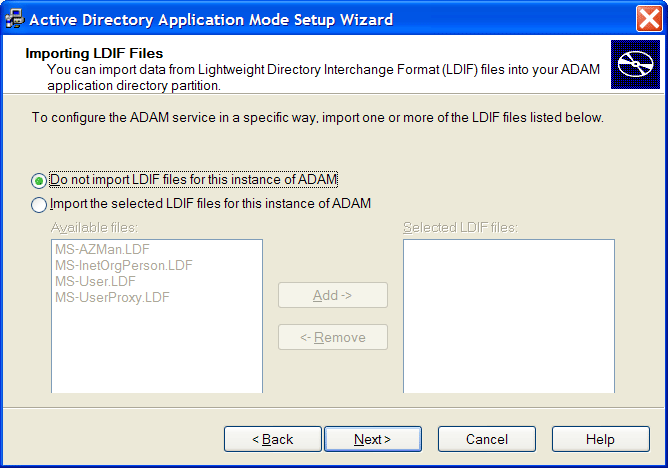
Click the button. The Importing LDIF Files page is displayed.
-
Select the option is selected.
-
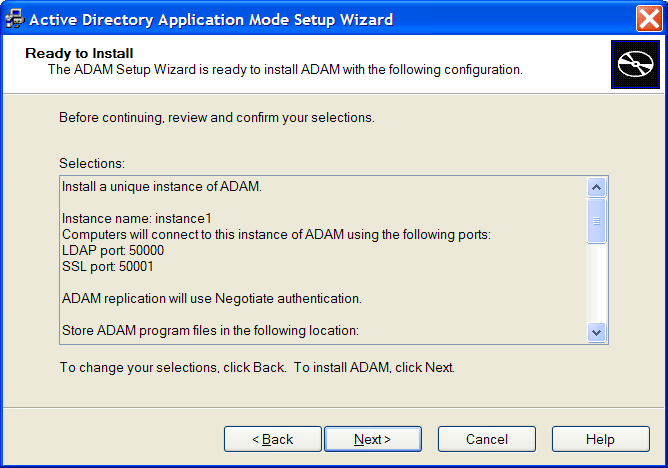
Click . The Ready to Install page is displayed.
Review the setup options in the Selections window to confirm that the required options are selected.
-
Click to continue or to change selected options.
-
Click when ADAM instance creation settings are confirmed.
-
Click to create the ADAM instance. Review the Windows Event log to ensure the ADAM instance is created without errors.
-
From the Windows Start menu, select > > . The Windows Event Viewer displays with the ADAM (Instance#) displayed in the Event Viewer hierarchy.
-
Double-click to view the Event log.
-
If an error icon is displayed, double-click to view the error details.
When the ADAM instance is successfully created, execute the Novell SecureLogin ADAM Configuration Wizard to automatically extend the ADAM instance schema and assign Read and Write Rights to directory user objects.
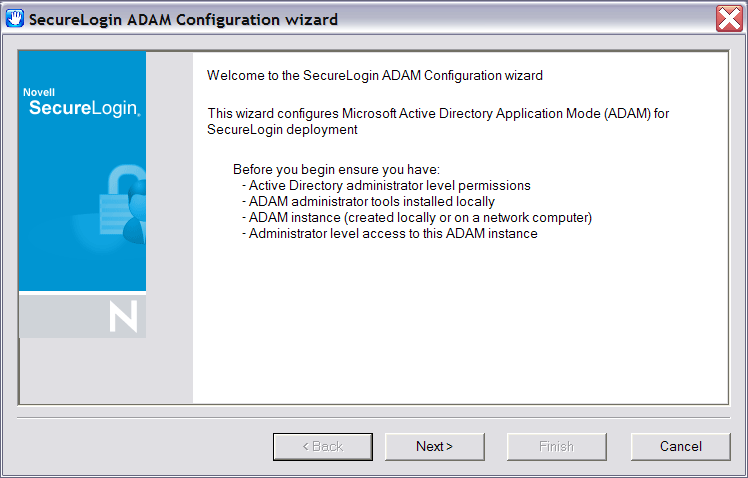
6.5.2 Using the ADAM Configuration Wizard
Before executing the Novell SecureLogin ADAM Configuration Wizard:
-
Navigate to the SecureLogin\Tools folder of the Novell SecureLogin installer package.
-
Copy the ADAMconfig folder to your local drive
The Novell SecureLogin ADAM Configuration Wizard extends the ADAM Directory Schema with Novell SecureLogin Single Sign-On attributes, creates ADAM partitions, and assigns selected directory objects Read and Write permissions to the Novell SecureLogin attributes. The Wizard creates corresponding user Proxy objects for user objects in Active Directory, including the directory hierarchy to the ADAM instance, and can be used to synchronize the user object structure after initial Novell SecureLogin configuration.
To run the Novell SecureLogin ADAM Configuration Wizard:
-
Log in to the ADAM instance or server or to the administration workstation if it is a separate machine or as a user with Administrator access.
-
Double-click the AdamConfig.exe file.
The Welcome to the Novell SecureLogin ADAM Configuration Wizard page is displayed. Ensure that you have all the required Active Directory and ADAM Administrator account details selected during ADAM instance creation.
-
Click
The ADAM schema can be extended manually at the command line using the MS-UserProxy.LDF and sso-adam-schema.LDF files. These files are located in the Tools folder of the Novell SecureLogin installer package. We recommend that you perform this procedure with the assistance of our consultants.
-
Select the option on first execution of the Novell SecureLogin ADAM Configuration Wizard.
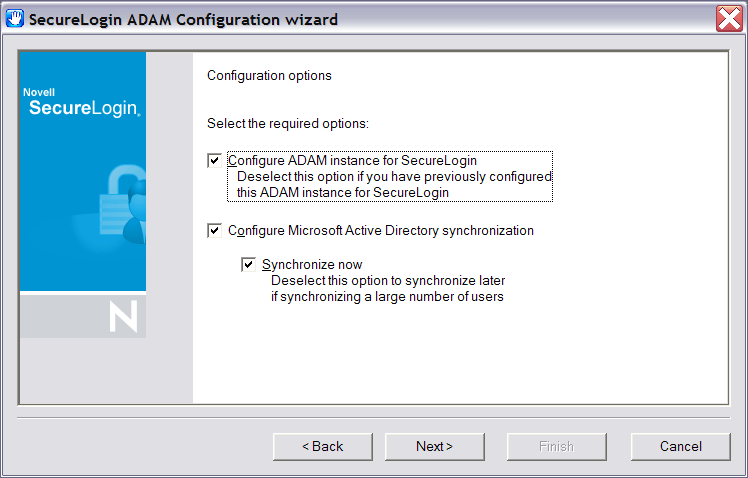
Although configuration is required only once, you can select this option again with no adverse affects.
The Novell SecureLogin ADAM Configuration Wizard copies selected Active Directory user data to the ADAM instance, including the directory hierarchy.
Directory synchronization of a large number of users can adversely affect network performance. Make sure you select a time to run the Novell SecureLogin ADAM Configuration Wizard when the network is less busy, in order to minimize these effects.
The Novell SecureLogin ADAM Configuration Wizard can be executed at any time to synchronize updated Active Directory user data. A command file, SyncAdam.cmd, is located in the AdamConfig folder copied to the local drive. The SyncAdam.cmd command cannot be executed prior to running the ADAM Configuration Wizard.
-
Select the option.
-
Select the check box if necessary.
Each time a new organizational unit is created in Active Directory, the Novell SecureLogin ADAM Configuration Wizard or the SyncAdam.cmd command file must be executed to synchronize with the ADAM Instance and assign Read and Write permissions. For more information refer to section Section 6.5.4, Synchronizing Data from Active Directory to an ADAM Instance.
-
Click . The Microsoft Active Directory user account page is displayed.
The account selected in this page is used to access and copy the Active Directory object data for synchronization with the ADAM instance, so it must have Read permission. This account must not have Write permission.
-
Select or select the option and enter the account details in the , and and click The ADAM instance location page is displayed.
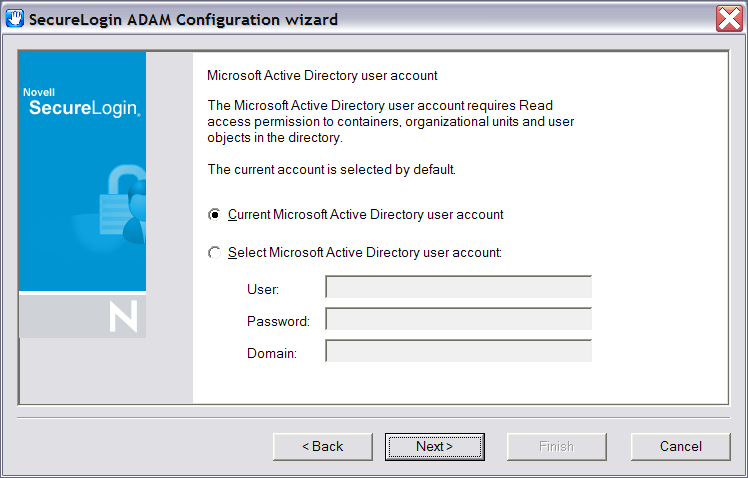
The account selected in this dialog box is used to manage Novell SecureLogin in this ADAM instance and therefore requires Administrator access. By default, the current account (the one you have logged on with) is selected. However, any user account that has Administrator level access to the ADAM instance is valid.
-
Accept the default values or specify the alternative Server and Port values as required, then click .
-
The default server value is localhost. Select an alternative server if you are hosting your ADAM instance on another computer.
-
The default port is 50000. Specify an alternative port number if this is not the ADAM instance server port.
The Microsoft Active Directory containers/organizational units dialog box is displayed.
All containers and organizational units that include Novell SecureLogin users are specified in this dialog box, so you can assign Novell SecureLogin rights and select for Microsoft Active Directory synchronization.
-
-
Click the Button.The Domain, Container or Organizational unit dialog box is displayed.
-
Specify the full distinguished name in the, field.
-
Click .
-
The ADAM Configuration error message box is displayed if the distinguished name of the domain, container or organizational unit specified is invalid. If this occurs, click the button. Specify the correct name in the field and click .
-
Click when all required objects are added to the list. The Configuration summary dialog box is displayed
Review your selected configuration options.
-
Click to change details or click finish the configuration.
The Novell SecureLogin ADAM Configuration - Termination dialog box is displayed if the configuration was not able to complete successfully. If this occurs, review the text box to investigate cause of termination. If a solution to the problem is determined, click and repeat execution of the Novell SecureLogin ADAM Configuration Wizard.
When configuration is complete, the Novell SecureLogin ADAM configuration - Finished dialog box is displayed.
-
Click .
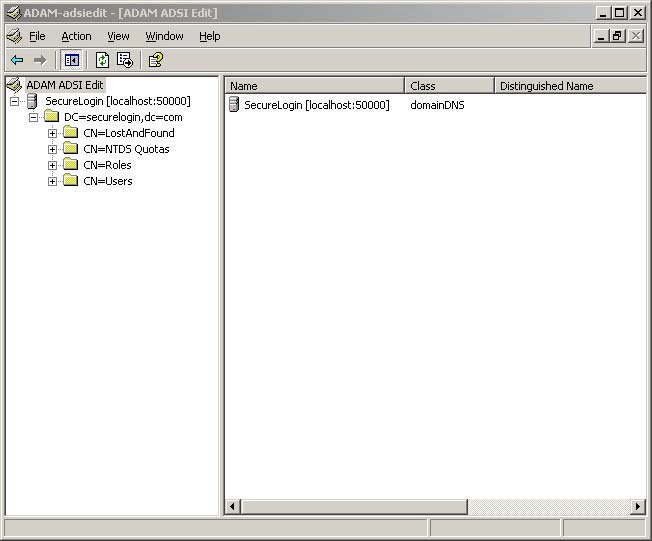
6.5.3 Using the ADAM ADSI Edit Tool
The ADSI Edit tool is an MMC plug-in used to view all objects in the directory (including schema and configuration information), modify objects, and set access control lists on objects. You can use it to check and review the Novell SecureLogin ADAM configuration.
-
Click > > > A. The ADAM ADSI Edit tool is displayed.

-
Select A in the hierarchy pane to view the ADAM Instance details.
-
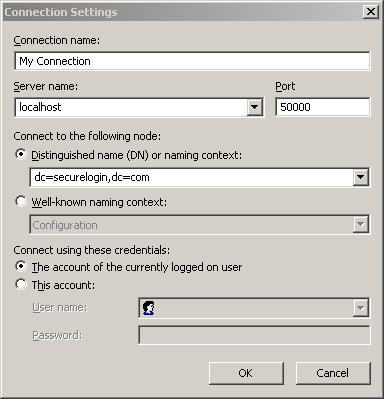
Select from the menu. The Connection Settings dialog box is displayed.
-
Specify a name for the connection in the field.
-
Specify the ADAM instance server name in the field.
-
Specify the ADAM instance port name in the field.
-
Select the option.
-
Specify the Distinguished Name in the (DN) or naming context field.
-
Select a , account option to connect to the ADAM instance.
option is selected in this example.
-
Click . The ADSI Edit tool displays the selected ADAM instance.
Right-click on the Users container to display the context menu.
-
Select the option. The CN=Users Properties dialog box is displayed.
-
To confirm that the schema attributes have been added successfully, scroll down the Attributes table window to display the six single sign-on attributes.
-
Repeat for each container and/or organizational unit containing Novell SecureLogin users to ensure that rights have been successfully assigned.
If the Novell SecureLogin attributes do not display, execute the ADAM Configuration Wizard and ensure you have specified the required container, organizational unit and/or user object.
Contact Novell Support for assistance if required.
6.5.4 Synchronizing Data from Active Directory to an ADAM Instance
The Active Directory to ADAM Synchronizer is a command line tool that synchronizes data from an Active Directory forest to a configuration set of an ADAM instance. This ensures that new users added to Active Directory have objects created in the ADAM instance that represent their Novell SecureLogin data.
To synchronize data from Active Directory to an ADAM instance:
-
Open the folder where you copied the ADAM files, then double-click the syncadam.cmd file. It is advisable to run the synchronization method on a regular basis, or when Active Directory users are changed. One way to do this is to add the process to the Windows Scheduled Tasks.
-
When the synchronization is complete, check the SyncAdam.log log file to make sure that the process was successful.
The following processes are automatically synchronized:
-
A new container or organizational unit in Active Directory is created as a corresponding container in ADAM.
-
A new user in Active Directory is created as ADAM user proxy.
-
A renamed user object in Active Directory causes the corresponding user proxy to be renamed in ADAM.
-
A moved user object in Active Directory causes the corresponding user proxy to be moved in ADAM. This requires both user object source container and destination container in synchronization scope.
The following processes are not automatically synchronized:
-
Deleted user objects in Active Directory are not deleted in ADAM by default. This is because od security concerns. You can override this by manually editing SyncAdam.config. However, this is not recommended unless there is a good reason because username might conflict with a ‘zombie’ user, or performance issues.
-
Deleted, moved, or renamed containers and organizational units in Active Directory are not synchronized to ADAM. Changes to existing container or OU objects in Active Directory must be manually synchronized to ADAM by using the ADSI Edit tool or any other directory editor. For example, if an OU is renamed in Active Directory, it must be renamed in ADAM. Because of security concerns, synchronization does not run if existing containers and OUs do not match in Active Directory and ADAM.