3.1 Using the Add Application Wizard to Enable an Application for Single Sign-on
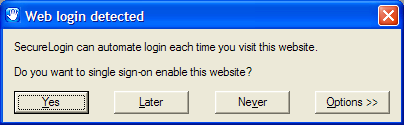
When you launch an application for the first time and Novell SecureLogin is active on your workstation, a pop-up prompts you to enable single sign-on for the application. After you respond to the pop-up and allow SecureLogin to capture your login credentials, you are logged in automatically and the prompt does not appear again for this application.
If you are not prompted, use the Add Application wizard to enable the application for single sign-on. The wizard creates application definition that captures your login credentials. The next time you launch the application, Novell SecureLogin uses the application definition to automatically log you in.
3.1.1 Enabling Applications that Have a Predefined Application Definition
Application definitions store certain login information so that it can be used again and again. To save you the time and trouble of setting up application definitions, Novell SecureLogin provides predefined application definitions for many applications.
To enable an application that has a predefined application definition:
-
Right-click the Novell SecureLogin
 in the notification area (system area), then click . This launches the Add Application wizard.
-
In the Welcome to SecureLogin window, click .
-
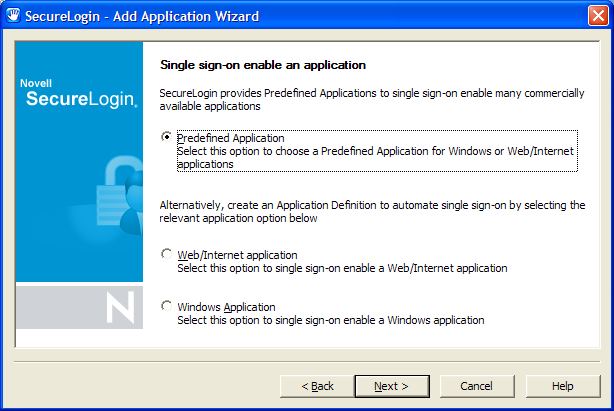
On the Single Sign-on Enable an Application page, select , then click .
-
From the list, select an application, then click .
The next time you launch the application you selected, Novell SecureLogin prompts to specify the login credentials.
Specify the credentials (the username and password), then click . This data is your login ID. Novell SecureLogin saves this data and automatically logs you in the next time you launch the application.
3.1.2 Enabling a Windows Application
The following steps apply when Novell SecureLogin does not automatically detect a new application. If Novell SecureLogin detects a new application and launches the Add Application wizard, go to Step 7.
-
Launch the Windows application for which you want to enable single sign-on.
-
Specify the username and password, but do not click , , or .
Keep the login dialog box open so that Novell SecureLogin can capture the information from the panel and save it appropriately.
-
Right-click the Novell SecureLogin
in the notification area, then click . This launches the Add Application wizard.
-
On the Welcome to SecureLogin page, click .
-
On the Single Sign-on Enable an Application page, select , then click .

-
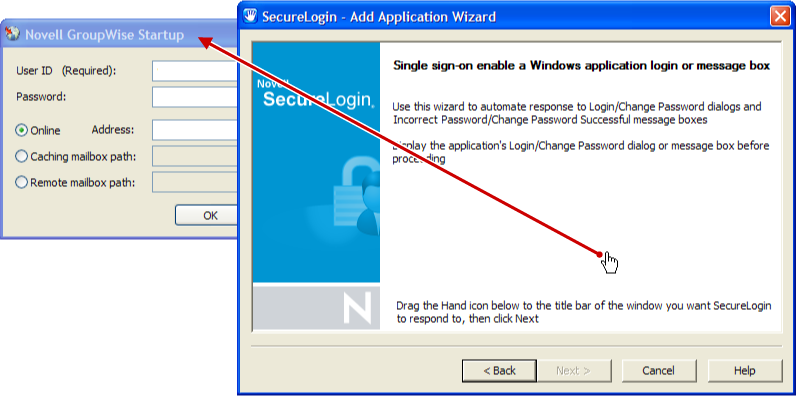
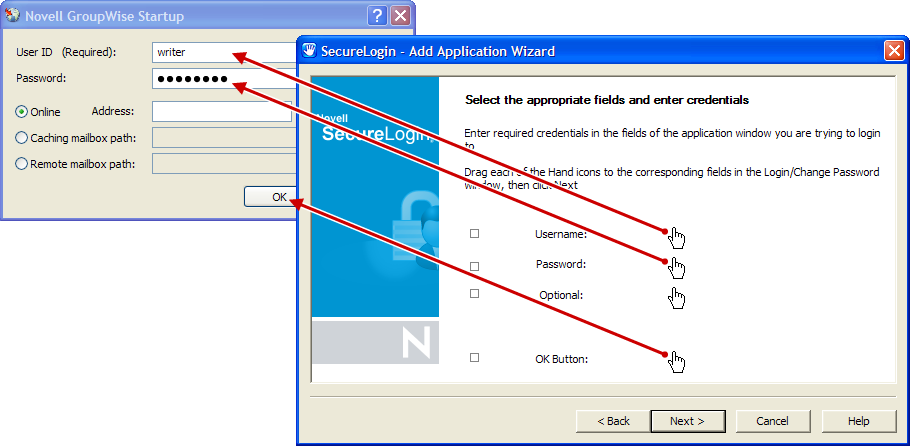
Drag the hand icon from the wizard page to the title bar of the login dialog box.
-
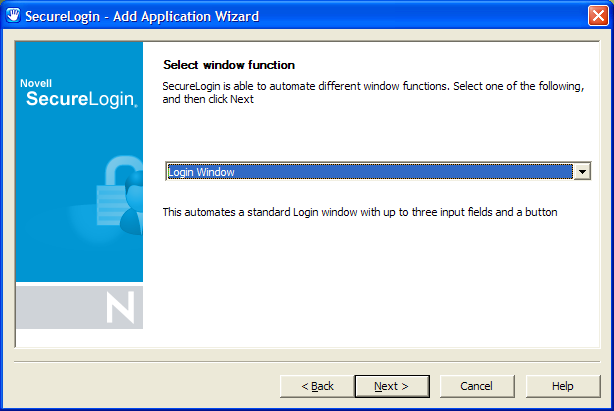
On the Select Window Function page, select from the drop-down list, then click .
-
Drag the hand icons and drop them onto the corresponding , , and (if appropriate) fields in the login dialog box.
-
Drag the hand icon for the button and drop it onto the , , , or similar options on your login dialog box.
-
Click .
-
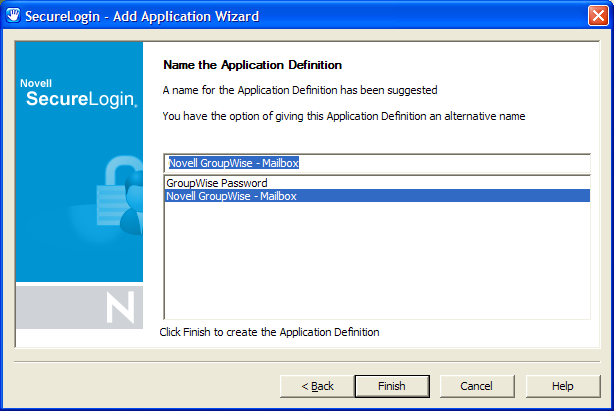
(Optional) In the Name the Application Definition dialog box, specify a name for the application definition. An appropriate default name is already suggested.
-
Click .
3.1.3 Enabling a Web Application
-
Right-click the Novell SecureLogin
in the notification area, then click . This launches the Add Application wizard.
-
On the Welcome to SecureLogin window, click .
-
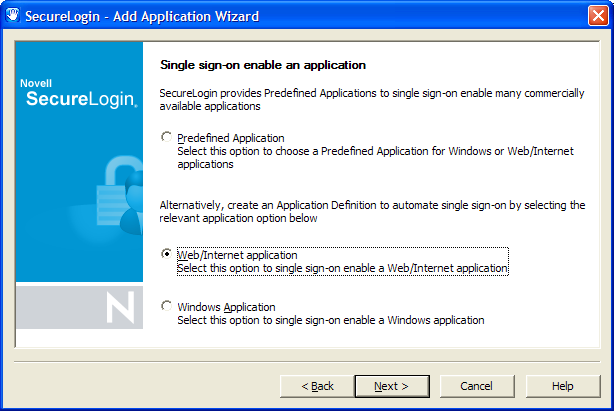
On the Single Sign-on Enable an Application page, select , then click .
-
In the Single Sign-on Enable a Web/Internet Application dialog box, specify the URL of the Web page for which you want to enable single sign-on, then click .
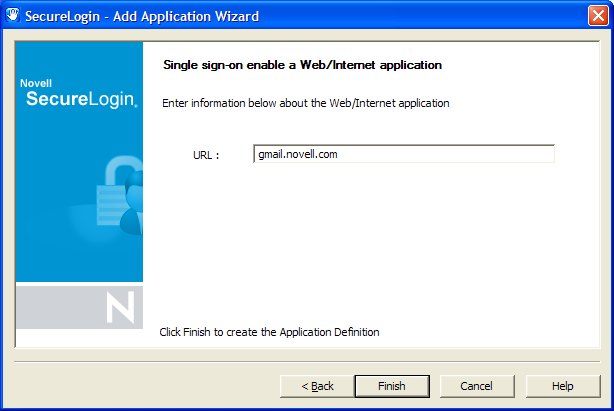
The Web page is launched.
-
Specify your username and password as login credentials.
-
You are prompted to save your credentials for single sign-on. Click .
Novell SecureLogin extracts the login information from the Web page and stores it for future single sign-on authentication.
3.1.4 Enabling a Java Application
If Java applications are coded in AWT or Swing, Novell SecureLogin can enable those applications for single sign-on.
An application definition requires control numbers (hidden numbers that differentiate a Username edit box from a Password edit box). Determining the correct control numbers in a Java application might require trial and error. Therefore, we recommend that the network administrator configure Java applications centrally, test the applications, and then distribute them.
This section contains the following information:
Prerequisites
-
Install a Sun* Java Runtime Environment Version 1.4 or later. (Microsoft Java Virtual Machine is not supported.)
-
Select the option for enabling Java applications during Novell SecureLogin installation.
-
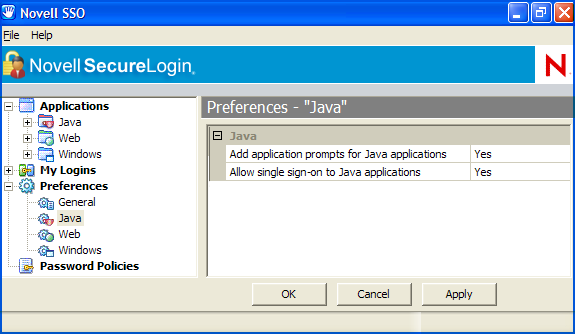
In the Properties table, ensure that the value for is set to .
-
In the Properties table, ensure that the value for is set to .
Figure 3-1 Enabling the Java Preferences
Adding the Java Application to the List of Applications
-
Launch the Java application.
If Novell SecureLogin is active on your workstation, it displays the following message:

-
Click .
Novell SecureLogin extracts and stores the Java control information for login to the application or server.
-
Double-click the Novell SecureLogin
icon in the notification area, then select .
Novell SecureLogin displays a new icon (Java) and application type.
-
Double-click the Java application, then click .
-
Modify the application definition by typing the commands and control numbers that enable Novell SecureLogin to automatically log you in to the application.
Determining the control numbers might require trial and error.
-
Save the single-sign-on information by clicking .
-
Test the Java application by launching it and logging in.