The Items tab allows Customers to view all Items owned by them directly, shared or via Organizational Unit ownership. It also provides access to Item Outage information.
Customers can view all of their Items registered with the support service by selecting the Items tab. The Items tab displays the list of Items assigned to the Customer and their Organizational Unit. Global Items are not included within the Items tab, but if any exist in the system, the Customer is able to log a request against them, as they are displayed in the Items list during the request creation process.

To view details of an Item:
Click on the Item # hyperlink
View details
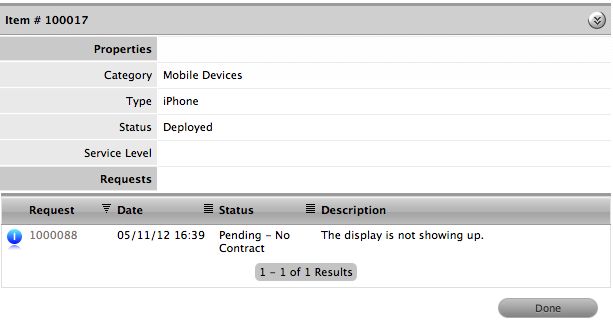
To view specific
Item Details, click ![]()
Click Done to return to the complete Item list.
If the option has been enabled by the Administrator in the application Setup, a Customer can create a new Item within the Item tab.
To add a new Item:
Select ![]() at the top of the Items List
at the top of the Items List
Select a Category and define an Item Type
Complete any known Item details
Click Save.
It should be noted that if the Customer Visible option is set to No
for the initial Lifecycle State defined for the Item Category associated
with the newly created Item, the Item will not be visible in the Customer
Portal when saved. The Service Desk staff need to move the newly created
Item to a Lifecycle State that is defined as Customer Visible for
it to be accessible in the Customer Portal.
Searching for Items
To search for Items, Customers can use the Search option within the Items list. The search can be refined by Item number, Item Type of Item Category. By selecting the Item Category, the fields defined as Customer Visible for the Category selected are displayed.
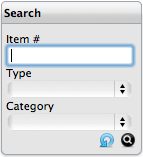
Use the ![]() to execute the search or
to execute the search or ![]() to
reset the search field.
to
reset the search field.
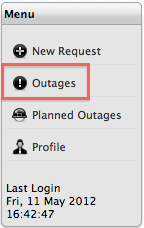
When the Outages option has been enabled by the Administrator, a Customer can access Outage Information by selecting the Outages link in the Item tab Menu list. To view Outage information, select the Outages Menu option. See:Outages.