3.10 Running the NSMAdmin 3.1.1 Setup Wizard
With the Novell Storage Manager 3.1.1 NSM Engine installed, you can now run the NSMAdmin Setup Wizard to import the migration file you created in Section 3.5, Running the NSM Migration Utility.
-
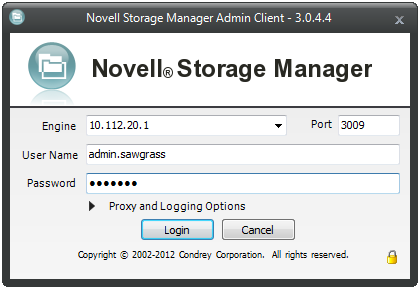
From your desktop, double-click the NSMAdmin icon.
The login window appears.
-
In the field, specify the DNS name or IP address.
-
In the field, specify the secure port number.
The default setting is 3009.
-
Specify the username and password.
The user must be a member of the NSMAdmins group to be able to log in.
-
Click .
If you are unable to log in, your proxy settings might be preventing you from doing so. Until you enter a proxy exception in your proxy settings, you can click , select , then click .
The Setup Wizard welcome screen appears.
-
Read the text on the screen and click .
-
Do one of the following:
-
Click to locate and select the path to the license file.
-
Click to obtain an evaluation license.
-
-
Click .
-
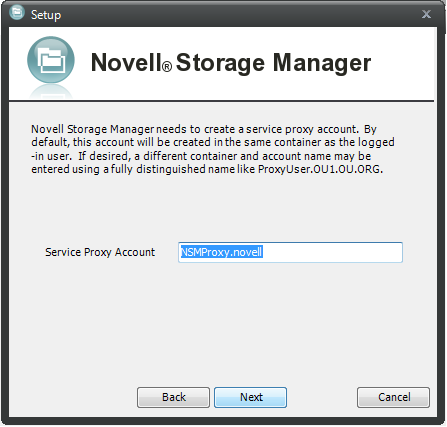
In the and fields, accept the account names that will be created and click .
-
Accept or modify the NSM Administrators’ group name, leave the check box selected, then click .
-
When you are notified that a Proxy Home share will be created on the engine’s local Proxy Home source path, click .
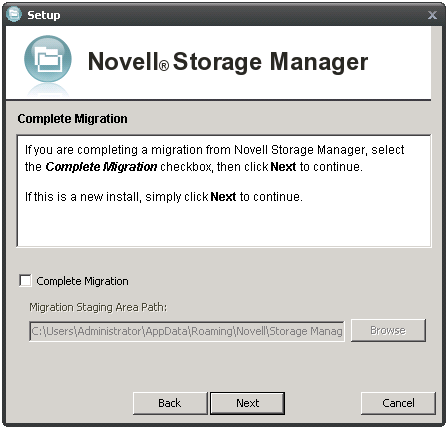
The following page appears:
-
If you want to import your policies at this time, select the check box. If you modified the path where the migration file was saved in Step 4, indicate the path by using the button, then click .
If you choose not to import the policies at this time, you can do so later in NSMAdmin using the Import Upgraded Policies.
A message appears informing you that the import is complete.
-
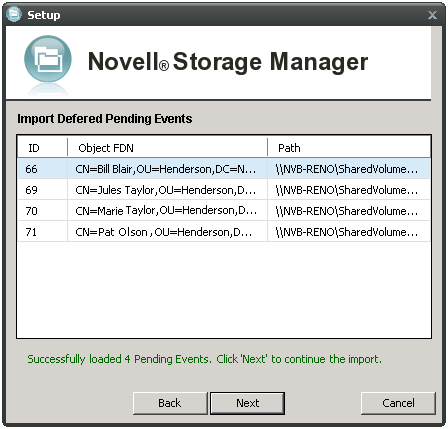
Click .
The NSM Migration utility shows the deferred delete events that are to be migrated.
-
Click .
A message appears informing you that Novell Storage Manager needs to initialize the engine and its subsystems.
-
Click .
When the initialization is complete, the NSMAdmin 3.1.1 login window appears.
-
Log in to NSMAdmin.
-
In the tab, click to see the imported policies.
-
Click to see the deferred delete events.
-
Proceed with Section 3.11, Verifying Storage Resource Lists.