2.6 Adjusting Access Control for the Site
One of your first tasks as a site manager is to set the access roles to control how different users can view and participate in the site workspaces according to what access role they are assigned. All access roles are assigned to users in individual workspaces or folders, except for the Site Administration access role, which grants access to the whole site. There are specific role definitions that you can edit to accomplish this.
Key ideas to keep in mind:
-
Understand the default access control settings and the philosophy behind them (quick team formation, open communications, etc.).
-
Determine the values and needs of your organization and adjust the access control settings accordingly.
-
The best way to delegate administrative tasks is to create groups and use the access-control tools to delegate folder and workspace administration accordingly.
2.6.1 Default Role Definitions
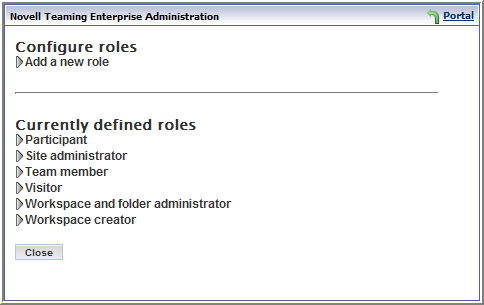
The following are the default Role Definitions, which should be more than enough to configure your site, although your site administrator can add new Role Definitions if required.
-
Workspace and Folder Administrator: Assigns every access right, but , to users for the specific workspaces and folders that they administer.
-
Participant: Assigns the following default access rights to users for any workspaces or folders in which they are participants:
-
Add Comments
-
Create Entries
-
Delete His or Her Own Entries
-
Modify His or Her Own Entries
-
Read Entries
-
-
Site Administrator: Has every access right. These rights apply to every workspace and folder.
-
Team Member: Assigns the following default access rights to users for any workspaces or folders in which they are team members:
-
Add Comments
-
Add Folders
-
Add Workspaces
-
Create Entries
-
Delete Entries
-
Delete His or Her Own Entries
-
Generate Reports
-
Manage Community Tags
-
Modify Entries
-
Modify His or Her Own Entries
-
Read Entries
-
-
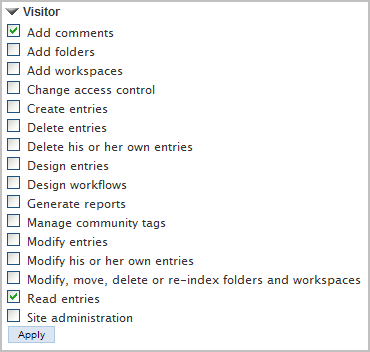
Visitor: Assigns the following default access rights to users for workspaces or folders in which they are visitors:
-
Add Comments
-
Read Entries
-
-
Workspace Creator: This Role Definition is a special definition assigned to all users at the Top Team Workspace to give every user the right to create a new Team Workspace. The Site Administrator can edit the Top Team Workspace access rights so that only specific users can add Team Workspaces. For more information, see Editing Default Team Workspace Access Rights.
2.6.2 Changing a Default Role Definition
For example, you might choose to prevent visitors from adding comments in the site.
-
In the > portlet, click .
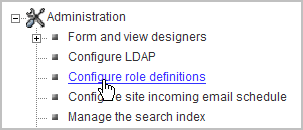
The page appears.
-
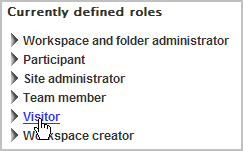
Click .
-
Under , deselect the option, and then click .
-
Click to return to your Home Page.
Visitors to your site can now view entries, but can no longer add comments.
2.6.3 Editing Default Team Workspace Access Rights
Every workspace and folder has its own access rights, created through the assignment of Role Definitions to groups and individuals for a workspace or folder. When you create a new workspace, it starts off with the default access rights according to the type of workspace you created: Global, Personal, or Team.
NOTE:A personal workspace is created when a user signs into Novell Teaming for the first time.
The Site Administrator can edit these default settings; for example, you might want to edit the Top Team Workspace access rights so that only specific users or groups can add Team Workspaces.
First you want to create a group to be in charge of Team Workspace creation, and then you want to remove the Role Definition from and assign it to the group in the Top Team Workspace access rights. The site administrator can add new users to the group at any time.
To do this, perform the following tasks:
Creating the Team Creator Group
-
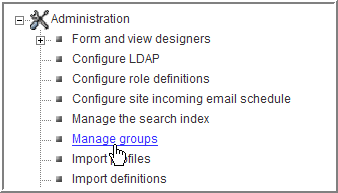
In the > portlet, click .
-
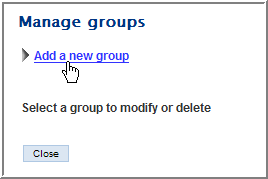
In the window, click .
-
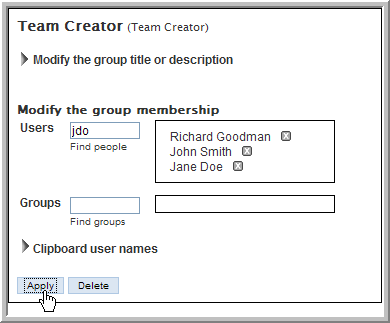
Specify the new group’s name, title, description, and then click .
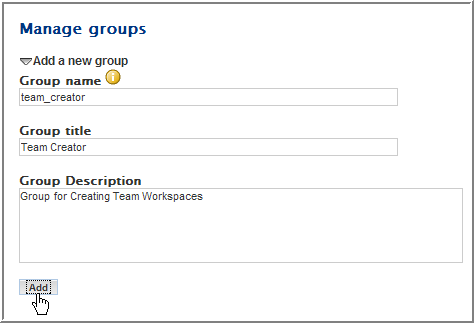
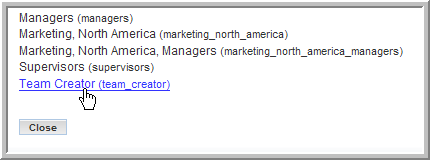
The new group appears on the page.
-
Under , click the group.
-
Add users to the group, then click .
-
Click .
See the Online Help or Novell Teaming User Guide for details on adding users to groups.
Granting the Team Creator Group Sole Team Workspace Creation Rights
-
Click .
-
Select the menu item.
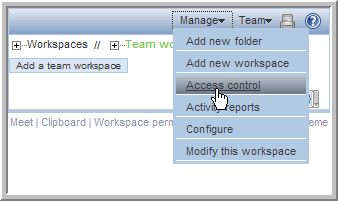
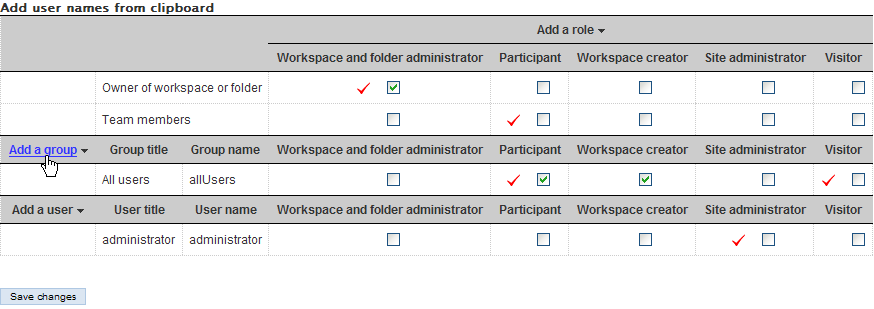
The page appears. This page allows you to assign the Role Definitions to specific groups and users from the workspaces and folders. The current page controls the access rights for the Top Team Workspace area.
-
Click in the table.
-
Start typing Team Creator in the dialog box that appears, then select from the drop-down list.
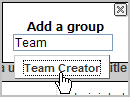
The Team Creator groups appears in the table.
-
Deselect the option for the group and select the same right for the group.

-
Click .

-
Click .
You have now created a specific group to control the creation of Team Workspaces. This is an example of how you use Role Definitions and access rights to configure your site. You should plan the access issues for your site so you can edit the default Role Definitions and default access rights for your workspaces prior to granting all your users access to the site.